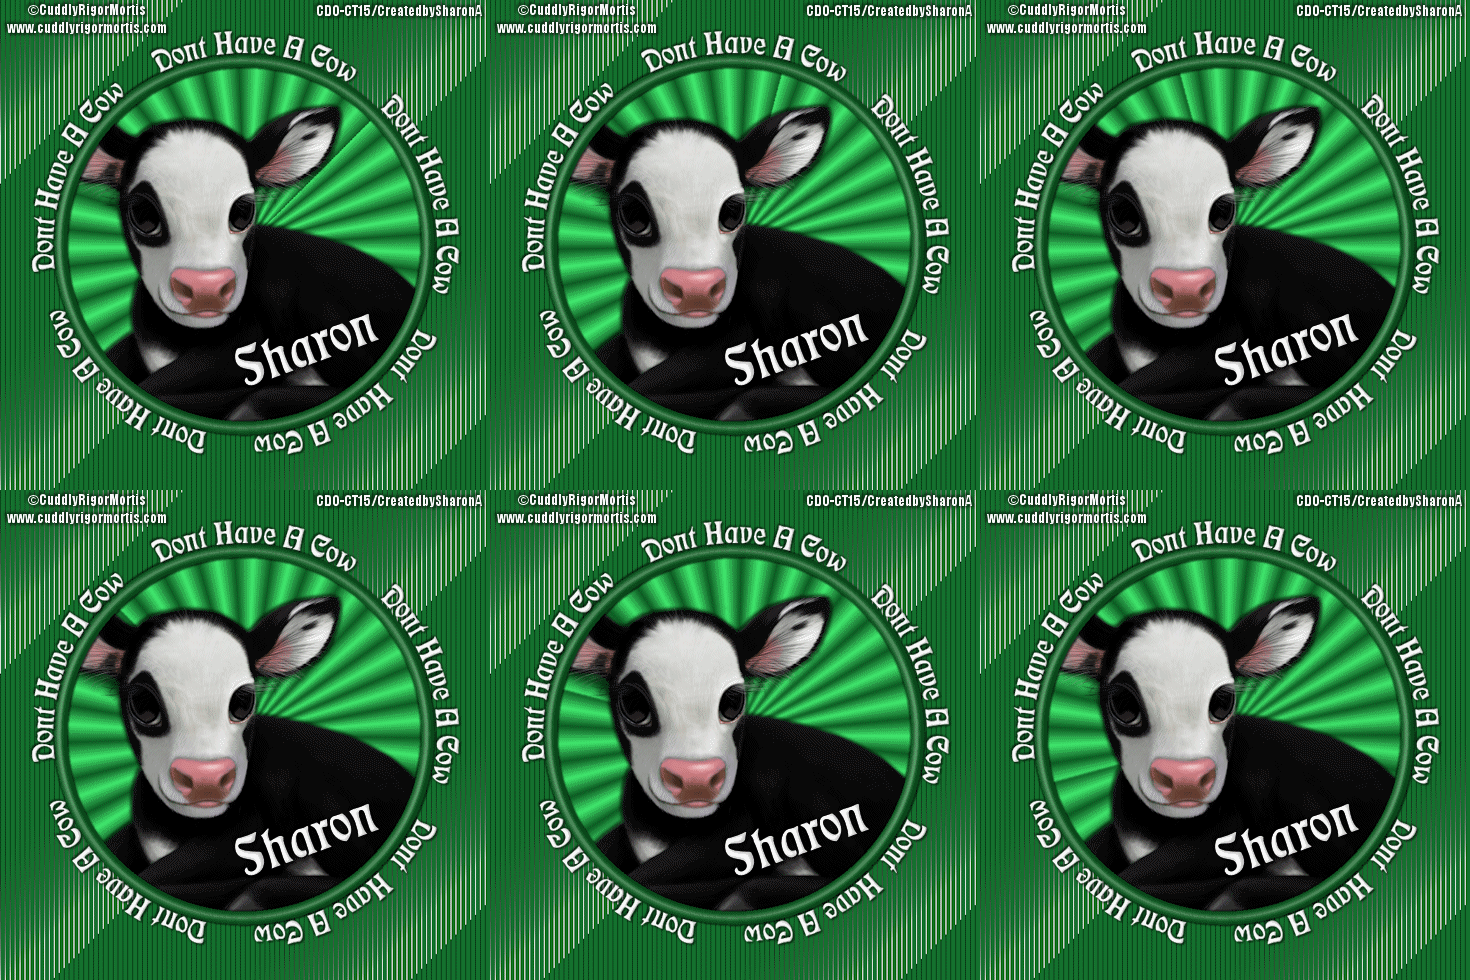
Click for larger view
This tutorial was written by Sharon A on Apr 10, 2012 & is copyright protected
For more info read my TOU
Plugins
Tramages Tow The Line
The tube I used Betty (57-1) is by cuddly Rigor Mortis, you can purchase this tube from CDO here
The name of my font is Tamborine
I used size 48 for my text before resizing
I used size 60 for my name after resizing
Open new transparent canvas 700x700, we will resize later
Floodfill with a color of your choice
Apply tramages tow the line using default settings
Paste your tube as a new layer
Add a drop shadow
Activate your elipse shape tool, change mode to circle, width 20, foreground null
Pick a darker shade of your color
Draw a circle around your tube
Resize if needed
Align center
Add inner bevel
Move your color to the background & pick a lighter shade for your foreground
Activate your foreground gradient, radial, angle 45, repeats 60
Activate your magic wand & click inside your circle
Expand 3
Add a new raster layer & floodfill
Move to below your tube layer
Do Not Deselect
Activate your tube layer
Invert your selection
Delete & deselect
Add a drop shadow to your circle
Activate your circle tool again, select a contrasting color, width 1, background null
Align center
Add a new vector layer
Activate your text tool
Hover your text tool over the top of the circle, left click when you see the little A
Write out your text
I used size 48 & had to add 4 spaces in between each phrase
Go back to your circle background layer
Duplicate & rotate right 30
Duplicate & rotate right 30
Repeat this until you have a total of 6
Resize all layers to 70%
After resizing I repasted my tube, resized to 90% and did the selection inside the frame, inverted then deleted & deselected
I did this because I didn't like the way the cow looked & I wanted her to look bigger
Add your name & © info
Animation:
Hide all your animation layers except the top one
Merge visible
Copy & paste into animation shop
Undo your merge
Hide animation 1 & unhide #2
Merge & paste after current in animation shop
Undo your merge
Hide animation 2 & unhide #3
Merge visible & paste after current in animation shop
Keep doing this until you have all 6 layers pasted
I set my frame properties at 15
View your animation
Save as gif & you're all done!
I hope you enjoyed my tutorial
Your comments are very much appreciated either here on this post or on the chat box. I've made it easy for you to post on this tut by turning off the requirement of having to type in a confirmation code
I would love to post your © compliant result, just email it to me with ATT Sharon & the tut name in the subject line
You'll find my email blinkie on your left
:)


No comments:
Post a Comment
Please keep your language clean, thank you!