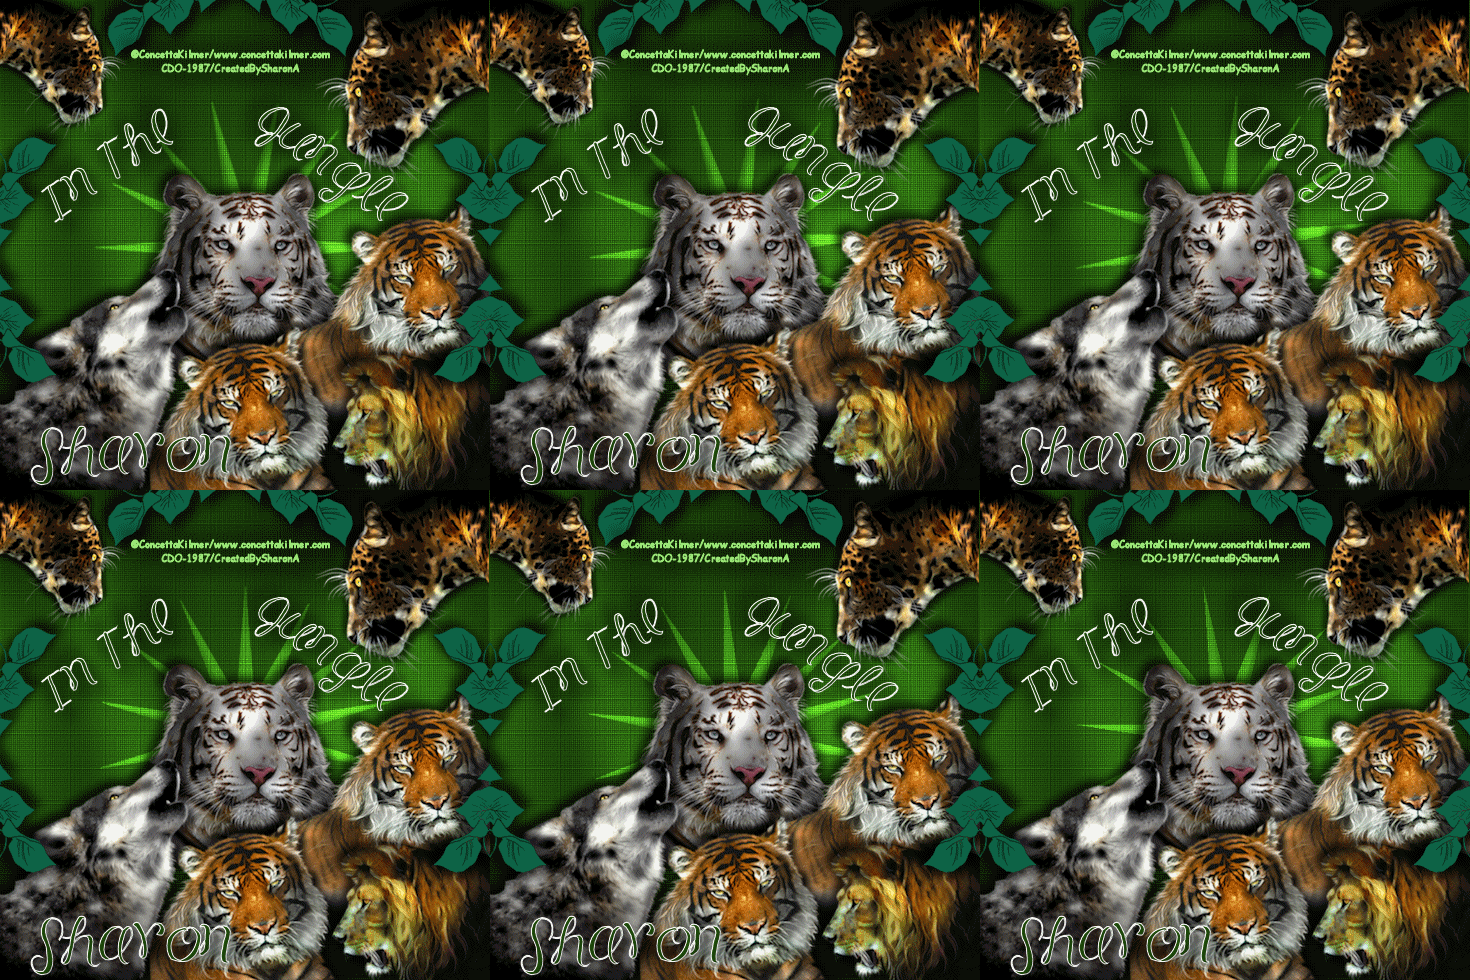
Click for larger view
This tutorial was written by Sharon A on Apr 4, 2012 & is copyright protected
For more info read my TOU
Supplies Needed
Leaf here
Star that I made for this tut here
Plugins
Graphics Plus Cross Shadow
The tubes I used are by Concetta Kilmer, you can purchase these tubes from CDO here
The name of my font is FB Meadow
I used size 60 for my text & size 72 for my name

Open new transparent canvas 700x700, we will resize later
Floodfill with dark green
Apply texture>fine canvas>scale 50, depth 3
Apply graphics plus cross shadow changing the 2 bottom #'s to 100
Paste your tubes, resize as needed and arrange around on your tag
Add drop shadow to each
I duplicated the top left tube, mirrored & resized to 75% and repositioned into the upper right corner
Paste leave as a new layer
Add drop shadow
Position way up so you can see only a little bit of it
Move toward the left
Duplicate & mirror
Merge down
Duplicate & rotate left 90
Duplicate & mirror
Merge these 3 layers
Paste your star as a new layer
Resize to 125%
Add drop shadow
Move star layer to just above your bg layer
Change layer properties to overlay
Duplicate & rotate right 30
Repeat this until you have 6 star layers
Activate the tube you want the mouth to move on
Duplicate
Hide the original
Using your warp tool push up on the mouth
Repeat on the animal you want the ear to move on
Hide both original layers
Resize all layers to 70%
Add your text, name & © info

Animation:
Make sure the original layers of your animation tubes are hidden, keep these hidden until you get to frame 4 of your animation
(Otherwise the animals will be moving too fast)
Hide all star layers except the top one
Merge visible
Copy & paste into animation shop
Undo your merge
Hide star 1 & unhide star 2
Merge & paste after current in animation shop
Undo your merge
Hide star 2 & unhide star 3
Merge visible & paste after current in animation shop
Undo your merge
Hide star 3, unhide star 4
Hide the duplicated animated tube layers & unhide the original layers, keep these 2 open for the rest of your frames
Merge visible & paste after current in animation shop
Undo your merge
Hide star 4 & unhide star 5
Merge visible & paste after current in animation shop
Undo your merge
Hide star 5 & unhide star 6
Merge visible & paste after current in animation shop
I set my frame properties on 15
View your animation
Save as gif & you're all done!
I hope you enjoyed my tutorial
Your comments are very much appreciated either here on this post or on the chat box. I've made it easy for you to post on this tut by turning off the requirement of having to type in a confirmation code
I would love to post your © compliant result, just emaail it to me with ATT Sharon & the tut name in the subject line
You'll find my email blinkie on your left
:)

Result by Kaye W


No comments:
Post a Comment
Please keep your language clean, thank you!