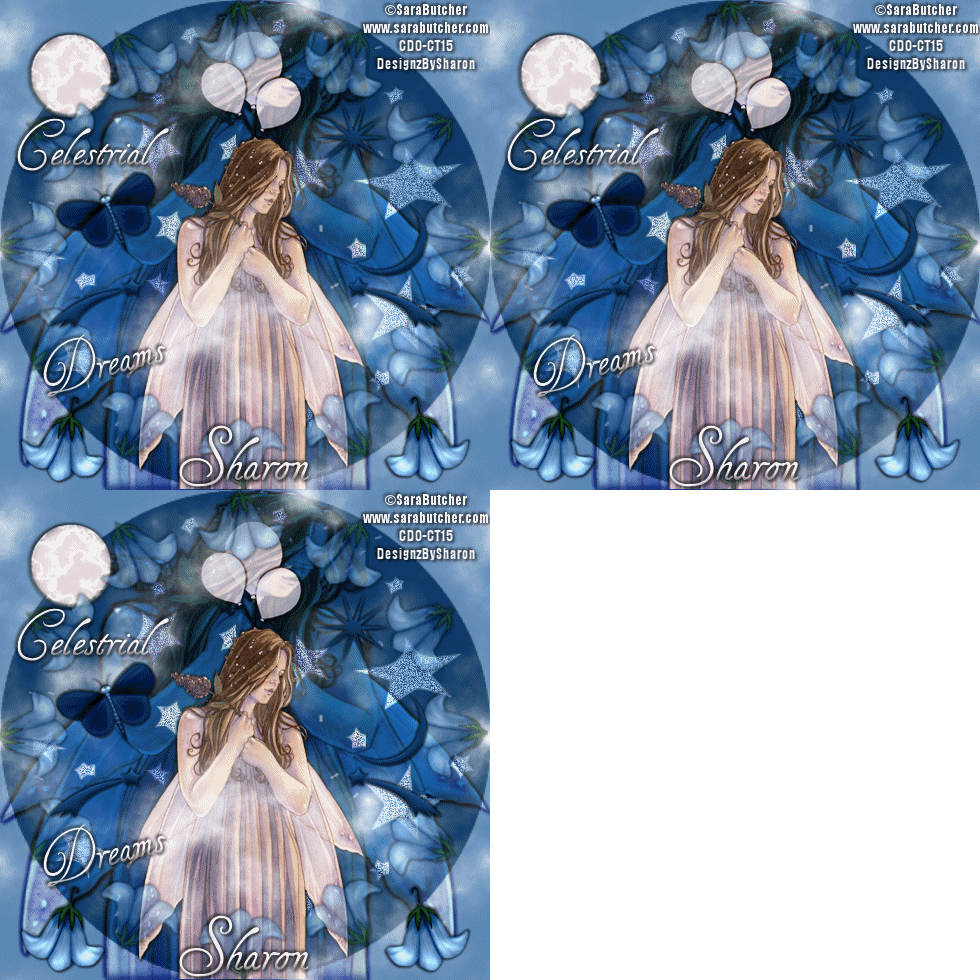
Click for larger view
This tutorial was written by Sharon A on Apr 20, 2012 & is copyright protected
For more info read my TOU
Supplies Needed
Scrapkit Celestrial by me here
Plugins
DSB Flux Bright Noise
Mura Meister Copies
The tube I used Lilac (11-3) is by Sara Butcher, you can purchase this tube from CDO here
The name of my font is Tagettes
I used size 36 & 42
Open new transparent canvas 700x700, we will resize later
Select all
paste paper 17 into selection
Deselect
Using your magic wand, tolerance set on 20 click inside the stars, hold down your shift key
Floodfill the stars with the light blue from your paper
Duplicate 2 times
Apply dsb flux bright noise intenstiy 40, mix checked
Repeat on other 2 layers Changing intensity to 45 & 50
Deselect
Select all
Add a new raster layer
Paste your tube into selection
Change layer properties to overlay
Add an inner bevel & drop shadow
Paste your tube as a new layer
Resize as needed
Add drop shadow
Move to the bottom of your tag
Paste cloud 5 as a new layer
Paste balloon as a new layer
Resize to 35%
Duplicate & resize to 75%
Duplicate again
Rotate one right 30 & the other left 30
Arrange to your liking
Merge & move to below your tube layer
Add drop shadow
Paste moon 1 as a new layer
Resize to 30%
Postion in upper left corner
Add drop shadow
Paste a flower as a new layer, twice
Hide the top one
Erase the stem
Resize to 15%
Apply mura meister copies, encircle
Reszie to 170% & reposition
Change layer opacity to 50
Add drop shadow
Unhide your flower
Resize to 25%
Rotate right 15
Position lower left area
Add drop shadow
Duplicate, mirror & merge down
Paste butterfly as a new layer
Resize to 25%
Rotate left 15
Add drop shadow
Position on the left
Paste star 4 as a new layer
Resize to 30%
Add an inner bevel & drop shadow
Postion on the right
Paste star 8 as a new layer
Resize to 40%
Positon on left
Add an inner bevel & drop shadow
Duplicate, mirror & merge down
Paste moon 3 as a new layer
Resize to 30%
Position on the right
Add an inner bevel & drop shadow
Resize all layers to 70%
Add your text, name & © info
Animation:
Hide animation 2 & 3
Merge visible
Copy & paste into animation shop
Undo your merge
Hide animation 1 & unhide #2
Merge & paste after current in animation shop
Undo your merge
Hide animation 2 & unhide #3
Merge visible & paste after current in animation shop
View your animation
Save as gif & you're all done!
I hope you enjoyed my tutorial
Your comments are very much appreciated either here on this post or on the chat box. I've made it easy for you to post on this tut by turning off the requirement of having to type in a confirmation code
I would love to post your © compliant result, just email it to me with ATT Sharon & the tut name in the subject line
You'll find my email blinkie on your left
:)
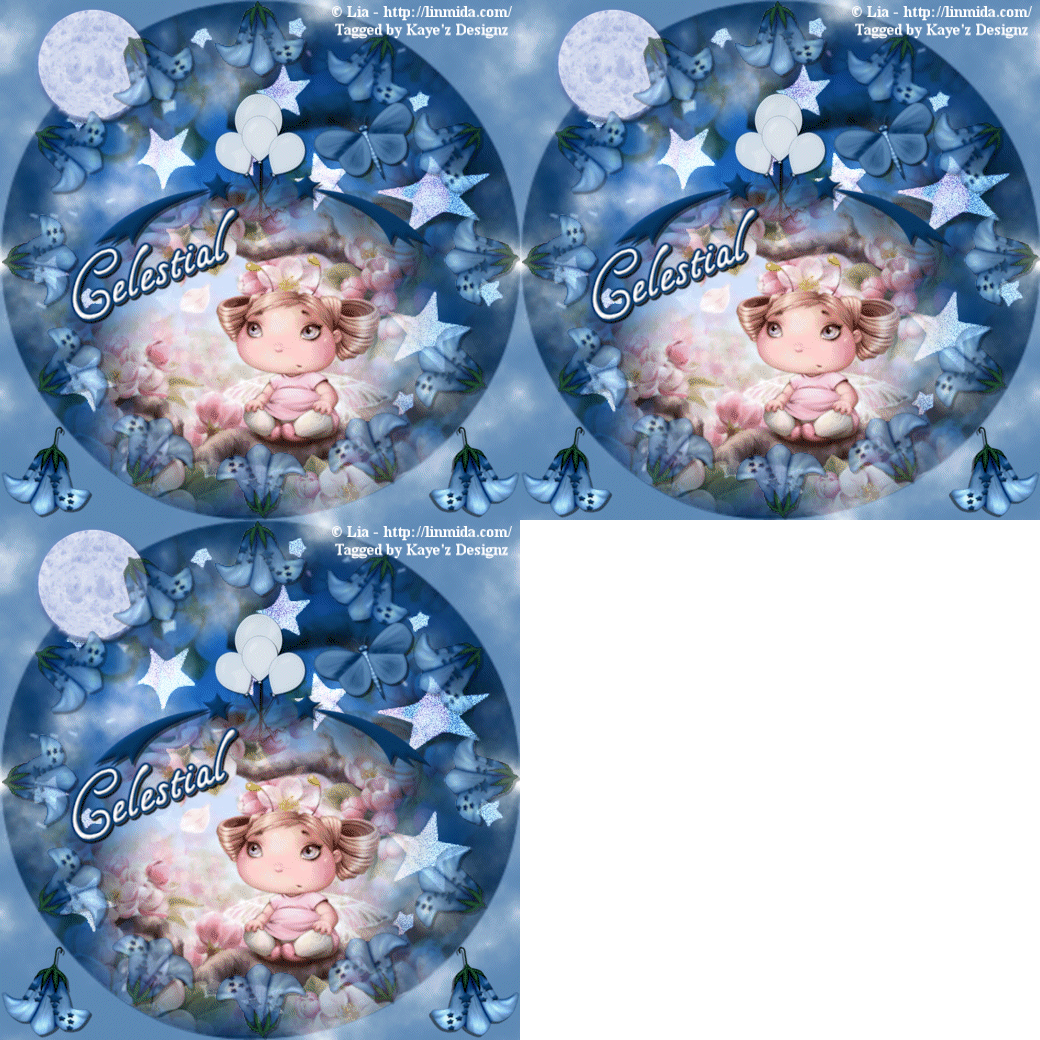
Result by Gloria


No comments:
Post a Comment
Please keep your language clean, thank you!