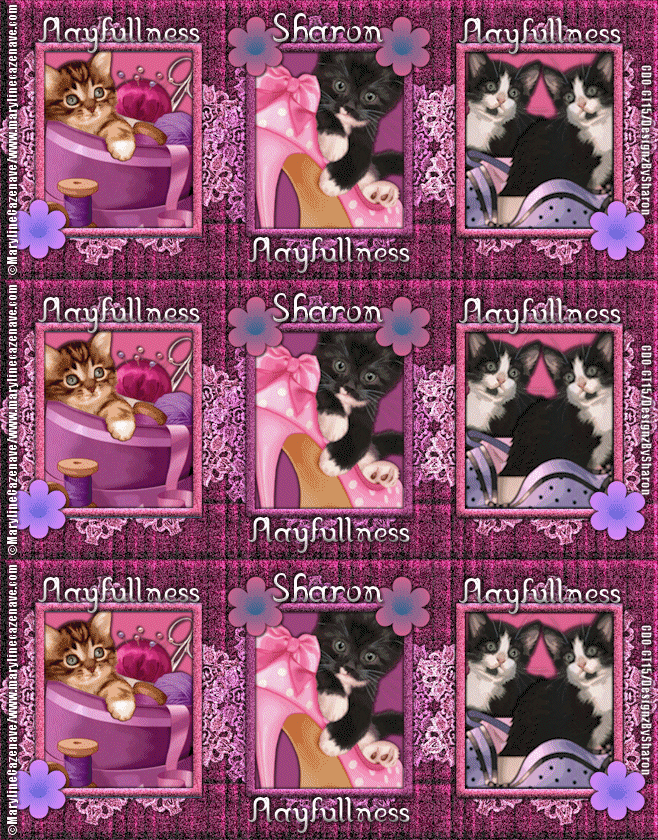
Click for larger view
This tutorial was written by Sharon A on Apr 20, 2012 & is copyright protected
For more info read my TOU
Supplies Needed
Forum Template 62 by me here
Plugins
DSB Flux Bright Noise
The tubes I used 2-2, 3-3 & 5-2 are by Maryline Cazenave, you can purchase these tubes from CDO here
The name of the font I used is Franklin Cascaes
I used size 42 & 48
Open your template, shift D to duplicate. Close original
Delete the credit layer
Floodfill the bg layer with a color from one of your tubes
Add texture with these settings
Apply dsb flux bright noise intensity 75, mix checked
Activate your middle lace layer
Select all>float>defloat
Add a new raster layer
Floodfill with your bg color
Deselect
Change layer properties to hard light
Add drop shadow
Repeat with the other 2 lace layers using another color from another tube
Merge all the lace layers
Duplicate 2 times
Apply dsb flux bright noise intensity 60, mix checked
Repeat on other 2 layers changing intensity to 65 & 70
Activate one of your frame layers
Click inside with your magic wand
Expand 3
Paste your tube as a new layer
Resize as needed and add drop shadow
Position in place
Invert your selection
Delete & deselect
Repeat this with your other 2 frames & tubes
On the right one I duplicated & mirrored before using the magic wand on the frame
Floodfill your middle frame with your bg color
Add an inner bevel & drop shadow
Repeat with the other 2 frames using your 2nd color
Apply dsb flux bright noise to your frames, intensity 45, mix checked
Move flower 1 to the top
Merge down
Select all>float>defloat
Add a new raster layer
Floodfill with your bg color
Deselect
Change layer properties to hard light
Add drop shadow
Merge the other 2 flower layers
Repeat the above steps changing layaer properties to darken
Floodfill your middle square with your bg color
Floodfill the other 2 squares with your 2nd color
Resize all layers to 70%
Add your text, name & © info
Animation:
Hide animation 2 & 3
Merge visible
Copy & paste into animation shop
Undo your merge
Hide animation 1 & unhide #2
Merge & paste after current in animation shop
Undo your merge
Hide animation 2 & unhide #3
Merge visible & paste after current in animation shop
View your animation
Save as gif & you're all done!
I hope you enjoyed my tutorial
Your comments are very much appreciated either here on this post or on the chat box. I've made it easy for you to post on this tut by turning off the requirement of having to type in a confirmation code
I would love to post your © compliant result, just email it to me with ATT Sharon & the tut name in the subject line
You'll find my email blinkie on your left
:)
Result by Kaye W


No comments:
Post a Comment
Please keep your language clean, thank you!