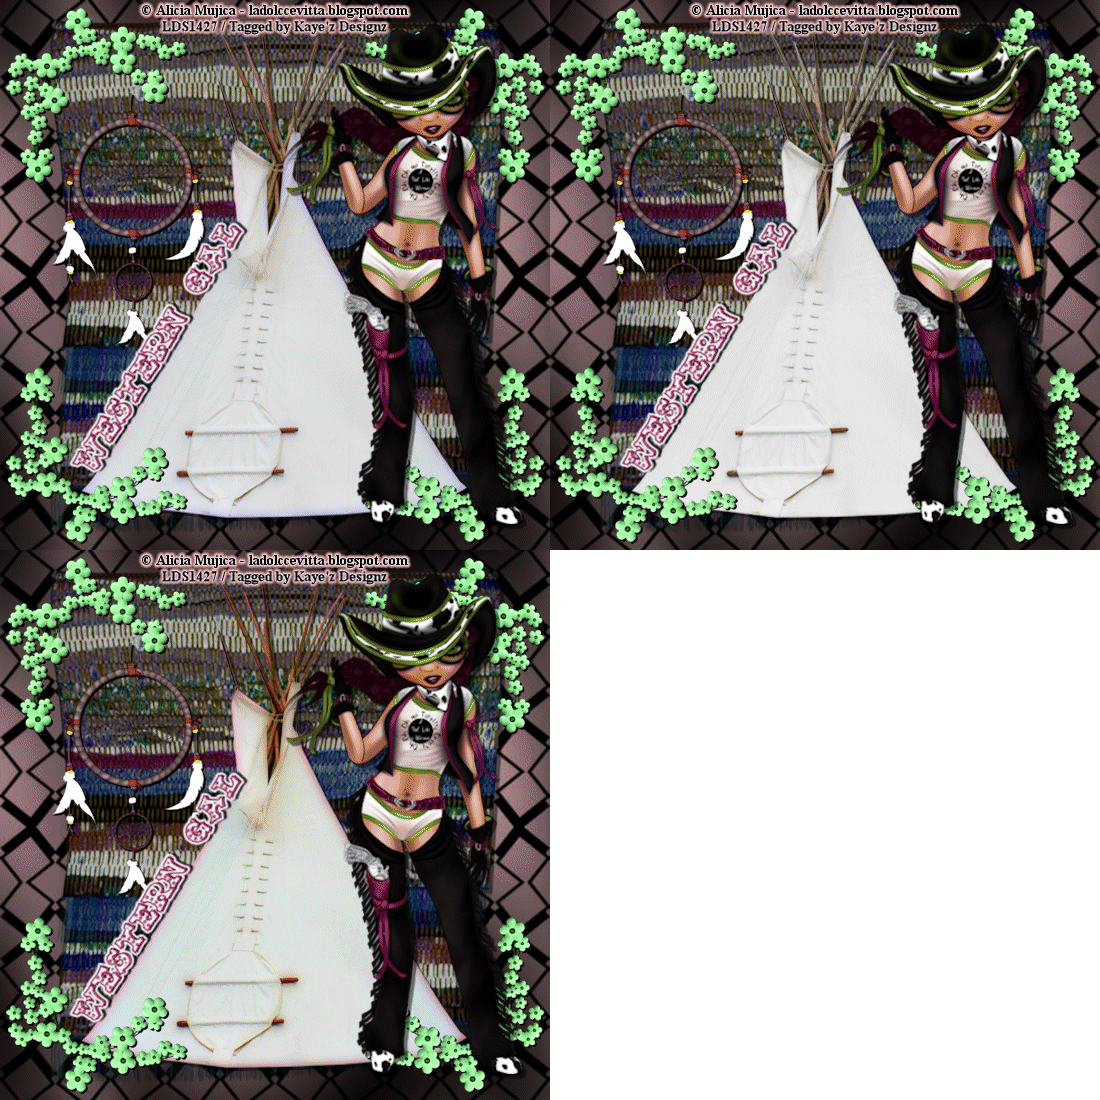
Click for larger view
This tutorial was written by Sharon A on April 1, 2012 & is copyright protected
For more info read my TOU
Supplies Needed
Collab kit Western Gal by me here
Collab kit Western Gal by Jenny, there's a link on the kit post for her part
Plugins
Graphics Plus Cross Shadow
Xero Porcelain
The tube I used Cowgirl is by Anna Liwanag, you can purchase this tube from PTE here
The font I used is called Wild West Wind
I used size 48
Open a new transparent canvas 700x700, we will resize later
Select all
Paste paper 9 from my part into selection
Deselect
Apply graphics plus cross shadow using default settings
From Jenny's part past the blanket as a new layer
Add drop shadow
From Jenny's part paste tepi as a new layer
Add drop shadow
Duplicate 2 times
Apply xero porcelain
Click on the random button until you like what you see
Repeat on other 2 layers
Rename these layers to A1, A2 & A3
Paste your tube as a new layer
Resize as needed
Move to one side & add drop shadow
From my part paste flower doodle as a new layer
Resize to 50%
Add drop shadow
Position upper left corner
Duplicate & mirror
Merge down
Duplicate & flip
Merge down
Change layer properties to hard light
Paste flower pot as a new layer
Resize to 50%
Position lower left corner
Add drop shadow
Paste flowers 6-10 as new layers
I resized them to 30-45% and mirrored some
Arrange over the flower pot
Once you have them in place merge the flowers
Move to below the flower pot layer
Merge down
Resize to 75%
Move to below the flower doodle layer
Paste dream catcher as a new layer
Resize to 50%
Position upper right corner
Add an inner bevel
Add drop shadow, twice
Move to below the flower doodle layer
Paste keychain 1 as a new layer
Resize to 75%
Position upper left corner
Add drop shadow
Paste flowers 1-5 as new layers
Resize to 25%
Add drop shadow
Position in various areas of your tag
Resize all layers to 70%
Add your text, name & © info
Animation:
Hide animation 2 & 3
Merge visible
Copy & paste into animation shop
Undo your merge
Hide animation 1 & unhide #2
Merge & paste after current in animation shop
Undo your merge
Hide animation 2 & unhide #3
Merge visible & paste after current in animation shop
View your animation
Save as gif & you're all done!
I hope you enjoyed my tutorial
Your comments are very much appreciated either here on this post or on the chat box. I've made it easy for you to post on this tut by turning off the requirement of having to type in a confirmation code
I would love to post your © compliant result, just emaail it to me with ATT Sharon & the tut name in the subject line
You'll find my email blinkie on your left
:)
Result by Kaye W


No comments:
Post a Comment
Please keep your language clean, thank you!