Monday, April 30, 2012

Hawaiin Mermaid

Click for larger view

This tutorial was written by Sharon A on Apr 30, 2012 & is copyright protected
For more info read my TOU

Supplies Needed
A photo of your choice
You'll need it to be wide with a lower height
The one I used is # 4-8 by Hawaiin Cowgirl
You can purchase her photos at CDO here

Flower I made for this tut here

Plugins
DSB Flux Bright Noise

The tube I used Fishy Femme (66-1) is by Ed Mironiuk, you can purchase this tube from CDO here

The name of the font I used is A Yummy Apology
I used size 60


Open new transparent canvas 930x375, we will resize later
Select all
Paste your photo into selection
Deselect
Adjust>gaussian blur>radius 6

Paste your photo as a new layer
Resize if needed, I resized the height to 75% and repositioned back into place
Add an inner bevel & drop shadow

Paste your tube as a new layer
Resize as needed and add drop shadow
Position at the bottom of your photo
Zoom in on the tail (or whatever its called lol)

Using your freehand selection tool select around the tail
Copy, cut & deselect
Paste as a new layer & postion back into place
Rename this layer to tail

Duplicate & rotate left 25
Position back into place
Use your clone tool to cover the gap
Rename to left tail

Back on your original tail
Duplicate & rotate right 25
Position back into place
Use your clone tool to cover the gap
Rename to right tail

I moved my tube to above the tail layers & nudged her to the right to help cover my imperfect cloning

Paste your flower as a new layer
Resize to 50%
Add drop shadow
Duplicate & hide the original

Position on the lower left corner of your photo
Duplicate, mirror & merge down
Duplicate, move to top of your photo & merge down

Unhide your flower
Resize to 75%
Position on one side
Duplicate, mirror & merge down

Duplicate your bg layer
Move to the top
Select all
Contract 12
Delete & deselect
Add an inner bevel & drop shadow
Apply dsb flux bright noise intensity 75, mix checked

Resize all layers to 70%

Add your text, name & © info


Animation:

Hide left & right tails
Merge visible
Copy & paste into animation shop

Undo your merge
Hide tail & uhide left tail
Merge & paste after current in animation shop

Copy frame 1 & paste after frame 2

Undo your merge
Hide left tail & unhide right tail
Merge visible & paste after current in animation shop

I set my frame properties at 45

View your animation

Save as gif & you're all done!

I hope you enjoyed my tutorial

Your comments are very much appreciated either here on this post or on the chat box.  I've made it easy for you to post on this tut by turning off the requirement of having to type in a confirmation code

I would love to post your © compliant result, just email it to me with ATT Sharon & the tut name in the subject line

You'll find my email blinkie on your left

:)


Result by Kaye W


Angel With Horns


Click for larger view

This tutorial was written by Sharon A on April 30, 2012 & is copyright protected
For more info read my TOU

Supplies Needed
Supplies here

The tube I used Devious is a free tube by Lady Mishka, you can get this tube from PFD here

The name of my font is Tamborine
I used size 60


Open a new transparent canvas 930x375, we will resize later
Floodfill with a color from your tube
Add texture with these settings


Add a new raster layer
Select all
Paste your flower into selection
Deselect
Change layer properties to luminance legacy
Add drop shadow

Paste your tube as a new layer
Resize as needed
Position in a lower corner
Add drop shadow
Duplicate & mirror

Paste your lace as a new layer
Resize to 56%
Position in upper right corner
Duplicate, mirror & merge down
Add drop shadow
Move up so only the lacey part is showing, see my tag
Select around your tag with your selection tool
Crop to selection
Duplicate your lace
Flip & merge down

Paste your floral swirl as a new layer
Duplicate & rotate right 30
Repeat this 8 more times
You'll have 10 swirl layers

Resize all layers to 70%

Add your text, name & © info


Animation:

Hide all your swirl layers except the top one
Merge visible
Copy & paste into animation shop

Undo your merge
Hide your top swirl & unhide your second one
Merge & paste after current in animation shop

Repeat until you have all 10 frames pasted

Select all your frames & copy
Activate your last frame
Paste after current
Repeat 2 more times
You'll have 40 frames

Reverse the last 10 frames and change frame properties to 3

View your animation

Save as gif & you're all done!

I hope you enjoyed my tutorial

Your comments are very much appreciated either here on this post or on the chat box.  I've made it easy for you to post on this tut by turning off the requirement of having to type in a confirmation code

I would love to post your © compliant result, just email it to me with ATT Sharon & the tut name in the subject line

You'll find my email blinkie on your left

:)


Result by Kaye W


Sunday, April 29, 2012

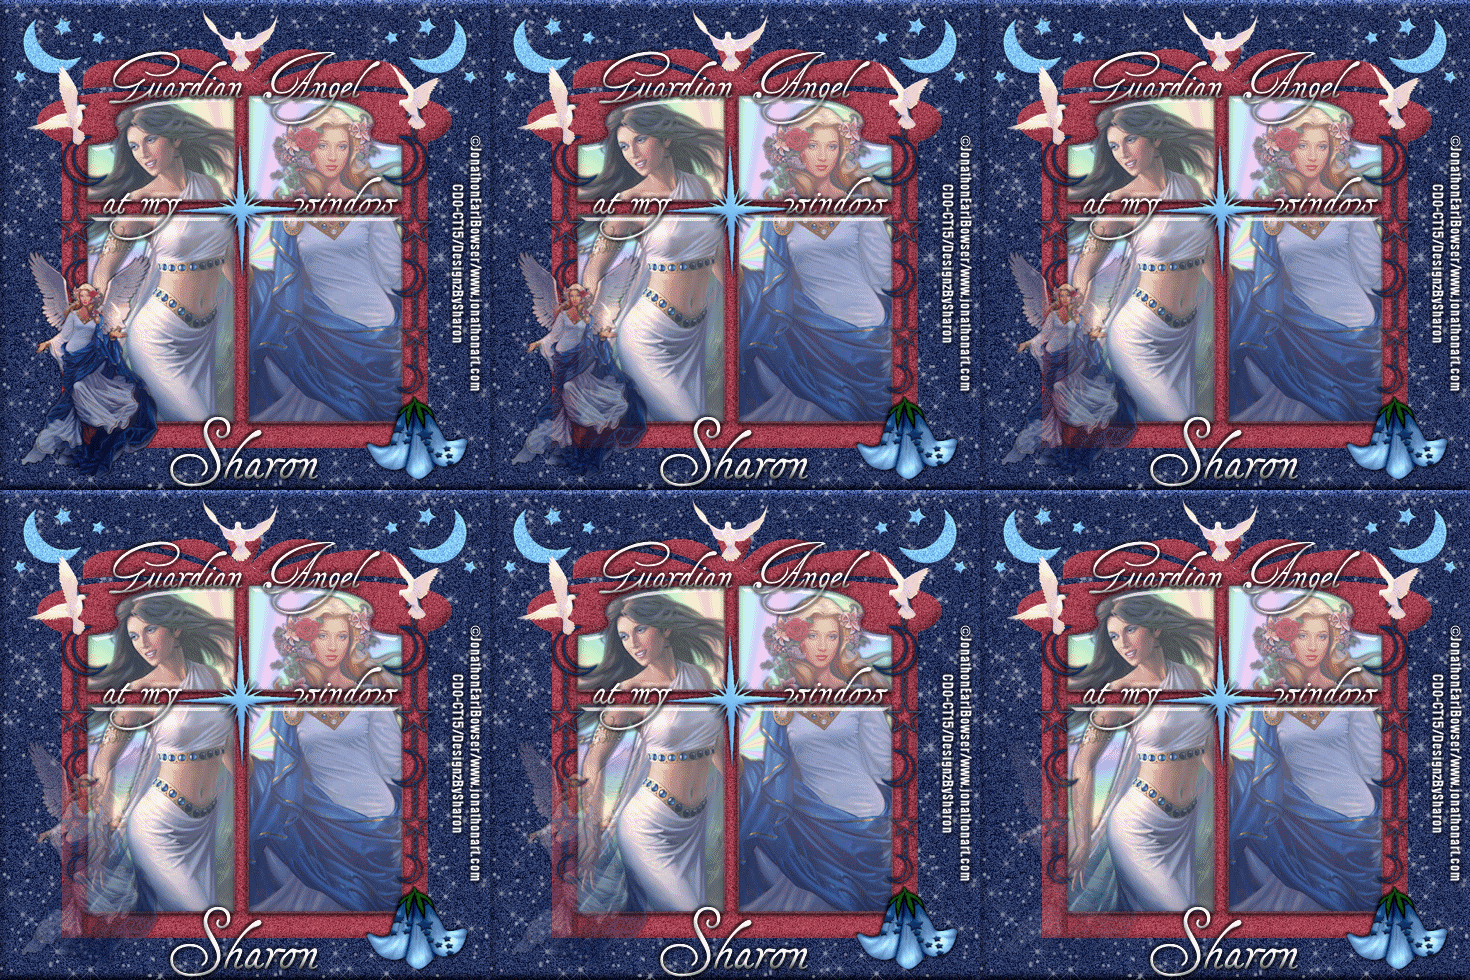
Guardian Angel At My Window

Click for larger view

This tutorial was written by Sharon A on Apr 29, 2012 & is copyright protected
For more info read my TOU

Supplies Needed
Celestial scrapkit by me here

Plugins
DSB Flux Bright Noise
Eyecandy glass
Xenofex Constellation

The tubes I used Tides (1-2) & Celestial (2-1) are by Jonathon Earl Bowser, you can purchase these tubes from CDO here

The name of my font is Tagettes
I used size 36 & 48


Open new transparent canvas 700x700, we will resize later
Floodfill with dark blue
Add an inner bevel
Apply bright noise intensity 50, mix checked
Apply contellation
Settings>medium>keep original image checked

Paste your window as a new layer
Holding down your shift key select all 4 winow panes with your magic wand
Expand 3

Add a new raster layer
Floodfill with a rainbow gradient
I set mine on radial, angle 45, repeats 12
Move to below your frame
Do Not Deselect

Paste your first tube as a new layer
Resize as needed
Add drop shadow
Position on left side of the windown

Paste your second tube as a new layer
Repeat what you did with the first one
Position on right side of window
Merge down
Invert your selection
Delete & deselect

Apply bright noise to your window intensity 35, mix checked

Holding down your shift key click inside the window panes again
Expand 3
Add a new raster layer

Apply eyecandy glass
Settings>clear
Lighting>click on select from file>sky sun & dusk
Deselect

Paste moon & stars 2 as a new layer
Floodfill with a sky blue
Resize to 40%
Add an inner bevel & drop shadow
Position in the upper left corner
Duplicate, mirror & merge down
Repeat bright noise changing intensity to 40, mix checked

Paste moon & star chain as a new layer
Resize to 50%
Position on right side of your window
Add drop shadow
Duplicate & mirror

If you're using the same tube as I am:
Paste layer 7 from your tube as a new layer
Resize to 50%

Select around the lower left dove
Copy, cut & deselect
Paste as a new layer
Position at the upper left of your frame covering the top of your moon & star chain

Repeat with the lower right dove
Position on upper right of your frame

Move the remaining dove to the very top of your window frame

If you're using a different tube then you can subsititute the doves with something else

Paste flower 5 as a new layer
Erase the hook
Resize to 30%
Position on lower right corner of your window
Add drop shadow

Paste flare 3 as a new layer
Floodfill with your sky blue
Resize to 60%
Position on your window as shown on my tag
Add an inner bevel & drop shadow

Paste your angel as a new layer
Resize as needed to make her small
Position on the bottom left of your window frame
Add drop shadow

Duplicate
Change layer opacity to 90

Keep duplicating decreasing layer opacity by 10 until you're down to 20
You'll have 9 angel layers

Resize all layers to 70%

Add your text, name & © info


Animation:

Hide all your angel layers except the bottom one
Merge visible
Paste into animation shop

Hide your bottom angel & unhide the next one up
Merge visible & paste after current in animation shop

Keep doing this until all 9 frames are pasted

I changed the frame properties on frames 2 - 8 at 45
Frames 1 & 9 at 90

View your animation

Save as gif & you're all done!

I hope you enjoyed my tutorial

Your comments are very much appreciated either here on this post or on the chat box.  I've made it easy for you to post on this tut by turning off the requirement of having to type in a confirmation code

I would love to post your © compliant result, just email it to me with ATT Sharon & the tut name in the subject line

You'll find my email blinkie on your left

:)


Result by Kaye W


Leather & Lace

Click for larger view

This tutorial was written by Sharon A on Apr 29, 2012 & is copyright protected
For more info read my TOU

Supplies Needed
Forum Template 65 by me here

Plugins
Plugins 08 AB Wire Meshings
Xenofex Constellation

The tube I used Tiamat (45-3) is by Jamie Kidd, you can purchase this tube from CDO here

The name of the font I used is Tagettes
I used size 42


Open your template, shift D to duplicate & close original
Delete credit layer

Activate your bg layer
Add a new raster layer
Floodfill with red
Layer properties>color

Activate your lace layer
Layer properties>dodge
Duplicate & merge down
Add drop shadow

Floodfill your rectangle & squares with dark red
Apply wire meshings using default settings

Change layer properties on your center, left & right flowers to hard light
Add drop shadow

Activate your left frame
Floodfill with dark red
Add an inner bevel & drop shadow

Click inside the frame with your magic wand
Paste your close up tube as a new layer
Resize as needed and add drop shadow
Position into place
Invert your selection
Delete & deselect
Add drop shadow
Move to below your frame

Duplicate & mirror your tube

Floodfill your middle frame with dark red
Add an inner bevel & drop shadow

Paste your main tube as a new layer
Resize as needed & add drop shadow

Floodfill your right frame with dark red
Add an inner bevel & drop shadow

Merge your butterflies
Select all>float>defloat
Add a new raster layer
Floodfill with dark red
Deselect
Layer properties>overlay
Merge down & add drop shadow

Repeat with your frame flowers
Layer properties>color

Move your left & center frames up to the right frame
Merge all 3
Duplicate 2 times
Apply constellation
Settings>star field>keep original image checked
Repeat on other 2 layers clicking the random seed button each time

Resize all layers to 70%

Add your text, name & © info


Animation:

Hide animation 2 & 3
Merge visible
Copy & paste into animation shop

Undo your merge
Hide animation 1 & unhide #2
Merge & paste after current in animation shop

Undo your merge
Hide animation 2 & unhide #3
Merge visible & paste after current in animation shop

View your animation

Save as gif & you're all done!

I hope you enjoyed my tutorial

Your comments are very much appreciated either here on this post or on the chat box.  I've made it easy for you to post on this tut by turning off the requirement of having to type in a confirmation code

I would love to post your © compliant result, just email it to me with ATT Sharon & the tut name in the subject line

You'll find my email blinkie on your left

:)


Result by Kaye W


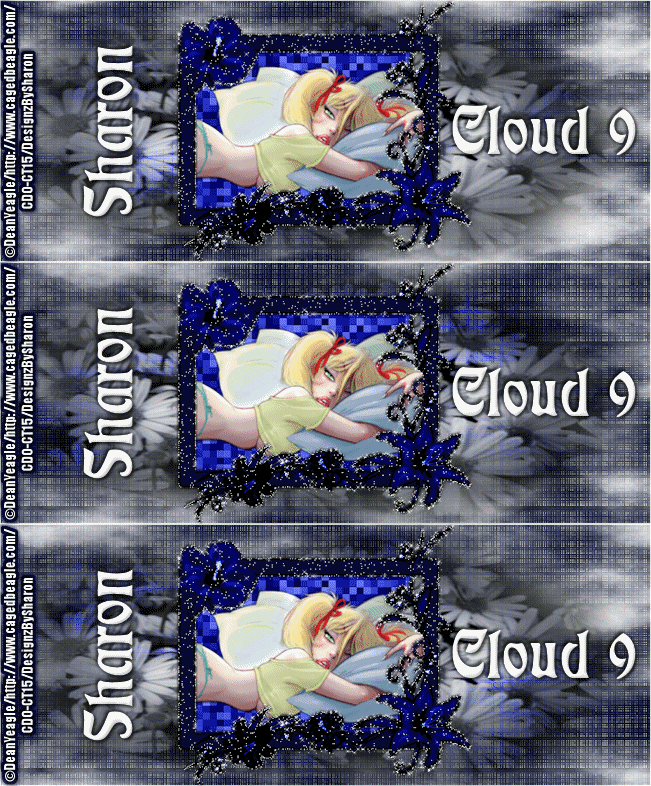
Cloud 9

Click for larger view

This tutorial was written by Sharon A on Apr 29, 2012 & is copyright protected
For more info read my TOU

Supplies Needed
Frame by me here
Flowers here

Plugins
Mura Meister Cloud
Xero Fritillary
Xenofex constellation

The tube I used Mmmm (22-3) is by Dean Yeagle, you can purchase this tube from CDO here

The name of the font I used is Tamborine
I used size 72


Open new transparent canvas 930x375, we will resize later
Floodfill with dark blue
Add texture with these settings


Add a new raster layer
Apply mura meister cloud
Preset menu>thin clouds>bg unchecked

Repeat 2 more times decreasing amount by 1 each time

Add a new raster layer
Select all
Paste flowers into selection
Deselect
Layer properties>luminance
Add drop shadow

Paste your frame as a new layer
Resize to 55%
Click inside with your magic wand
Floodfill with your a ligher shade of your bg color
Apply xero fritillary changing the top # to 10 & the bottom # to 100

Activate your frame layer
Select all>float>defloat
Floodfill with your last color
Layer properties>dodge
Merge down
Add an inner bevel & drop shadow
Do Not Deselect

Paste your tube as a new layer
Resize as needed and add drop shadow

Apply constellation to your frame
Settings>small star constellation>keep original image checked

Resize all layers to 70%

Add your text, name & © info


Animation:

Hide animation 2 & 3
Merge visible
Copy & paste into animation shop

Undo your merge
Hide animation 1 & unhide #2
Merge & paste after current in animation shop

Undo your merge
Hide animation 2 & unhide #3
Merge visible & paste after current in animation shop

I set my frame properties at 45

View your animation

Save as gif & you're all done!

I hope you enjoyed my tutorial

Your comments are very much appreciated either here on this post or on the chat box.  I've made it easy for you to post on this tut by turning off the requirement of having to type in a confirmation code

I would love to post your © compliant result, just email it to me with ATT Sharon & the tut name in the subject line

You'll find my email blinkie on your left

:)


Result by Kaye W


Waiting for the Rain

Click for larger view

This tutorial was written by Sharon A on April 29, 2012 & is copyright protected
For more info read my TOU

Supplies Needed
Forum Template 65 by me here

Plugins
Plugins AB 08 Wire Meshings
Xenofex Constellation

The tube I used Waiting for the Rain (PTE4758) is by Unholy Vault Designs, you can purchase this tube from PTE here

The name of my font is A Yummy Apology
I used size 48 & 60


Open your template, shift D to duplicate & close original
Delete credit, left & right flower layers

Activate your bg layer
Add a new raster layer
Floodfill with a very dark pink
Layer properties>color

Change layer properties on your lace layer to dodge
Add an inner bevel & drop shadow

Activate your rectangle
Floodfill with your bg color
Apply wire meshings using default settings

Change layer properties on your center flower to luminance legacy
Add drop shadow

Activate your large frame
Floodfill with your bg color
Add an inner bevel & drop shadow
Click  inside with your magic wand
Expand 3

Paste your main tube as a new layer
Resize as needed, line up with the bottom of the frame
Add drop shadow
Move to above your right frame layer

Activate your left square
Floodfill with your bg color

Activate your left frame
Floodfill with your bg color
Add an inner bevel & drop shadow
Click inside with your magic wand
Expand 3

Paste your close up tube as a new layer
Resize as needed
Invert your selection
Delete & deselect
Add drop shadow
Duplicate & mirror

Floodfill your right square with your bg color
Add an inner bevel & drop shadow

Activate your left butterfly
Select all>float>defloat
Add a new raster layer
Floodfill with your bg color
Deselect
Layer properties>color
Merge down & add drop shadow

Repeat with your right butterfly

Repeat with your frame flowers
Layer properties>color

Repeat with your L & R frame flowers
Merge the 2 layers first
Layer properties>dodge

Move your large & left frames up to the right frame layer
Merge the 3 frames
Duplicate 2 times
Apply constellation
Settings>star field>keep original image checked
Repeat on other 2 layers clicking the random seed button each time

Resize all layers to 70%

Add your text, name & © info


Animation:

Hide animation 2 & 3
Merge visible
Copy & paste into animation shop

Undo your merge
Hide animation 1 & unhide #2
Merge & paste after current in animation shop

Undo your merge
Hide animation 2 & unhide #3
Merge visible & paste after current in animation shop

View your animation

Save as gif & you're all done!

I hope you enjoyed my tutorial

Your comments are very much appreciated either here on this post or on the chat box.  I've made it easy for you to post on this tut by turning off the requirement of having to type in a confirmation code

I would love to post your © compliant result, just email it to me with ATT Sharon & the tut name in the subject line

You'll find my email blinkie on your left

:)


 Result by Kaye W


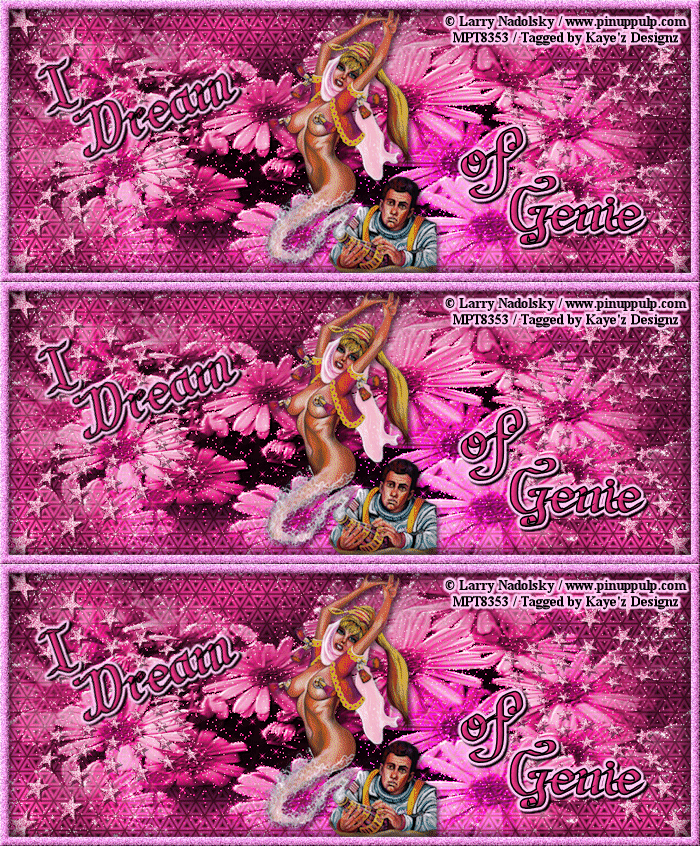
I Dream of Genie

Click for larger view

This tutorial was written by Sharon A on April 28, 2012 & is copyright protected
For more info read my TOU

Supplies Needed
Stars by me here
It's in my celestrial scrapkit if you have it
Flower here

Plugins
Tramages Hex Lattice
Graphics Plus Cross Shadow
DSB Flux Bright Noise
Eyecandy Nature

The tube I used Genie (PTE1453) is by Elias Chatzoudis, you can purchase this tube from PTE here

The name of my font is Artesanias


Open a new transparent canvas 930x375, we will resize later
Floodfill with a color from your tube
Apply hex lattice, change the top # to 30 & the 2nd # to 100
Apply cross shadow changing the 2 bottom #'s to 90

Add a new raster layer
Select all
Paste flower into selection
Deselect
Layer properties>luminance
Apply constellation
Settings>small star constellation>keep original image checked

Paste your stars as a new layer
Floodfill with a lighter shade of your color
Resize to 75%
Position in lower right corner
Add an inner bevel & drop shadow
Duplicate, flip & merge down
Duplicate, mirror & merge down
Apply bright noise intensity 75, mix checked

Paste your tube as a new layer
Resize as needed
Add drop shadow

Using your freehand selection tool select around the lamp
Copy, cut & deselect
Paste as new layer
Position back into place
Select around the spout

Duplicate 2 times
Apply eyecandy nature smoke
Settings>large expanding breeze with these settings


Repeat on other 2 layers clicking the random seed button each time

Add a new raster layer
Select all
Floodfill with your bg color
Contract 12
Delete & deselect
Add inner bevel & drop shadow
Repeat bright noise changing intensity to 50

Resize all layers to 70%

Add your text, name & © info


Animation:

Hide animation 2 & 3
Merge visible
Copy & paste into animation shop

Undo your merge
Hide animation 1 & unhide #2
Merge & paste after current in animation shop

Undo your merge
Hide animation 2 & unhide #3
Merge visible & paste after current in animation shop

View your animation

Save as gif & you're all done!

I hope you enjoyed my tutorial

Your comments are very much appreciated either here on this post or on the chat box.  I've made it easy for you to post on this tut by turning off the requirement of having to type in a confirmation code

I would love to post your © compliant result, just email it to me with ATT Sharon & the tut name in the subject line

You'll find my email blinkie on your left

:)


Result by Kaye W


Saturday, April 28, 2012

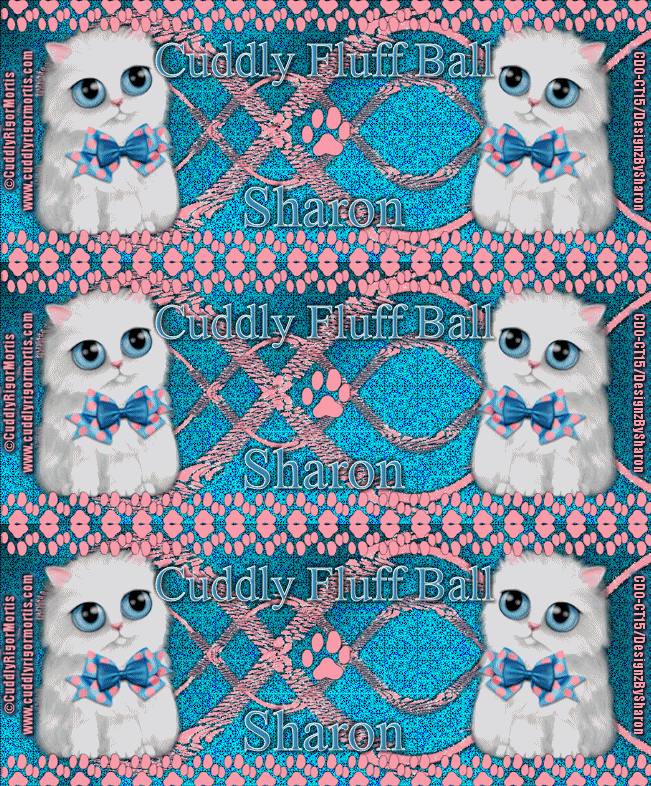
Cuddly Fluff Ball

Click for larger view

This tutorial was written by Sharon A on Apr 28, 2012 & is copyright protected
For more info read my TOU

Supplies Needed
Paw Print by me here

Plugins
Harrys Filters 4.0
Graphics Plus Cross Shadow
Xenofex Constellation
Mura Meister Copies

The tube I used 54-3 is by Cuddly Rigor Mortis, you can purchase this tube from CDO here

The name of the font I used is Applejuiced
I used size 60 & 72


Open new transparent canvas 930x375, we will resize later
Floodfill with a color from your tube
Apply harrys filters with these settings


Apply graphics plus cross shadow changing the 2 bottom #'s to 70

Paste your paw print as a new layer
Floodfill with another color from your tube
Add drop shadow
Duplicate & hide original

Resize to 40%
Apply mura meister copies>line>number 21
Duplicate & hide original

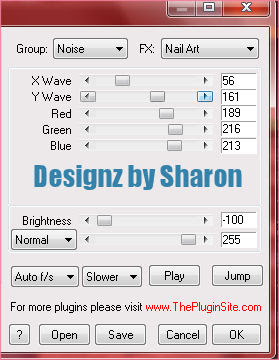
Effects>distortion effects>wave
Use these settings


Duplicate, flip & merge down
Duplicate, resize to 50%, flip, mirror & merge down
Add drop shadow

Duplicate 2 times
Apply constellation
Settings>small star constellation>keep original image checked
Repeat on other 2 layers clicking the random seed button each time

Paste your tube as a new layer
Resize as needed and add drop shadow
Position in a lower corner
Duplicate & mirror

Unhide your paw line
Move to the bottom of your tag
Duplicate, flip & merge down

Unhide your original paw print
Resize to 60%

Resize all layers to 70%

Add your text, name & © info


Animation:

Hide animation 2 & 3
Merge visible
Copy & paste into animation shop

Undo your merge
Hide animation 1 & unhide #2
Merge & paste after current in animation shop

Undo your merge
Hide animation 2 & unhide #3
Merge visible & paste after current in animation shop

View your animation

Save as gif & you're all done!

I hope you enjoyed my tutorial

Your comments are very much appreciated either here on this post or on the chat box.  I've made it easy for you to post on this tut by turning off the requirement of having to type in a confirmation code

I would love to post your © compliant result, just email it to me with ATT Sharon & the tut name in the subject line

You'll find my email blinkie on your left

:)


Result by Kaye W


Her Royal Highness

Click for larger view

This tutorial was written by Sharon A on Apr 28, 2012 & is copyright protected
For more info read my TOU

Supplies Needed
Scrapkit Her Royal Highness by Twinky here

Plugins
Graphics Plus Cross Shadow
Eyecandy Glass
Eyecandy Texture Noise

The tube I used Pinky (50-3) is by Cuddly Rigor Mortis, you can purchase this tube from CDO here

The name of the font I used is Tamborine
I used size 48 & 60


Open new transparent canvas 930x375, we will resize later

Open paper 8 and minimize
Activate your patterns, select your paper, scale 50
Floodfill your bg layer
Apply graphic plus cross shadow changing the 2 bottom #'s to 70

Paste triple gold frame as a new layer
Using your magic wand, hold down the shift key & click inside all 3 frames
Expand 3
Add a new raster layer

Open paper 12
Resize to 50%
Copy & close without saving
Paste into selection
Deselect
Move to below your frame layer

Click inside the middle frame with your magic wand
Expand 3
Paste your tube into selection
Deselect
Move to below your frame

Paste your tube as a new layer
Resize to fit side frames and add drop shadow
Duplicate, mirror & merge down
Move to below your frame

Add an inner bevel & drop shadow to your frame

Click inside all 3 frames again with your magic wand
Expand 3
Apply eyecandy glass using default settings
Deselect

Paste bow 3 as a new layer
Resize to 25%
Position at the top of your middle frame
Add drop shadow

Paste flower 2 as a new layer
Resize to 20%
Add drop shadow
Position on a corner of your frame
Duplicate, mirror & merge down
Duplicate, flip & merge down

Duplicate 2 times
Apply eyecandy texture noise
Settings>smooth fractal noise
Repeat on other 2 layers clicking the random seed button each time

Resize all layers to 70%

Add your text, name & © info


Animation:

Hide animation 2 & 3
Merge visible
Copy & paste into animation shop

Undo your merge
Hide animation 1 & unhide #2
Merge & paste after current in animation shop

Undo your merge
Hide animation 2 & unhide #3
Merge visible & paste after current in animation shop

View your animation

Save as gif & you're all done!

I hope you enjoyed my tutorial

Your comments are very much appreciated either here on this post or on the chat box.  I've made it easy for you to post on this tut by turning off the requirement of having to type in a confirmation code

I would love to post your © compliant result, just email it to me with ATT Sharon & the tut name in the subject line

You'll find my email blinkie on your left

:)


Result by Kaye W