
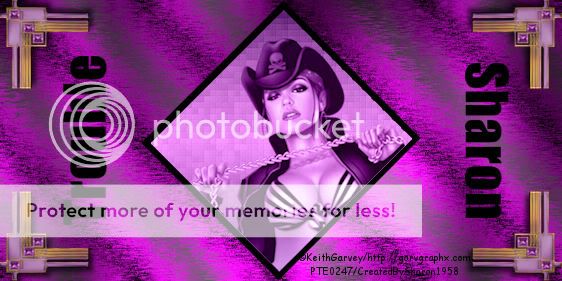
Click for larger view
This tutorial was written by Sharon on June 28, 2011
For more info read my TOU
Supplies Needed
Template 17 by Judith here
Plugins
Eyecandy 4 HSB Noise
Screenworks Dot Screen
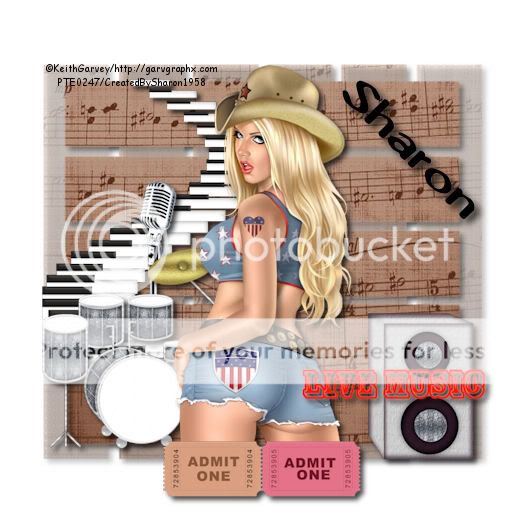
The tubes I used are by Keith Garvey, you will need a license to use which you can purchase from PTE here
Open template, shift D to duplicate. Close original
Resize to 20%
Delete credit layer
Activate paper 2 and floodfill with a green pattern
Floodfill paper 1 & Line 1 with a pink pattern
On paper 1 Apply eyecandy HSB Noise, default settings, change pattern to smooth fractual
Floodfill line 2 with a green gradient or color
Apply eyecandy HSB Noise, same settings as above
Activate large circle
Effects>Texture Effects>Blinds, width 5, opacity 20, color black, horizontal UNchecked
Apply same blind effects on photo 1 & 2, change width to 4 and check horizontal
On frames 1 & 2 apply inner bevel using bevel #3 width 3
Activate one of the frame layers
Using your magic wand click inside the frame
Expand 3
Paste your tube as a new layer
Resize as needed
Invert your selection
Delete
Deselect
Repeat for the other frame
Add a drop shadow to the branch layers
Floodfill Swirl with green, add a drop shadow
Apply screenworks Dot Screen
Resize all layers to 70%
Add your © info & name
Merge all layers
Save as jpg and you're all done!
Thank you for trying my tutorial
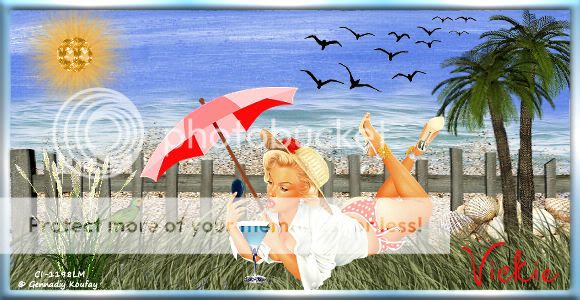
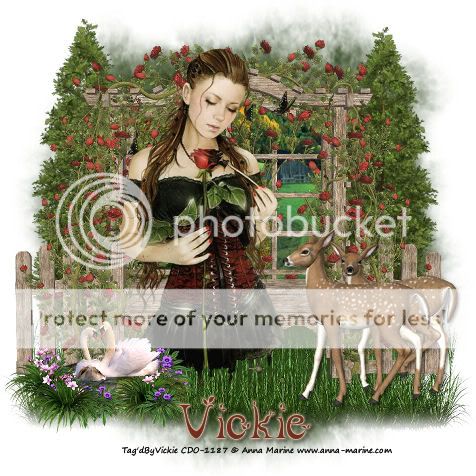
I would love to post your result, just email it to me
:)


