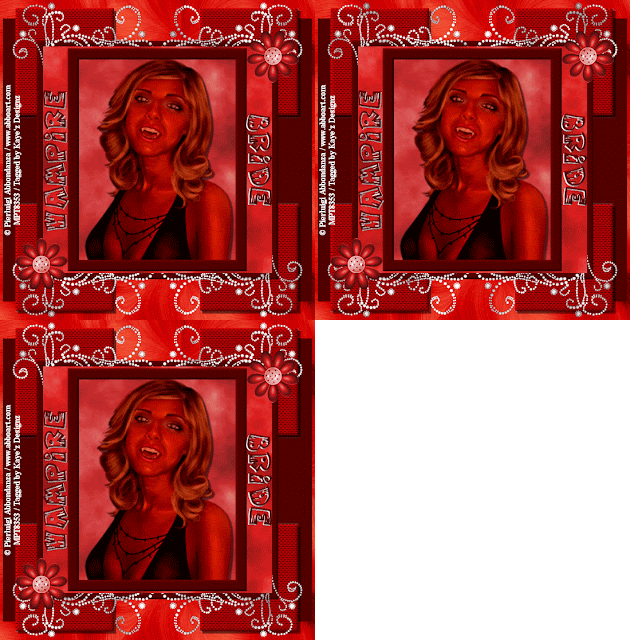
Click for larger view
This tutorial was written by Sharon A on March 26, 2012
For more info read my TOU
Supplies Needed
Template # 141 by me here
It has the flowers & deco
Plugins
DSB Flux Bright Noise
Screenworks Chain Link
Xenofex Constellation
Eyecandy 4 HSB Noise
The tube I used Vampire Bride is by Maxine Gadd, you can purchase this tube from PTE here
The font I used is called Vampiress
Open your template, shift D to duplicate & close original
Delete credit layer
Paste your tube as a new layer
Resize as needed
Add drop shadow
Pick a color for your foreground from your tube or use black
Activate your rectangle shape tool, width 25
Draw a rectangle around your tube
Add an inner bevel
Click inside the frame with your magic wand
Expand 3
On your tube layer invert your selection
Delete
Do Not Deselect
Back to your frame layer
Add a new raster layer
Floodfill with a darker shade of your color
Move to below your tube layer
Add a drop shadow to your frame
Activate square 1
Floodfill with a lighter color from your tube
Apply dsb flux bright noise, intensity 60, mix checked
Floodfill square 2 with the same color as your frame
Add an inner bevel & drop shadow
Floodfill small squares your 1st tube color
Apply screenworks chain link
Add an inner bevel & drop shadow
Activate the rectangles layer
Floodfill with your frame color
Apply xenofex constellation with these settings
Size 12, variation 1, edge density 1, overall density 4, overdrive 75, twinkle amount 75, rotation 45, keep original image checked
Add an inner bevel & drop shadow
Repeat the drop shadow
Floodfill the bg layer 1st tube color
Apply xero fritillary, change the top & bottom #'s to 16
Add an inner bevel
Activate one of the flower layers
Select all>float>defloat
Add a new raster layer
Floodfill with your 1st tube color
Deselect
Change frame properties to overlay
Merge down & add a drop shadow
Repeat on other flower & merge
Activate the deco layer
Duplicate 2 times
Apply eyecandy hsb noise to all 3 layers clicking on the random seed button each time
Rename these layers to animation 1, 2 & 3
Resize all layers to 70%
Add your text, name & © info
Animation:
Hide animation 2 & 3
Merge visible
Copy & paste into animation shop
Undo your merge
Hide animation 1 & unhide #2
Merge & paste after current in animation shop
Undo your merge
Hide animation 2 & unhide #3
Merge visible & paste after current in animation shop
View your animation
Save as gif & you're all done!
I hope you enjoyed my tutorial
I would love to post your © compliant result, just email it to me with the tut name in the subject line
:)
Result by Kaye W


No comments:
Post a Comment
Please keep your language clean, thank you!