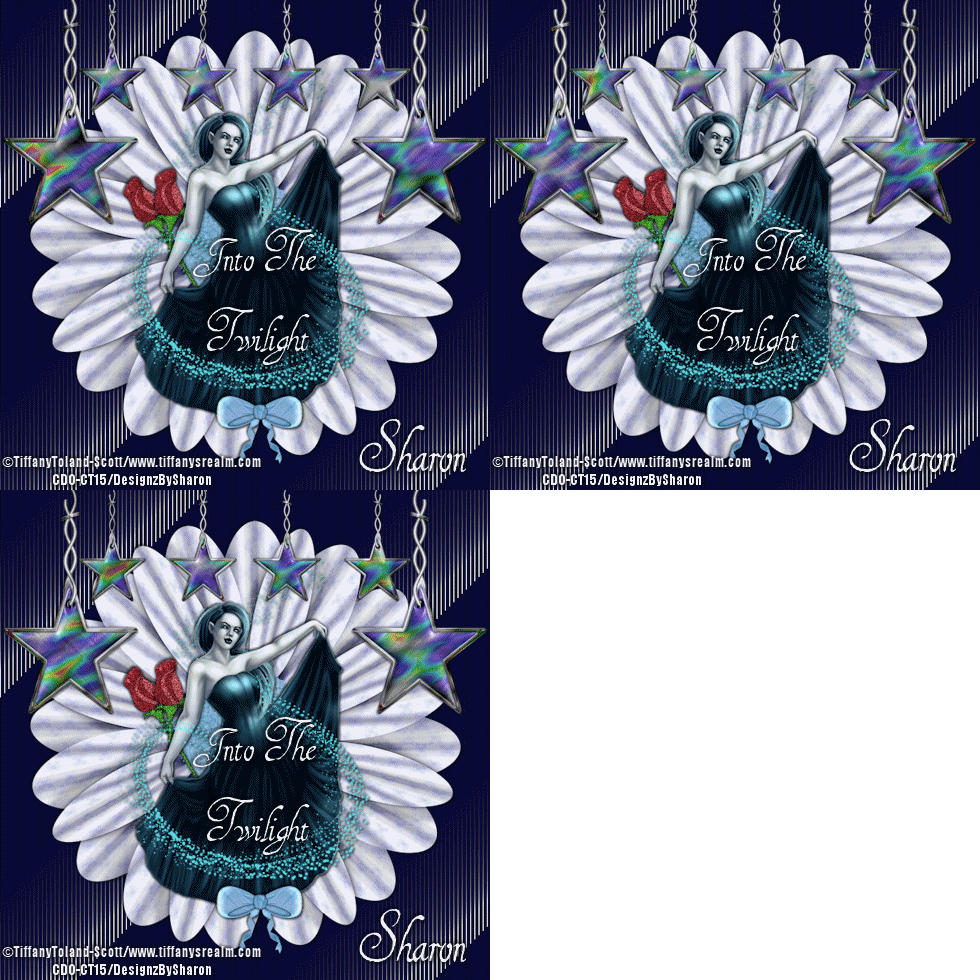
Click for larger view
This tutorial was written by Sharon A on Apr 18, 2012 & is copyright protected
For more info read my TOU
Supplies Needed
Scrapkit Gothic Dreams by Mrs Homer Lynn here
Plugins
Two Moons Wish It Would Rain
Graphics Plus Cross Shadow
Eyecandy Texture Noise
The tube I used Evil Queen Complex is by Tiffany Toland-Scott, you can purchase this tube from CDO here
The name of my font is Vampiress
I used size 95

Open new transparent canvas 700x700, we will resize later
Floodfill with dark red
Apply two moons wish it would rain using default settings
Apply graphics plus cross shadow using default settings
Paste drapes as a new layer
Position at the top center of your tag
Add drop shadow
Using your magic wand (I set my tolerance on 25) click around the mesh areas of the drape a few times until all the little areas are selected
It should take only a few clicks
Duplicate 2 times
Apply eyecandy texture noise
Settings>crinkle
Repeat on other 2 layers clicking the random seed button each time
Deselect
Rename these layers to animation 1, 2 & 3
Paste your tube as a new layer
Resize as needed
Add drop shadow
Paste dressing stool as a new layer
Resize as needed to fit with your tube
(I resized to 60%)
Add drop shadow
Move to below your tube layer
Duplicate
Resize to 60%
Position up & to the left of the original
Duplicate & mirro
Paste lily as a new layer
Resize to 30%
Rotate left 15
Add drop shadow
Position on the right dressing stool
Duplicate, mirror & merge down
Move to below your stool layers
I moved the left one furter left
Paste lamp as a new layer
Resize to 50%
Position on a dressing stool
Add drop shadow
Duplicate 2 times
Effects>illumination effects>lights
Click on set to default
Change darkness to 75
Repeat on other 2 layers changing the darkness to 60 & 45
Rename these layers to animation 4, 5 & 6
Paste goblet as a new layer
Resize to 40%
Position on other dressing stool
Add drop shadow
Paste spell book as a new layer
Resize to 35%
Position lower left area
Add drop shadow
Paste cat as a new layer
Resize to 40%
Position lower right area
Add drop shadow
Paste heart gem as a new layer
Resize to 40%
Duplicate 2 times
Rotate 1 left 25 & the other right 25
Position around on your tag
Duplicate the un-rotated heart gem
Resize to 75%
Poistion on the lace of your main dressing stool
Duplicate an many times as needed & position into place along the lace as shown on my tag
Merge all the heart gem layers
Resize all layers to 70%
Add your text, name & © info
Animation:
Hide all your middle & bottom animation layers
Merge visible
Copy & paste into animation shop
Undo your merge
Hide your top animation layers & unhide the middle ones
Merge & paste after current in animation shop
Undo your merge
Hide your middle animation layers & unhide the bottom ones
Merge visible & paste after current in animation shop
I set my frame properties at 15
View your animation
Save as gif & you're all done!
I hope you enjoyed my tutorial
Your comments are very much appreciated either here on this post or on the chat box. I've made it easy for you to post on this tut by turning off the requirement of having to type in a confirmation code
I would love to post your © compliant result, just email it to me with ATT Sharon & the tut name in the subject line
You'll find my email blinkie on your left
:)
Result by Kaye W

This tutorial was written by Sharon A on Apr 18, 2012 & is copyright protected
For more info read my TOU
Supplies Needed
Scrapkit Gothic Dreams by Mrs Homer Lynn here
Plugins
Two Moons Wish It Would Rain
Graphics Plus Cross Shadow
Eyecandy Texture Noise
The tube I used Evil Queen Complex is by Tiffany Toland-Scott, you can purchase this tube from CDO here
The name of my font is Vampiress
I used size 95
Open new transparent canvas 700x700, we will resize later
Floodfill with dark red
Apply two moons wish it would rain using default settings
Apply graphics plus cross shadow using default settings
Paste drapes as a new layer
Position at the top center of your tag
Add drop shadow
Using your magic wand (I set my tolerance on 25) click around the mesh areas of the drape a few times until all the little areas are selected
It should take only a few clicks
Duplicate 2 times
Apply eyecandy texture noise
Settings>crinkle
Repeat on other 2 layers clicking the random seed button each time
Deselect
Rename these layers to animation 1, 2 & 3
Paste your tube as a new layer
Resize as needed
Add drop shadow
Paste dressing stool as a new layer
Resize as needed to fit with your tube
(I resized to 60%)
Add drop shadow
Move to below your tube layer
Duplicate
Resize to 60%
Position up & to the left of the original
Duplicate & mirro
Paste lily as a new layer
Resize to 30%
Rotate left 15
Add drop shadow
Position on the right dressing stool
Duplicate, mirror & merge down
Move to below your stool layers
I moved the left one furter left
Paste lamp as a new layer
Resize to 50%
Position on a dressing stool
Add drop shadow
Duplicate 2 times
Effects>illumination effects>lights
Click on set to default
Change darkness to 75
Repeat on other 2 layers changing the darkness to 60 & 45
Rename these layers to animation 4, 5 & 6
Paste goblet as a new layer
Resize to 40%
Position on other dressing stool
Add drop shadow
Paste spell book as a new layer
Resize to 35%
Position lower left area
Add drop shadow
Paste cat as a new layer
Resize to 40%
Position lower right area
Add drop shadow
Paste heart gem as a new layer
Resize to 40%
Duplicate 2 times
Rotate 1 left 25 & the other right 25
Position around on your tag
Duplicate the un-rotated heart gem
Resize to 75%
Poistion on the lace of your main dressing stool
Duplicate an many times as needed & position into place along the lace as shown on my tag
Merge all the heart gem layers
Resize all layers to 70%
Add your text, name & © info
Animation:
Hide all your middle & bottom animation layers
Merge visible
Copy & paste into animation shop
Undo your merge
Hide your top animation layers & unhide the middle ones
Merge & paste after current in animation shop
Undo your merge
Hide your middle animation layers & unhide the bottom ones
Merge visible & paste after current in animation shop
I set my frame properties at 15
View your animation
Save as gif & you're all done!
I hope you enjoyed my tutorial
Your comments are very much appreciated either here on this post or on the chat box. I've made it easy for you to post on this tut by turning off the requirement of having to type in a confirmation code
I would love to post your © compliant result, just email it to me with ATT Sharon & the tut name in the subject line
You'll find my email blinkie on your left
:)
Result by Kaye W