Showing posts with label Summer. Show all posts

Wednesday, July 11, 2012

On The Beach

Click for larger view

This tutorial was written by Sharon A on July 11, 2012 & is copyright protected
For more info read my TOU

Supplies Needed
Scrapkit On The Beach by Mysterious Scrapgirl here

Plugins
Graphics Plus Cross Shadow
DSB Flux Bright Noise

The tube I used Beach Party (12-1) is by Sherri Baldy, you can purchase this tube from CDO here

The name of the font I used is Aquarelle


Open new transparent canvas 700x700, we will resize later
Select all, paste paper 3 into selection
Deselect
Apply cross shadow using default settings

Paste your tube as a new layer
Resize as needed
Add drop shadow

Paste flower ribbon 1 as a new layer
Position at the top of your tube so the bottom is just touching the head
Duplicate & flip
Duplicate & move to the top
Rotate left 90
Position on the left of your tube
Duplicate & mirror

Position the top & bottom flower ribbons so they cover the metal part of the side ribbons
(Refer to my tag)

Merge all the ribbon layers
Move to below your tube
Click inside with your magic wand
Expand 5
Add a new raster layer
Paste paper 2 into selection
Deselect
Move to below your frame layer

Add a drop shadow to your frame
Duplicate 2 times
Apply bright noise, intensity 45, mix checked
Repeat on other 2 layers changing the intensity to 50 & 55

Paste Mr ant as a new layer
Resize to 35%
Position near the bottom left
Add drop shadow
Duplicate & mirror

Paste towel 1 as a new layer
Resize to 50%
Position in between the 2 ants so it looks like they're holding it up
Move to below your ant layers
Add drop shadow

Paste hat 2 as a new layer
Resize to 35%
Position on the upper left corner of your ribbon frame
Rotate left 30
Add drop shadow
Duplicate & mirror

Paste the beaded string as a new layer
Position on the left as shown on my tag
Add a drop shadow
Duplicate & mirror

Paste insect as a new layer
Resize to 30%
Position over the top of the string
Rotate left 100
Add drop shadow
Duplicate & mirror

Resize all layers to 70%

Add your text, name & © info


Animation:

Hide animation 2 & 3
Copy merged & paste into animation shop

Undo your merge
Copy merged & paste after current in animation shop

Undo your merge
Copy merged & paste after current in animation shop

View your animation

Save as gif & you're all done!

I hope you enjoyed my tutorial

Your comments are very much appreciated either here on this post or on the chat box.  I've made it easy for you to post on this tut by turning off the requirement of having to type in a confirmation code

I would love to post your © compliant result, just email it to me with ATT Sharon & the tut name in the subject line

You'll find my email blinkie on your left

:)


Sunday, May 13, 2012

Polka Dots & Sunshine

Click for larger view

This tutorial was written by Sharon A on May 13, 2012 & is copyright protected
For more info read my TOU

Supplies Needed
Forum Template # 74 by me here

Plugins
DSB Flux Bright Noise
Eyecandy Corona

The tube I used Daisy May Mermaid (2-1) is by  Sherri Baldy, you can purchase this tube from CDO here

The name of the font I used is Tamborine


Open your template, shift D to duplicate & close original
Delete info layer

Use the colors from the sun & flower for your floodfills

Activate your bg layer
Floodfill with an orange shade from the sun
Apply bright noise intensity 50, mix checked

Floodfill your side rectangles with a darker orange from your sun
Add an inner bevel & drop shadow

Floodfill your rectangle with a red from your sun
Add an inner bevel & drop shadow

Add drop shadow to your word art

Select another color from the sun & floodfill your ovals
Repeat bright noise

Activate your center oval
Select all>float>defloat

Paste the tube you want in the center as a new layer
Resize as needed
Invert your selection
Delete & deselect

Repeat with your side ovals & tubes

Floodfill your frames with the same color as your rectangle
Add an inner bevel
Select all>float>defloat
Using your magic wand & holding down your  CTRL button click around on the center frame to deselect it

Duplicate 2 times
Apply eyecandy corona
Settings on small sun glow
On basic change the glow radius to 50 & the flare width to 2
Repeat on other 2 layers clicking on the random seed button each time
Deselect

Add a drop shadow to your flowers

Floodfill your border with your frame color
Add an inner bevel & drop shadow

Resize all layers to 70%

Add your text, name & © info

For my text I used white
Align horizontal
Add an inner bevel & drop shadow
Duplicate
Move to just above the first one
Merge down & add a gaussian blur, radius 1

Add your text again using one of your colors
Align horizontal
Add your inner bevel & drop shadow
Position it so it's centered over your white text


Animation:

Hide animation 2 & 3
Merge visible
Copy & paste into animation shop

Undo your merge
Hide animation 1 & unhide #2
Merge & paste after current in animation shop

Undo your merge
Hide animation 2 & unhide #3
Merge visible & paste after current in animation shop

View your animation

Save as gif & you're all done!

I hope you enjoyed my tutorial

Your comments are very much appreciated either here on this post or on the chat box.  I've made it easy for you to post on this tut by turning off the requirement of having to type in a confirmation code

I would love to post your © compliant result, just email it to me with ATT Sharon & the tut name in the subject line

You'll find my email blinkie on your left

:)

Result by Kaye W


Tuesday, June 28, 2011

Sensual

Click for larger view

This tutorial was written by Sharon on June 28, 2011
For more info read my TOU

Supplies Needed
Template 17 by Judith here

Plugins
Eyecandy 4 HSB Noise
Screenworks Dot Screen

The tubes I used are by Keith Garvey, you will need a license to use which you can purchase from PTE here


Open template, shift D to duplicate.  Close original
Resize to 20%
Delete credit layer

Activate paper 2 and floodfill with a green pattern

Floodfill paper 1 & Line 1 with a pink pattern
On paper 1 Apply eyecandy HSB Noise, default settings, change pattern to smooth fractual

Floodfill line 2 with a green gradient or color
Apply eyecandy HSB Noise, same settings as above

Activate large circle
Effects>Texture Effects>Blinds, width 5, opacity 20, color black, horizontal UNchecked

Apply same blind effects on photo 1 & 2, change width to 4 and check horizontal

On frames 1 & 2 apply inner bevel using bevel #3 width 3

Activate one of the frame layers
Using your magic wand click inside the frame
Expand 3
Paste your tube as a new layer
Resize as needed
Invert your selection
Delete
Deselect

Repeat for the other frame

Add a drop shadow to the branch layers

Floodfill Swirl with green, add a drop shadow
Apply screenworks Dot Screen

Resize all layers to 70%

Add your © info & name

Merge all layers

Save as jpg and you're all done!

Thank you for trying my tutorial

I would love to post your result, just email it to me

:)


Wednesday, June 22, 2011

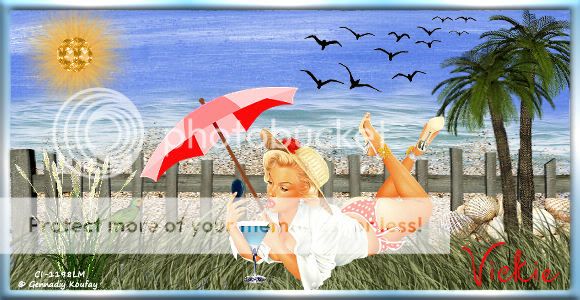
Sizzling Summer Forum Size

Click for larger view

This tutorial was written by Sharon on June 22, 2011
For more info read my TOU

Supplies Needed
Scrapkit Sizzle Summer here

The tube I used is by Dean Yeagle, you will need a license to use which you can purchase from CDO here

New transparent canvas 800x400, we will resize later
Select all
Paste paper 6 into selection
Deselect

Paste sand element 1 as a new layer
Move to the lower left
Duplicate & merge down
Add a drop shadow, I used 5, 5, 75, 10

Paste sand 2 as a new layer
Position on the right side near the top of the sand

Paste seashells 1 as a new layer
Resize to 30%
Position lower right
Add drop shadow

Paste palm tree 3 as a new layer
Resize to 40%
Position on the left side
Add drop shadow

Paste pebbles 1 as a new layer
Resize to 30%
Position lower left
Add drop shadow

Paste parrot 1 as a new layer
Resize to 15%
Position somewhere on the tree
Add drop shadow

Paste your tube as a new layer
Resize as needed
Add drop shadow

Paste an umbrella element as a new layer
Resize to 35%
Position so it's covering your tube (refer to my tag)
Add drop shadow
Move this layer to below your tube layer

Paste grass 2 as a new layer
Resize to 25%
Position on the left side
Add drop shadow
Duplicate and move over a bit to the right
Merge down
Duplicate & mirror

Paste grass 3 as a new layer
Resize to 25%
Position near your tube
Add drop shadow
Duplicate
Move to the left a bit
Merge down
Duplicate & mirror

Paste fern 1 as a new layer
Resize to 30%
Position at the bottom center
Add drop shadow

Paste birds as a new layer
Resize to 80%
Position near the upper right
Add drop shadow

To cover the bare behind on my tube I used flower 5 and resized it to 10%, added a drop shadow and moved below the grass 3 layer

Paste drink 1 as a new layer
Resize to 30%
Position near your tube
Add drop shadow

Paste sun as a new layer
Resize to 15%
Position upper right
Add drop shadow

Resize all layers to 70%

Add your © info and text

Merge all layers

Save as jpg and you're all done!

I hope you enjoyed my tutorial!

I would love to post your result, just email it to me

:)

This tutorial is © protected
MyFreeCopyright.com Registered & Protected


The image for this tutorial is © protected
MyFreeCopyright.com Registered & Protected

===================================

Result by Vickie

Result by Dixie


Sunday, June 19, 2011

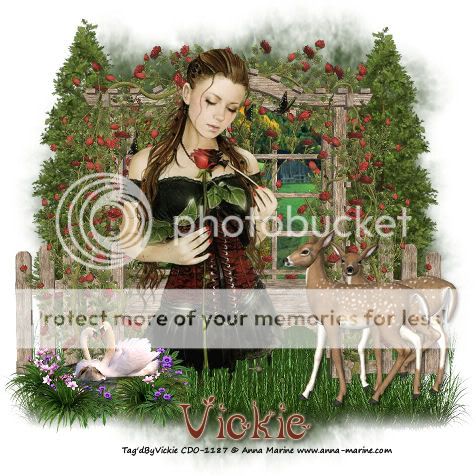
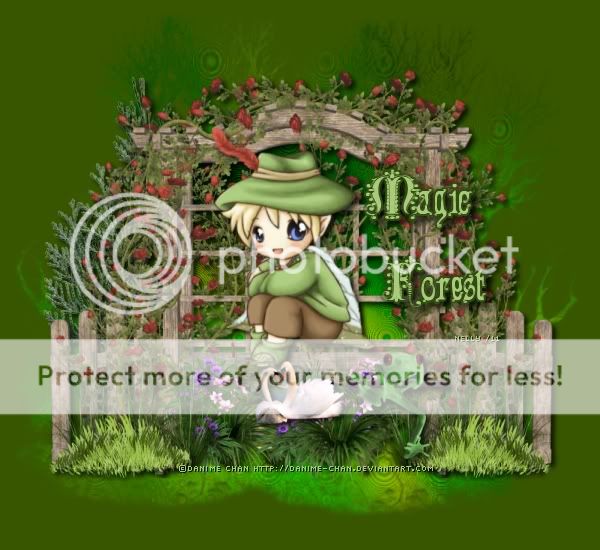
Forest Magic

Click for larger view

This tutorial was written by Sharon on June 14, 2011
For more info read my TOU

Supplies Needed
Scrapkit Forest Magic here

Plugins
Graphics Plus Cross Shadows
Tramages Cirquelate (You will need to import tramages into filters unlimited)

The font I used is Leaf1

The tube I used is by Jason Patterson, you will need a license to use which you can purchase at PTE here

New transparent canvas 700x550, we will resize later
Floodfill with a green gradient
I used radial, angle 45, repeats 12
Apply graphics plus cross shadow, default settings
Apply tramages cirquelate, default settings

Paste archbench as a new layer
Resize to 45%
Add drop shadow, I used 5, 5, 75, 10

Paste your tube as a new layer
Resize as needed
Add drop shadow

Paste pond as a new layer
Resize to 50%
Position bottom center
Add drop shadow

Paste grass as a new layer
Resize to 25%
Position on the lower left
Add drop shadow
Duplicate 2 times
Place side by side
Merge these 3 layers
Duplicate 2 times
Mirror one of the layers
Position the other one at the bottom center and move this layer below the pond layer

Paste grass 2 as a new layer
Resize to 25%
Position near the lower left corner
Add drop shadow
Duplicate & mirror

Paste swans as a new layer
Resize to 60%
Position on the pond
Add drop shadow

Paste tree as a new layer

Position on the left
Add drop shadow
Move this layer to below the archbench layer

Paste frog as a new layer
Resize to 30%
Position near the swans
Add drop shadow

Resize all layers to 75%

Add your © info & text

Merge all layers

Save as jpg and you're all done!

I hope you enjoyed my tutorial

I would love to post your result, just email it to me

:)

======================

Results by Vickie & Nelly


Result by Dixie


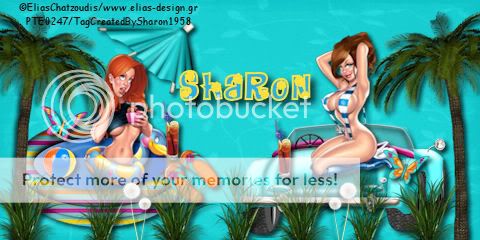
Summer Fun ~ Forum

Click for larger view

This tutorial was written by Sharon on June 7, 2011
For more info read my TOU

Supplies Needed
Scrapkit Summer Feeling here

The tubes I used are by Elias Chatzoudis.  You will need to purchase a license to use which you can get from PTE here


New transparent canvas, 800x400.  I'm making this for a banner contest, thats why its so large but we will resize later
Select all
Paste paper 16 into selection
Deselect


Paste car as a new layer
Resize to 75%
Position at the right bottom
Add a drop shadow, I used 5,5, 75, 10

Paste your tube as a new layer
Resize as needed
Position on top of the car
Add drop shadow

Paste tree as a new layer
Resize to 60%
Position on right side
Add a drop shadow
Duplicate & mirror

Paste pool as a new layer
Resize to 65%
Position lower left
Add drop shadow

Paste beachball as a new layer
Resize to 25%
Position in the pool
Add a drop shadow

Paste your 2nd tube as a new layer
Resize as needed
Position on the pool

Paste flipflop as a new layer
Resize to 40%
Rotate left 45
Add a drop shadow

Paste grass 1 as a new layer
Resize to 40%
Position on lower left
Add drop shadow
Duplicate 3 times and position in various places along the bottom

Do the same with grass 2 except duplicate only 2 times
Position in between the grass 1

Paste umbrella as a new layer
Resize to 85%
Move layer to below your #2 tube
Add a drop shadow

Paste flower 4 as a new layer
Resize to 40%
Position on the bottom
Add a drop shadow
Duplicate
Mirror

Paste drink 2 as a new layer
Resize to 30%
Position on the car
Add a drop shadow
Duplicate and position on the side of the pool

Paste butterfly 2 as a new layer
Resize to 35%
Position on edge of pool
Add a drop shadow

Repeat with butterfly 1 positioning on the car

Resize all layers to 60%

Add your text and © info

Merge all layers

Save as jpg and you're all done!

I hope you have enjoyed my tutorial

Hugs

:)