Showing posts with label Halloween. Show all posts

Monday, October 17, 2011

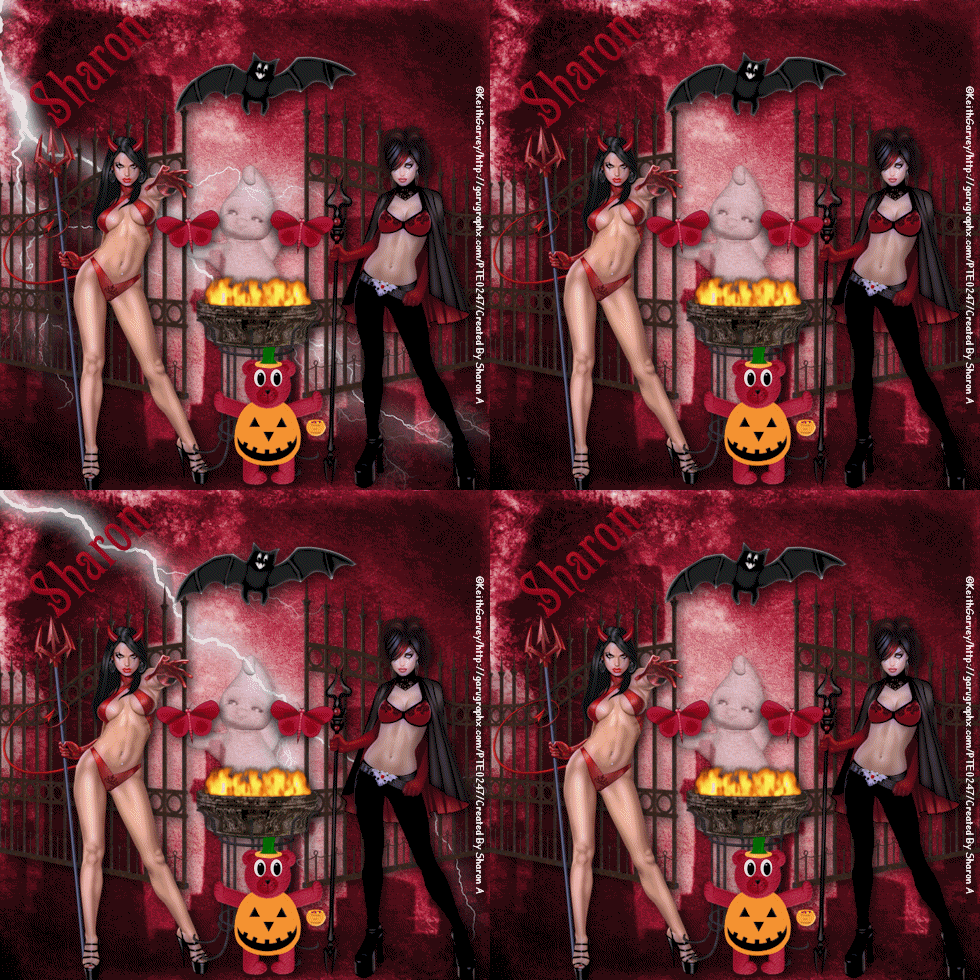
Spooky Night

Click for larger view

This tutorial was written by Sharon on Oct 17, 2011
For more info read my TOU

Supplies Needed
Scrapkit Hallow Eve by me here

Plugins
Xenofex 2 Lightening

The tubes I used Devil Woman & Evil Queen are by Keith Garvey, you can purchase this tube from PTE here


Open a new transparent canvas 700x700, we will resize later
Select all
Paste paper 29 into selection
Deselect

Duplicate 2 times
Rename these layers to animation 1, 2 & 3

On animation 1 apply xenofex lightening, click on Glow and change flash size to 0
Repeat on animation 3 clicking on the random seed button

Paste ghost 4 as a new layer
Resize to 40%
Change opacity to 50
Add drop shadow

Paste gate as a new layer
Resize to 90%
Add drop shadow

Paste your tube as a new layer
Apply xero porcelain using default settings
Add drop shadow

Paste your 2nd tube as a new layer
Repeat effects

Paste cauldron fire as a new layer
Resize to 75%
Position in between your tubes
Add drop shadow

Paste pumpkin bear 5 as a new layer
Resize to 40%
Position in front of cauldron fire
Add drop shadow

Paste butterfly 5 as a new layer
Resize to 35%
Position on gate
Add drop shadow
Duplicate & mirror

Paste bat as a new layer
Resize to 65%
Position near top
Add drop shadow

Resize all layers to 70%

Add your name & your © info

Hide animations 2 & 3 
Merge visible
Copy & paste into animation shop

Undo your merge
Hide animation 1 & unhide animation 2
Merge visible
Copy & paste after current in animation shop

Undo your merge
Hide animation 2 & unhide animation 3
Merge visible
Copy & paste after current in animation shop

Copy frame 2 & paste after frame 3
Set frame properties on frames 1 & 3 at 15
Set frame properties on frames 2 & 4 at 100

Save as gif & you're all done!

I hope you enjoyed my tutorial

I would love to post your © compliant result, just email it to me with the tut name in the subject line

:)


Tuesday, October 11, 2011

Hallow Eve

Click for larger view

This tutorial was written by Sharon on Oct 11, 2011
For more info read my TOU

Supplies Needed
FTU Scrapkit Hallow Eve by me here

Animation Shop

The font I used is called Dracula, you can get it from Dafont here

Plugins
Xero Fritillary

The tube I used Halloween is by Nils, you can purchase this tube from PTE here


Open a new transparent canvas 700x700, we will resize later
Floodfill with a color from your tube
Apply xero fritillary using default settings, change top & bottom #'s to 10

Paste spider web as a new layer
Add drop shadow

Paste frame 9 as a new layer
Resize to 75%
Using your magic wand click inside the frame
Paste paper 27 into selection
Add drop shadow

Paste your tube as a new layer
Resize as needed
Add drop shadow

Paste bat as a new layer
Resize to 75%
Position upper left corner
Rotate left 30
Add drop shadow

Paste boo bow 4 as a new layer
Resize to 75%
Position near upper right of frame
Add drop shadow

Paste bow 4 as a new layer
Resize to 50%
Rotate right 30
Position lower left of frame
Add drop shadow

Paste broom 4 as a new layer
Resize to 60%
Position upper right
Add drop shadow

Paste cauldron 4 as a new layer
Resize to 50%
Position lower right
Add drop shadow

Paste dangle 4 as a new layer
Resize to 50%
Position near upper left of frame with the bat above the frame
Add drop shadow

Paste ribbon 3 as a new layer
Resize to 90%
Position at bottom
Add drop shadow

Resize all layers to 70%

Add your name & your © info

Paste ghost 2 as a new layer
Resize to 40%
Change opacity to 50
Move layer to below ribbon layer
Move ghost down on right side until you can just see the head above the ribbon
Merge all
Select around your tag
Crop
Copy & paste into animation shop

Undo your merge
Move ghost up and to the left a bit
Merge all
Crop
Copy & paste after current in animation shop

Repeat until you have several frames, I had 10

Set frame properties on frames 1-9 at 35
Set frame properties on frame 10 at 100

Save as gif & you're all done!

I hope you enjoyed my tutorial

I would love to post your © compliant result, just email it to me with the tut name in the subject line

:)


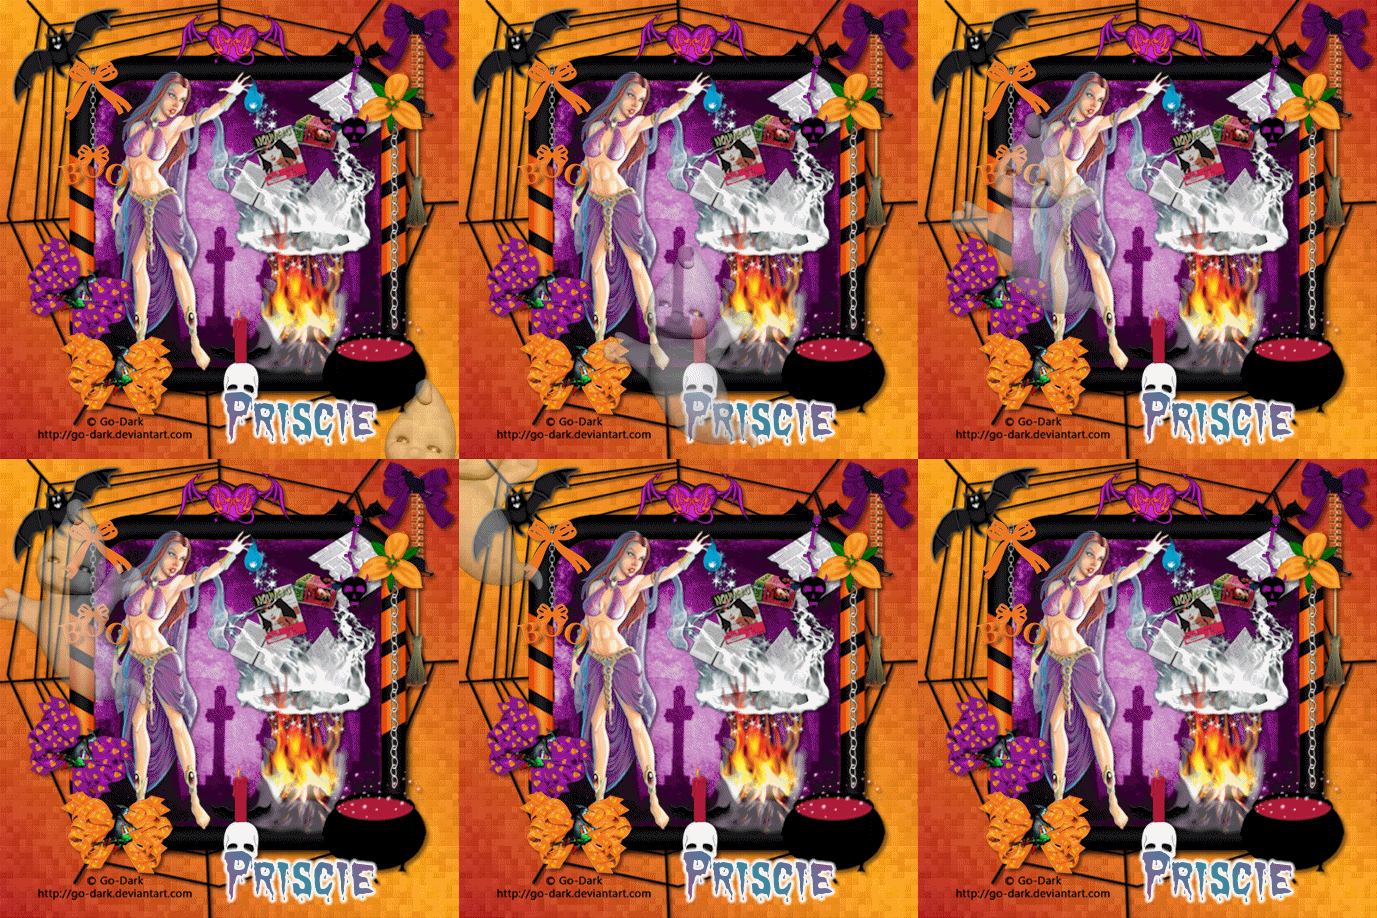
Result by Priscie


Tuesday, September 27, 2011

Witchy Night

Click for larger view

This tutorial was written by Sharon on Sept 27, 2011
For more info read my TOU

Supplies Needed
Scrapkit A Spooky World here

Plugins
Xenofex 2 Lightening

The tube I used Halloween Witch is by Michael Calandra, you can purchase this tube from PTE here


Open a new transparent canvas 700x700, we will resize later
Floodfill with black
Duplicate 2 times
Rename to animation 1, 2 & 3

On animation 1 apply xenofex lightening default settings, random seed 250
Click on Glow
Change flash size to 0

Repeat on animation 3 clicking on the random seed button
Mirror

Paste element 14 as a new layer
Add drop shadow

Paste element 18 as a new layer
Resize to 80%
Using your magic wand click inside the frame
Expand 5
Paste paper 7 into selection
Deselect
Add drop shadow

Paste your tube as a new layer
Resize as needed
Add drop shadow
Duplicate
Resize to 50%
Position upper left side of frame
Move to below frame layer
Duplicate & mirror

Paste element 4 as a new layer
Resize to 10%
Position upper left part of inside the frame
Add drop shadow
Duplicate
Resize to 75%
Position opposite corner

Paste element 30 as a new layer
Resize to 50%
Position bottom center
Add drop shadow

Resize all layers to 70%

Add your text, name & your © info

Hide animations 2 & 3
Merge visible
copy & paste into animation shop

Undo your merge
Hide animation 1
Unhide animation 2
Merge visible
copy & paste after current in animation shop

Undo your merge
Hide animation 2
Unhide animation 3
Merge visible
copy & paste after current in animation shop

Copy frame 2
Activate frame 3
Paste after current

Set frame properties on frames 2 & 4 at 100
On frames 1 & 3 set frame properties at 20

View your animation

Save as gif & you're all done!

I hope you enjoyed my tutorial

I would love to post your © compliant result, just email it to me with the tut name in the subject line

:)


If The Broom Fits

Click for larger view

This tutorial was written by Sharon on Sept 27, 2011
For more info read my TOU

Supplies Needed
Template # 28 by Judith here

The tube I used Witch Valley is by Lorenzo DiMauro, you can purchase this tube from PTE here


Open your template, shift D to duplicate & close original
Delete credit & the witch layer
Resize to 700x700 pixels

Activate foto layer
Floodfill with orange
Select all>float>defloat

Paste your tube as a new layer
Resize as needed
Invert your selection
Delete
Deselect
Add drop shadow

Floodfill circle 1 and bg layers with the same orange you just used

Pick a color from your tube
Floodfill paper small & circle 3

Floodfill paper & circle 2 with purple

Floodfill frame 3 with a darker shade of orange
Apply inner bevel with these settings
Bevel # 2, width 30, smoothness 35, depth 3, ambience 0, shininess 30, angle 315, intensity 50, elevation 30

Repeat on frame 4, 2 & 1

Activate the text layer
Add a new raster layer
Floodfill with orange
Back to the text layer
Select all>float>defloat
Back to your new raster layer
Invert your selection
Delete
Deselect
Merge down
Add drop shadow

Resize all layers to 70%

Add your name & your © info

Merge all

Save as jpg & you're all done!

I hope you enjoyed my tutorial

I would love to post your © compliant result, just email it to me with the tut name in the subject line

:)


Sunday, September 25, 2011

Halloween Magic

Click for larger view

This tutorial was written by Sharon on Sept 25, 2011
For more info read my TOU

Supplies Needed
Scrapkit Halloween Majic here
(I have just learned this is a PTU kit, I don't know what happened I got it free just a day or 2 before I wrote this tutorial.  Sorry about the mix up)

Plugins
Xero Fritillary

The tube I used Pumpkin Witch is by Unholy Vault Designs, you can purchase this tube from PTE here


Open a new transparent canvas 700x700, we will resize later
Floodfill with a halloween color, I used #f08c19
Apply xero fritillary using default settings, change top & bottom #'s to 10

Paste element 55 as a new layer
Resize to 45%
Move up to top
Add drop shadow
Duplicate & flip

Paste element 6 as a new layer
Resize to 25%
Position upper right
Add drop shadow

Paste element 4 as a new layer
Resize to 30%
Add drop shadow

Paste your tube as a new layer
Resize as needed
Position lower right
Add drop shadow

Paste a close up of your tube
Resize smaller than your first tube
Add drop shadow
Position upper left part of castle
Move layer to below the castle layer

Paste element 7 as a new layer
Resize to 10% and again to 75%
Position near your tube
Add drop shadow

Paste element 16 as a new layer
Resize to 15%
Position lower left
Add drop shadow

Paste element 21 as a new layer
Resize to 15%
Position as shown on my tag
Add drop shadow

Paste element 25 as a new layer
Resize to 10% and again to 75%
Position at the bottom to the right of the ivy
Add drop shadow
Duplicate
Resize to 75%
Position somewhere on the castle

Paste element 23 as a new layer
Resize to 10% and again to 60%
Rotate right 25
Position above the pumpkin
Add drop shadow
Duplicate
Resize to 75%
Position somewhere on the castle
Repeat a few times

Resize all layers to 70%

Add your name & your © info

Merge all

Save as jpg & you're all done!

I hope you enjoyed my tutorial

I would love to post your © compliant result, just email it to me with the tut name in the subject line

:)


Monday, September 19, 2011

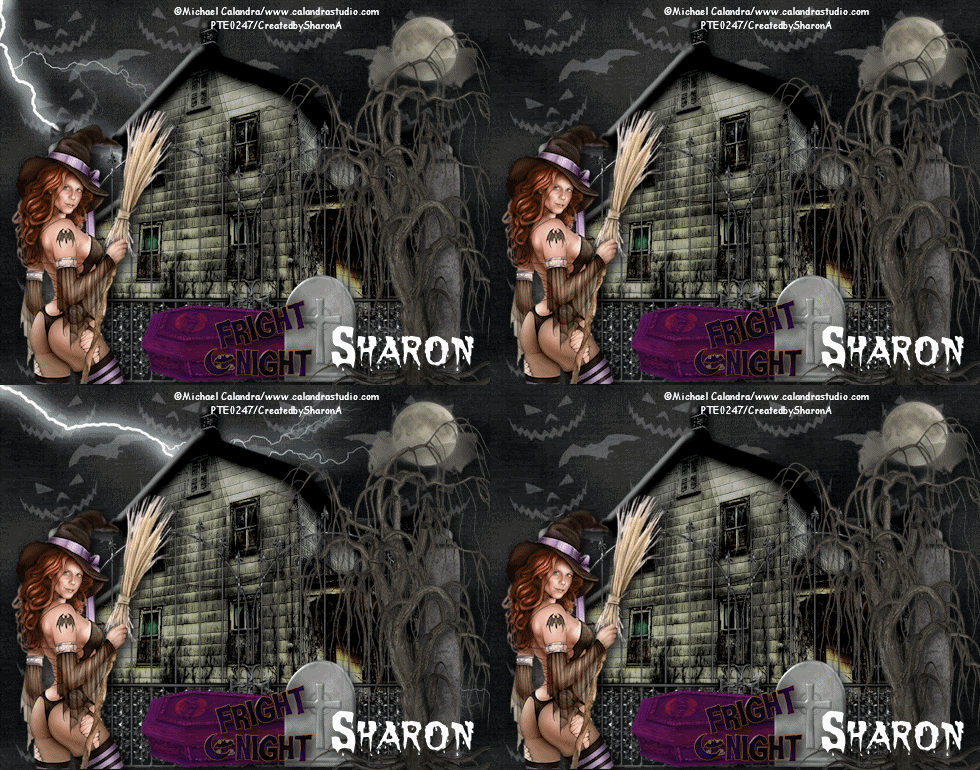
Fright Night ~ SAC

Click for larger view

This tutorial was written by Sharon on Sept 19, 2011
For more info read my TOU

Supplies Needed
Scrapkit Fright Night here

Plugins
Xenofex 2 Lightening

The tube I used Pinup Witch is by Michael Calandra, you can purchase this tube from PTE here


Open a new transparent canvas 700x550, we will resize later
Select all
Paste paper 2 into selection
Deselect
Duplicate
Rename these layers to animation 1, 2 & 3

On animation 1 layer apply xenofex lighting effect
On the basic part use default settings, make sure random seed is on 1
Click on Glow
Set flash size on 0

On animation 3 repeat lightening effect clicking on the random seed button

Paste haunted house as a new layer
Add drop shadow
Move up a bit

Paste gate as a new layer
Resize to 75%
Position at the bottom
Add drop shadow

Paste your tube as a new layer
Resize as needed, if you're using the same tube I resized to 75%
Add drop shadow

Paste coffin as a new layer
Resize to 35%
Postion bottom center
Add drop shadow

Paste tombstone as a new layer
Resize to 25%
Position in front of the coffin
Add drop shadow

Paste moon as a new layer
Resize to 35%
Position upper right corner

Paste word art as a new layer
Resize to 20%
Position at the bottom
Add drop shadow

Paste tree as a new layer
Resize to 75%
Position on right
Add drop shadow

Resize all layers to 70%

Add your name & your © info

Animation:
Hide animations 1 & 2
Merge visible
Copy & paste into animation shop

Undo your merge
Unhide animation 2 and hide animation 3
Merge visible
Copy & paste after current in animation shop

Undo your merge
Unhide animation 1 and hide animation 2
Merge visible
Copy & paste after current in animation shop

Copy frame 2 and paster after frame 3

I set the frame properties on frames 2 & 4 at 125
Frames 1 & 3 at 30

View your animation

Save as gif & you're all done!

I hope you enjoyed my tutorial

I would love to post your © compliant result, just email it to me with the tut name in the subject line

:)


Result by Creanbri


Sunday, September 18, 2011

Bat Girl

Click for larger view

This tutorial was written by Sharon on Sept 18, 2011
For more info read my TOU

Supplies Needed
A pumpkin
Autumn Pattern
Here's the one I used
Right click to save

The tube I used Halloween Twilight is by Jasmine Becket-Griffith, you can purchase this tube from CDO here

Open new transparent canvas 700x700, we will resize later
Floodfill with an autumn color, I used #f2890e
Effects>Texture Effects>Texuture>Mosiac
Effects>Artistic Effects>Enamel
Blur 65, detail 89, density 65, angle 138, color #c3eebb
Effects>Texture Effects>Blinds
Width 5, opacity 40, light from left checked, color black

Add a new raster layer
Activate your selection tool, set on rectangle
click the customize button
Top 100, bottom 600, right 600, left 100
Floodfill with an autumn pattern
Deselect
Add drop shadow
Effects>Texture Effects>Blinds
Same as before except check the horizontal box

Paste your tube as a new layer
Resize as needed
Add drop shadow

Paste your pumpkin as a new layer
Resize as needed, if you're using the same tube I am it came with a pumpkin, I resized it to 75%
Position in lower right corner
Add drop shadow
Duplicate
Resize to 75%
Position at upper right corner of your autumn pattern layer
I rotated right 45
Duplicate & mirror

Resize all layers to 70%

Add your text

Add your name & your © info

Merge all

Save as jpg & you're all done!

I hope you enjoyed my tutorial

I would love to post your © compliant result, just email it to me with the tut name in the subject line

:)


Haunted Times

Click for larger view

This tutorial was written by Sharon on Sept 18, 2011
For more info read my TOU

Supplies Needed
Scrapkit Haunted Times by Jenny here

The tube I used Halloween Witch is by Michael Calandra, you can purchase this tube from PTE here


Open a new transparent canvas 700x700, we will resize later

Paste paper 4 as a new layer
Resize to 20%

Paste frame 1 as a new layer
Resize to 75%
Using your magic wand click inside the frame
Floodfill with a pattern
Add drop shadow

Paste your tube as a new layer
Resize as needed
Add drop shadow
Move to below the frame

Paste vine as a new layer
Resize to 85%
Position on left
Add drop shadow

Paste fence as a new layer
Position bottom center
Add drop shadow

Paste leaves as a new layer
Resize to 85%
Position bottom center
Adjust>hue & saturation>colorize
Hue 5, saturation 200

Paste butterfly as a new layer
Resize to 40%
Mirror
Position on left side of tube
Add drop shadow

Paste rose 1 as a new layer
Resize to 25%
Position to the right of your tube
Add drop shadow

Paste stars as a new layer
Resize to 75%
Position upper left
Duplicate & mirror
Merge down

Paste ghost as a new layer
Resize to 20%
Position lower right

Resize all layers to 70%

Add your text

Add your name & your © info

Merge all

Save as jpg & you're all done!

I hope you enjoyed my tutorial

I would love to post your © compliant result, just email it to me with the tut name in the subject line

:)


Friday, September 16, 2011

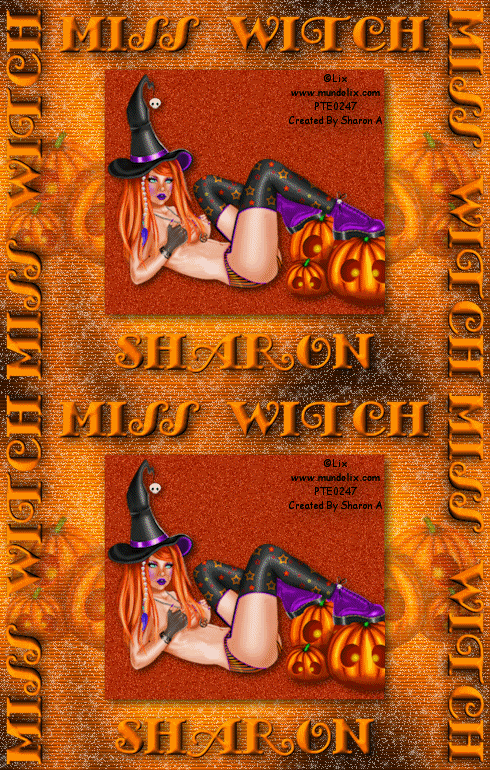
Miss Witch

Click for larger view

This tutorial was written by Sharon on Sept 16, 2011
For more info read my TOU

Supplies Needed
A Pumpkin

Plugins
Graphics Plus Cross Shadow
Xenofex 2 Constellation

The tube I used Pinup Witch is by Lix, you can purchase this tube from PTE here

In this tutorial I'm going to assume you're using the same tube.  If using something else you may need a pumpkin tube or something else of your choice
Look through your autumn/halloween kits

Today my dad would have turned 84 but he died at a young age on Sept 1, 1979 just before turning 52.  So today all my tuts are dedicated to him.
Love you dad!


Open a new transparent canvas 700x550, we will resize later
Floodfill with a bright color from your tube
Effects>Texture Effects>Blinds
Width 5, opacity 50, horizontal & light from left checked, color black
Apply graphics plus cross shadow using default settings
Duplicate
Rename these layers to animation 1 & 2
Apply xenofex constellation 
Star size 2, size variation 1, overall star density 25, over drive 50, twinkle amount 75, twinkle rotation 45
keep original image checked, random seed 1

Repeat on other layer clicking on the random seed button

Paste the pumpkin as a new layer (mine came with the tube)
I resized to 60%
Move to the left side
Change layer opacity to 40
Duplicate & mirror

Add a new raster layer
Activate your selection tool & click on custom
Left 150, right 550, top 100, bottom 450
Floodfill with a darker color from your tube
Do Not Deselect

Paste your tube as a new layer
Resize as needed
Invert your selection
Delete
Deselect

Go back to your floodfill selection layer
Add noise
Gaussian, monochrome checked, 30%
Add drop shadow

Add your text
Apply inner bevel using bevel #2 width 30
Add drop shadow
Duplicat twice
Rotate one left 90
Move into position on the left

Rotate right 90 on the other one
Apply same effects
Position on the right

Add your name
Apply same effects

Resize all layers to 70%

Add © info

Hide animation 1
Merge visible
Copy & paste into animation shop

Undo your merge
Unhide animation 1
Hide animation 2
Merge visble
Copy & paste after current in animation shop

Set frame properties at 15

Save as gif & you're all done!

I hope you enjoyed my tutorial

I would love to post your © compliant result, just email it to me with the tut name in the subject line

:)


Halloween Kitten

Click for larger view

This tutorial was written by Sharon on Sept 16, 2011
For more info read my TOU

Supplies Needed
Your imagination

Floodfill color I used #e1700b

Plugins
Graphics Plus Cross Shadow
Xero Fritillary

The tube I used Halloween Kitten is by Melissa Dawn, you can purchase this tube from CDO here

Today my dad would have turned 84 but he died at a young age on Sept 1, 1979 just before turning 52.  So today all my tuts are dedicated to him.
Love you dad!


Open a new transparent canvas, 700x550.  We will resize later
Floodfill with a color from your tube
Apply graphics plus cross shadow, default settings
Apply xero fritillary changing the top & bottom #'s to 12

Activate your selection tool
Click on custom
Top 100, bottom 450, left 100, right 600
Floodfill with the same color
Apply xero fritillary changing the top & bottom #'s to 8
Add drop shadow

Activate your pen tool, width 8
Foreground black, background null
Draw a line the same width of your selection floodfill layer
Ojects>Align>Center
Convert to raster

Effects>Distortion Effects>Wave
Horizontal settings
Amplitude 4, wavelenght 10, 
Vertical settings
amplitude 1, wavelenght 8
Transparent
Activate the floodfilled layer
Select all>float>defloat
Activate your wave layer
Invert your selection
Delete
Deselect

Duplicate 2 times
Move one up a bit and the other one down
Merge these layers
Move to the bottom of your floodfilled layer
Add drop shadow
Duplicate & flip

Paste your tube as a new layer
Resize as needed
Add drop shadow
Duplicate
Resize to 35%
Position on lower right corner as shown on my tag
Duplicate & mirror

If you're using the same tube paste the bats as a new layer
Add drop shadow
Duplicate a few times and position in various areas

Resize all layers to 70%

Add your name & your © info

Merge all

Save as jpg & you're all done!

I hope you enjoyed my tutorial

I would love to post your © compliant result, just email it to me with the tut name in the subject line

:)


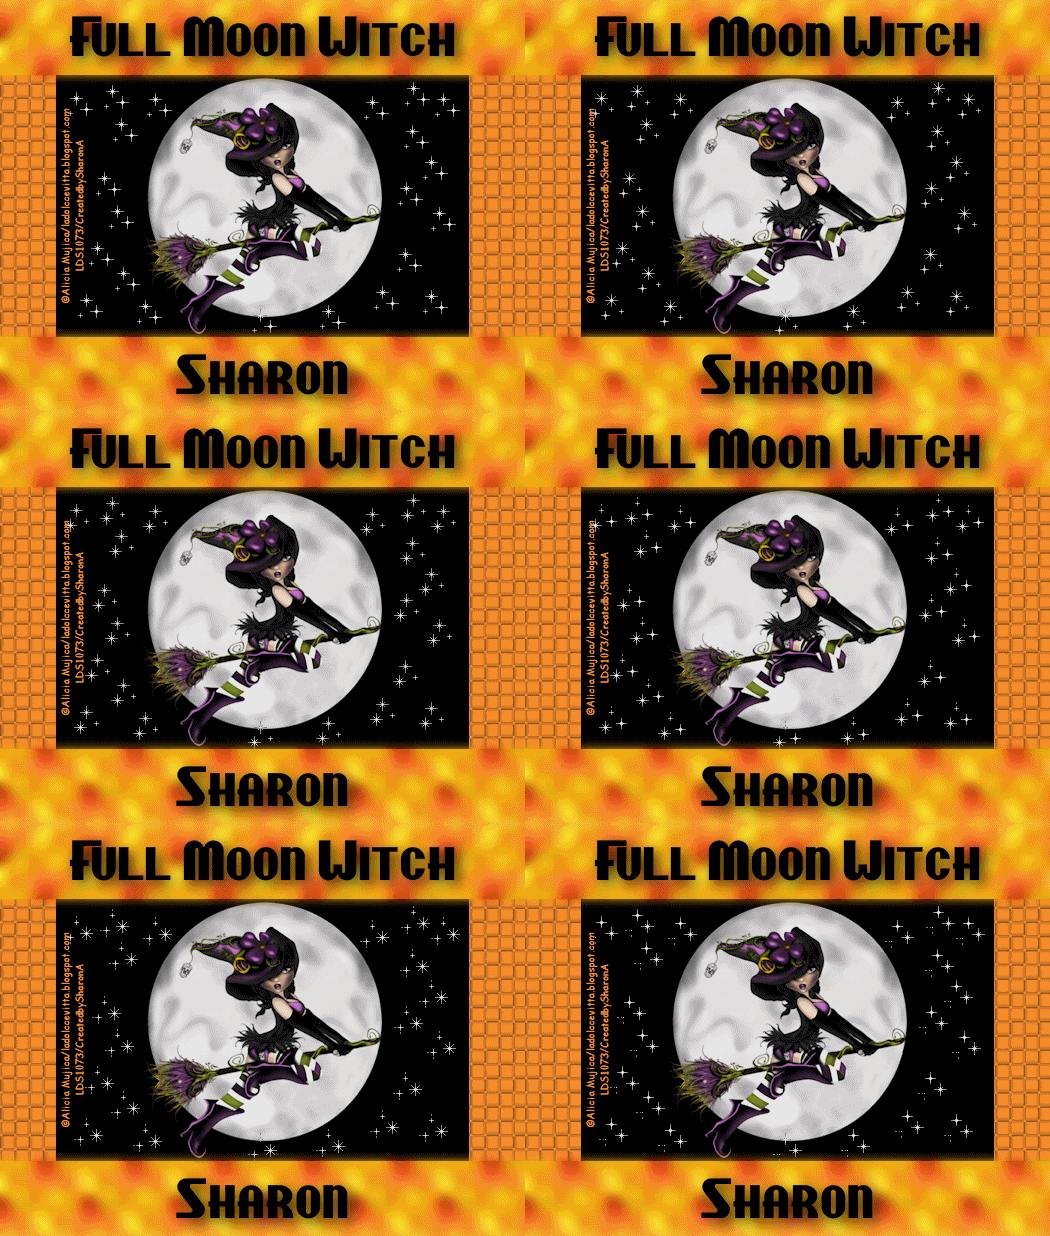
Full Moon Witch

Click for larger view

This tutorial was written by Sharon on Sept 16, 2011
For more info read my TOU

Supplies Needed
Twinkle animation 

Right click to save

The tube I used Amely Witch is by Alicia Mujica, you can purchase this tube from PTE here

Today my dad would have turned 84 but he died at a young age on Sept 1, 1979 just before turning 52.  So today all my tuts are dedicated to him.
Love you dad!


Open a new transparent canvas 700x550, we will resize later

Paste your tube as a new layer
Resize as needed, I resized mine 65% I didn't want it taking up the whole height of the tag
Add drop shadow

Add a new raster layer

Activate your selection tool
Click on Custom Selection
Top 0, bottom 100, left 0, right 700
Deselect
Floodfill with a pattern
Duplicate & flip
Merge down
Apply gausion blur radius 5

Add a new raster layer
Custom selection, right 0, left 700, top 100, bottom 450
Floodfill with orange
Move to below your tube layer
Effects>Texutre Effects>Weave
Gap size 3, width 16, opacity 60, colors black

Add a new raster layer

Activate your selection tool again and click on custom
Change the top # to 100 and the bottom # to 450 and the left 75 and the right to 625
Floodfill with black
Deselect
Move to below your tube layer

Resize all layers to 70%

Add your text

Add your name & your © info

Merge all

Copy and paste into animation shop
Multiply until you have 16 frames
Select all

Open your twinks animation
Select all
Grabbing by the first frame drop into position on the first frame of your tag

Repeat as many times as you want

Save as gif & you're all done!

I hope you enjoyed my tutorial

I would love to post your © compliant result, just email it to me with the tut name in the subject line

:)


Result by Pat