Showing posts with label Elias Chatzoudis. Show all posts

Sunday, April 29, 2012

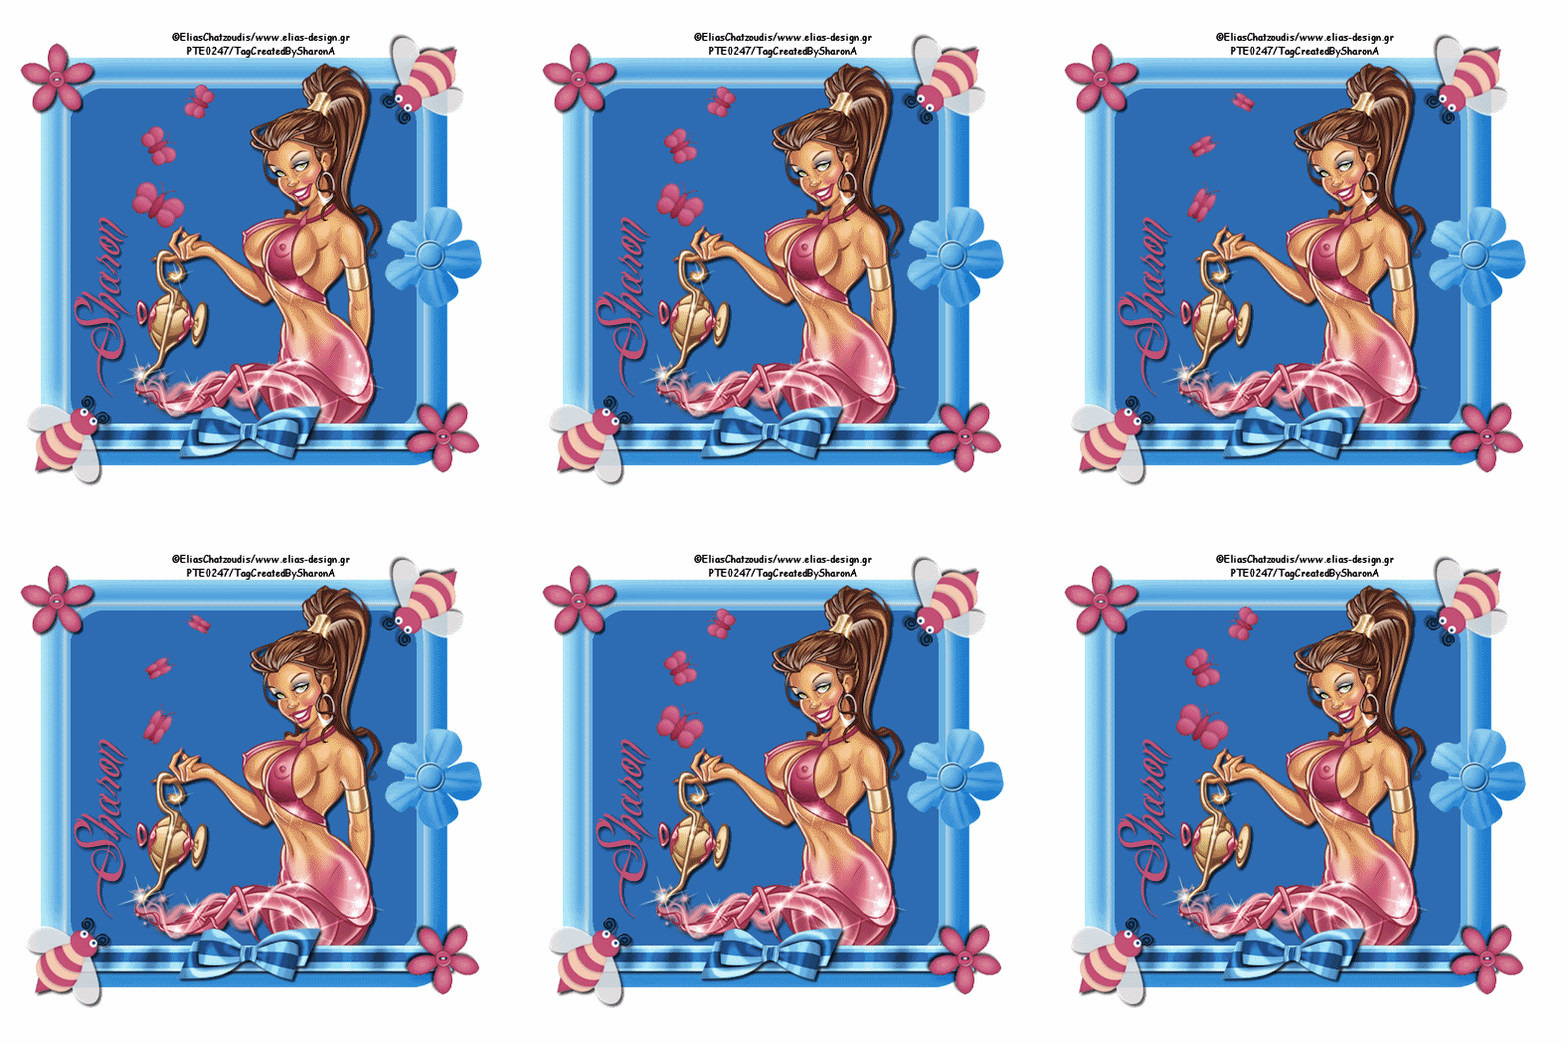
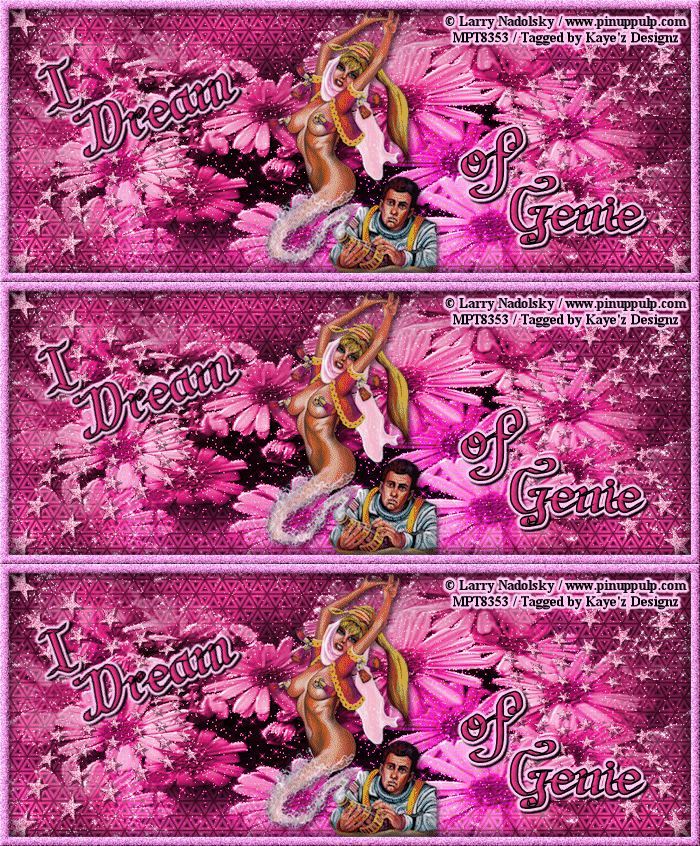
I Dream of Genie

Click for larger view

This tutorial was written by Sharon A on April 28, 2012 & is copyright protected
For more info read my TOU

Supplies Needed
Stars by me here
It's in my celestrial scrapkit if you have it
Flower here

Plugins
Tramages Hex Lattice
Graphics Plus Cross Shadow
DSB Flux Bright Noise
Eyecandy Nature

The tube I used Genie (PTE1453) is by Elias Chatzoudis, you can purchase this tube from PTE here

The name of my font is Artesanias


Open a new transparent canvas 930x375, we will resize later
Floodfill with a color from your tube
Apply hex lattice, change the top # to 30 & the 2nd # to 100
Apply cross shadow changing the 2 bottom #'s to 90

Add a new raster layer
Select all
Paste flower into selection
Deselect
Layer properties>luminance
Apply constellation
Settings>small star constellation>keep original image checked

Paste your stars as a new layer
Floodfill with a lighter shade of your color
Resize to 75%
Position in lower right corner
Add an inner bevel & drop shadow
Duplicate, flip & merge down
Duplicate, mirror & merge down
Apply bright noise intensity 75, mix checked

Paste your tube as a new layer
Resize as needed
Add drop shadow

Using your freehand selection tool select around the lamp
Copy, cut & deselect
Paste as new layer
Position back into place
Select around the spout

Duplicate 2 times
Apply eyecandy nature smoke
Settings>large expanding breeze with these settings


Repeat on other 2 layers clicking the random seed button each time

Add a new raster layer
Select all
Floodfill with your bg color
Contract 12
Delete & deselect
Add inner bevel & drop shadow
Repeat bright noise changing intensity to 50

Resize all layers to 70%

Add your text, name & © info


Animation:

Hide animation 2 & 3
Merge visible
Copy & paste into animation shop

Undo your merge
Hide animation 1 & unhide #2
Merge & paste after current in animation shop

Undo your merge
Hide animation 2 & unhide #3
Merge visible & paste after current in animation shop

View your animation

Save as gif & you're all done!

I hope you enjoyed my tutorial

Your comments are very much appreciated either here on this post or on the chat box.  I've made it easy for you to post on this tut by turning off the requirement of having to type in a confirmation code

I would love to post your © compliant result, just email it to me with ATT Sharon & the tut name in the subject line

You'll find my email blinkie on your left

:)


Result by Kaye W


Thursday, April 26, 2012

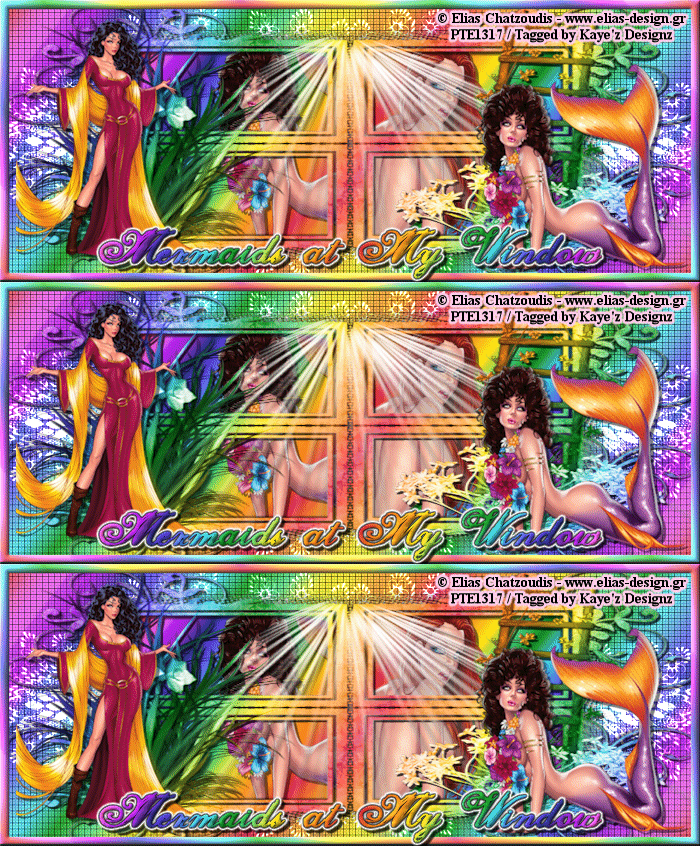
Mermaids At My Window

Click for larger view

This tutorial was written by Sharon A on Apr 26, 2012 & is copyright protected
For more info read my TOU

Supplies Needed
Forum Template # 66 by me here

Plugins
Plugins AB 22
DC Special Nylon
Eyecandy Texture Noise

The tubes I used are by EliasChatzoudis, you can purchase these tubes from PTE here

The name of the font I used is Selfish
I used size 60 & 72


Open your template, shift D to duplicate.  Close original
Delete the credit layer

Activate your bg layer
Floodfill with a rainbow gradient
Apply ab 22 cross ways using default settings

Activate your lace layer
Change layer properties to dodge
Duplicate 2 times
Apply eyecandy texture noise
Settings>tie dye
Repeat on other 2 layers clicking the random seed button each time

Floodfill your window bg with a color from your tube
Apply dc special nylon using default settings

Activate your window layer
Add a new raster layer
Floodfill with your gradient
On your window layer select all>float>defloat
On your floodfill layer invert your selection>delete & deselect
Merge down & add drop shadow

Paste your mermaids as new layers
Resize as needed and add drop shadow
Position in the lower corners

Paste your close up tube as a new layer
Resize as needed
Add drop shadow
Position to one side of the window
Duplicate & mirror
Merge down

Floodfill your border with your gradient
Add an inner bevel & drop shadow

Resize all layers to 70%

Add your text, name & © info


Animation:

Hide animation 2 & 3
Merge visible
Copy & paste into animation shop

Undo your merge
Hide animation 1 & unhide #2
Merge & paste after current in animation shop

Undo your merge
Hide animation 2 & unhide #3
Merge visible & paste after current in animation shop

View your animation

Save as gif & you're all done!

I hope you enjoyed my tutorial

Your comments are very much appreciated either here on this post or on the chat box.  I've made it easy for you to post on this tut by turning off the requirement of having to type in a confirmation code

I would love to post your © compliant result, just email it to me with ATT Sharon & the tut name in the subject line

You'll find my email blinkie on your left

:)


Result by Kaye W


Saturday, September 10, 2011

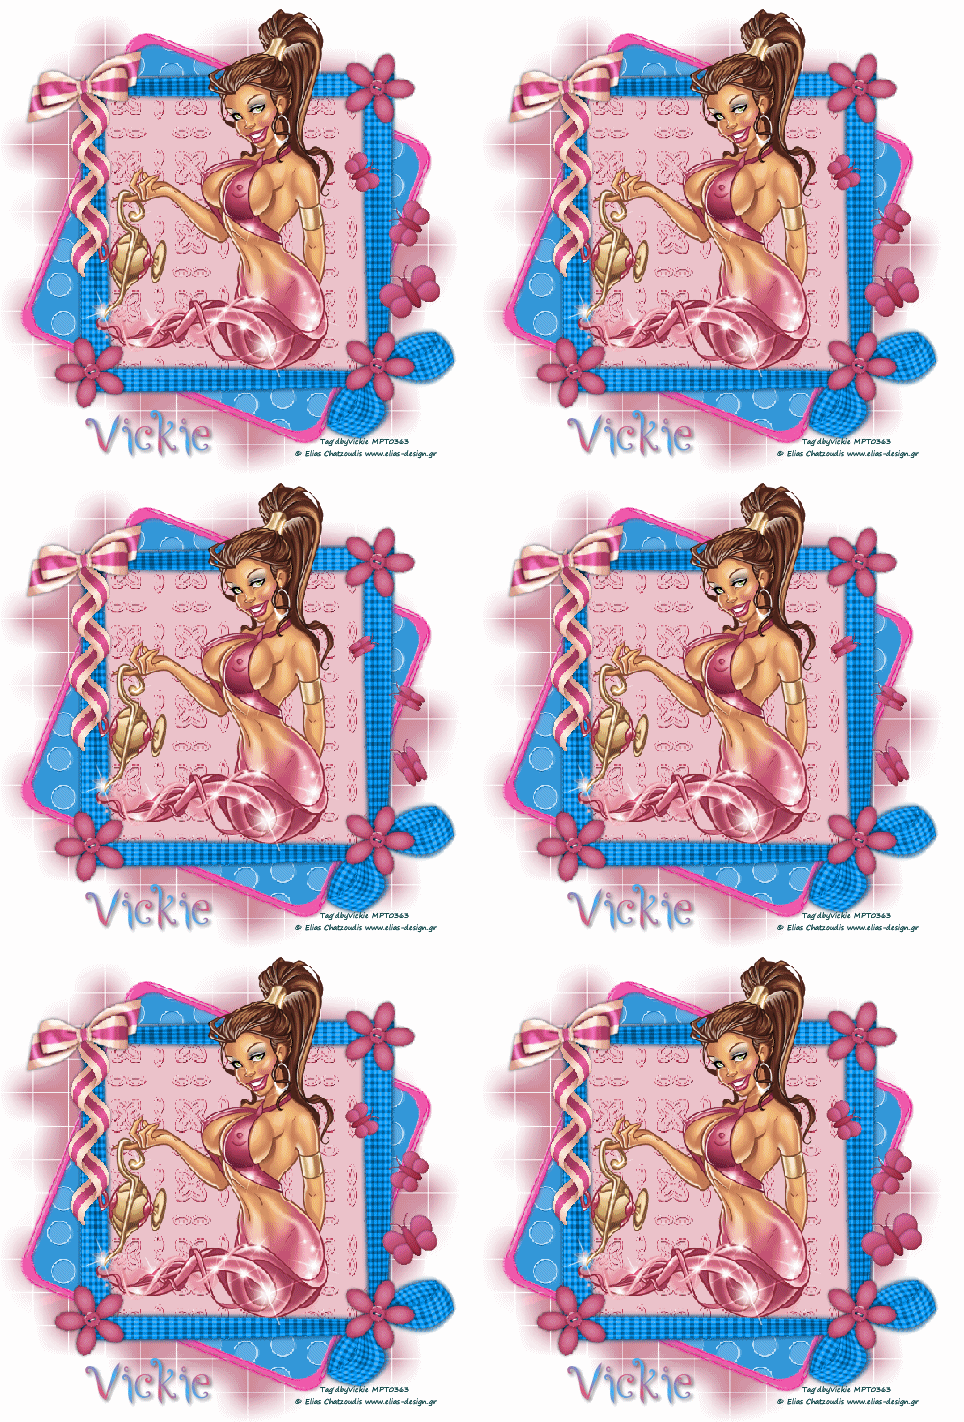
Bootylicious

Click for larger view

This tutorial was written by Sharon on Sept 10, 2011
For more info read my TOU

Supplies Needed
Template 27 by Judith here

5 close up and 1 full tube by one artist 

The tubes I used are by Elias Chatzoudis, you can purchase these tubes from PTE here


Open your template, shift D to duplicate & close original
Delete credit layer
Resize all layers to 700x700 pixels

Paste your main tube as a new layer
Resize as needed

Activate foto 5
Floodfill with a pattern which will look good with your tubes

Select all>float>defloat
Paste one of your tubes as a new layer
Resize as needed
Delete
Deselect
Add drop shadow

Repeat these steps on foto 4, 3, 2 & 1

Floodfill back pannel with the same pattern you just used

Floodfill panels 1, 2, 3 & 4 with a color from your tube

Pick another color from your tube
Floodfill back panel frame
All the heart layers

On the back panel frame add an inner bevel using bevel # 2 width 20

Floodfill the 4 panel frames with the same color
Add inner bevel, same as above

Pick another color from your tube
Floodfill bg layer

Floodfill word art layer with a darker shade from the bg layer

Resize all layers to 70%

Add your name & your © info

Merge all

Save as jpg & you're all done!

I hope you enjoyed my tutorial

I would love to post your © compliant result, just email it to me with the tut name in the subject line

:)


Result by Vickie


Tuesday, August 30, 2011

Devilious

Click for larger view

This tutorial was written by Sharon on August 30, 2011
For more info read my TOU

Supplies Needed
Scrapkit Devilious by Judith here

Template #2 here
You'll need to download the template pack from the main page near the top

The font I used is called Dungeon, you can get it here

The tube I used called Dafne is by Elias Chatzoudis, you can purchase this tube from PTE here


Open your template, shift D to duplicate & close original
Delete credit layer

Activate the background layer
Floodfill with black

Activate Diagonal box layer
Paste your tube as a new layer
Rotate left 30
Resize as needed

Floodfill the grey area of the diagonal box with red

Activate bottom right box
Select all>float>defloat
Contract 9
Paste paper 5 as a new layer
Invert your selection
Delete
Deselect

Repeat for top right box

Floodfill the grey areas with red

Activate the double circle layer
Floodfill the grey areas with red

Paste text 2 as a new layer
Resize to 40%
Position lower right corner

Paste doodle 1 as a new layer
Add drop shadow
Move to below the diagonal box layer

Paste butterfly 1 as a new layer
Resize to 50%
Position on upper circle

Paste flower as a new layer
Resize to 50%
Position on lower circle

Resize all layers to 80%

Add your name & your © info

Merge all layers

Save as jpg & you're all done!

I hope you enjoyed my tutorial

I would love to post your © compliant result, just email it to me with the tut name in the subject line

:)


Monday, August 29, 2011

Moments

Click for larger view

This tutorial was written by Sharon on August 29, 2011
For more info read my TOU

Supplies Needed
Scrapkit Moments here

The tube I used called Marilyn #PTE1547 is by Elias Chatzoudis, you can purchase this tube from PTE here


Open new transparent canvas 700x700, we will resize later
Select all
Paste paper 8 into selection
Deselect

Paste window as a new layer
Resize to 85%
Click inside the window using your magic wand
Hold down the shift key and selelct the upper parts of the window
Paste paper 7 as a new layer
Resize to 50%
Invert your selection
Delete
Deselect
Move to below window layer

Add a drop shadow to the window

Paste brances as a new layer
Resize to 60%
Position on right side as shown on my tag
Add drop shadow

Paste fence as a new layer
Resize to 90%
Position at the bottom
Add drop shadow

Paste your tube as a new layer
Position on the right
Add drop shadow

Paste flowers 3 as a new layer
Resize to 45%
Move to one side lining up at the bottom
Add drop shadow
Duplicate & mirror
Merge down

Paste butterfly 2 as a new layer
Resize to 30%
Position over window as shown on my tag
Add drop shadow
Duplicate
Resize to 60%
Position on the left side of the fence
Duplicate
Resize to 85%
Position on the branches

Paste bow 1 as a new layer
Resize to 35%
Position at the top center of window
Add drop shadow

Paste wordart as a new layer
Resize to 50%
Position top center
Add drop shadow

Resize all layers to 75%

Add your name & your © info

Merge all

Save as jpg & you're all done!

I hope you enjoyed my tutorial

I would love to post your © compliant result, just email it to me with the tut name in the subject line

:)


Thursday, August 18, 2011

Genie's & Butterflies

Click for larger view

This tutorial was written by Sharon on August 18, 2011
For more info read my TOU

Supplies Needed
Scrapkit Butterflies by Judith here

The tube I used is by Elias Chatzoudis, you will need a license to use which you can purchase from PTE here


Open a new transparent canvas 700x700, we will resize later
Floodfill with white

Paste frame 4 as a new layer
Resize to 30%
Using your magic wand click inside the frame
Expand 6
Add a new raster layer
Floodfill with a color from your tube or from the kit
Do Not Deselect

Paste your tube as a new layer
Resize as needed
Invert your selection
Delete
Deselect
Add drop shadow

Paste element 29 as a new layer
Resize to 15%
Position as shown on my tag
Add drop shadow

Paste element 21 as a new layer
Resize to 8%
Position over ribbon

Paste element 6 as a new layer
Resize to 10%
Position upper left corner of frame
Duplicate
Mirror & flip
You'll need to re position on lower right corner of frame

Paste element 8 as a new layer
Resize to 10%
Rotate right 45
Add drop shadow
Duplicate
Mirror & flip

Resize all layers to 75%

Add your name & © info

Animation

Merge all layers

Copy and paste into animation shop
Multiply until you have 23 frames, the same as the butterflies animation
Select all

Open the animated butterflies from the kit in animation shop

Resize animation to 65%
Select all

Making sure you're on frame 1 of the butterflies drag onto frame 1 of your tag, let go when it's where you want it

Save as gif & you're all done!

I hope you enjoyed my tutorial

I would love to post your © compliant result, just email it to me with the tut name in the subject line

:)


Result by Vickie


Wednesday, August 17, 2011

Biker Babe

Click for larger view

This tutorial was written by Sharon on August 17, 2011
For more info read my TOU

Supplies Needed
Scrapkit Easy Rider here
(Look for download password in her TOU)

Template Biker Babe by Bright's Kreationz here

The tube I used is by Elias Chatzoudis, you will need a license to use which you can purchase from PTE here

Open template, shift D to duplicate.  Close original

Delete credit layer

Activate background layer
Select all
Paste paper 4 into selection
Deselect

Activate raster 3
Select all
Float>defloat
Floodfill with dark red
Apply inner bevel using bevel #2 width 1
Do Not Deselect

Paste your tube as a new layer
Resize as needed
Invert your selection
Delete
Deselect

Activate raster 1
Select all
Float>Defloat
Paste paper 1 into selection
Deselect

Repeat on raster 7

Activate raster 5
Floodfill with same red as raster 3

Activate biker word art
Select all
Float>Defloat
Floodfill with same red as above

Paste element 2 (10) as a new layer
Resize to 20%
Position as shown on my tag
Add drop shadow

Activate raster 7
Select all
Float>Defloat

Paste element 1 (7) as a new layer
Resize to 15%
Position as shown on my tag
Invert your selection
Delete
Deselect

Resize all layers to 90%

Add your © info & name

Save as jpg & you're all done!

I hope you enjoyed my tutorial

I would love to post your © compliant result, just email it to me with the tut name in the subject line

:)


Saturday, August 6, 2011

Flowers & Lace ~ Forum Set

Click for larger view

This tutorial was written by Sharon on August 6, 2011
For more info read my TOU

Supplies Needed
Mask #3 by Lithium Flower Creations here

Lace boarders by LaCarolita here

Plugins
Xero Porcelain
Graphics Plus Cross Shadow


The tube I used is by Elias Chatzoudis, you will need a license to use which you can purchase from PTE here

Open a new transparent canvas 800x325, we will resize later
Floodfill with a dark color from your tube
Apply graphics plus cross shadow using default settings

New raster layer
Floodfill with a light color from your tube

Apply mask
Merge group
Apply graphics plus cross shadow using default settings

Paste your tube as a new layer
Resize as needed
Add drop shadow
Apply xero porcelain using default settings

Paste lace of your choice as a new layer
Resize to 40%
Position at the bottom of your tag
Duplicate
Flip
Merge down

Paste lace as a new layer again
Resize to 15%
Rotate left 90
Position as shown in my tag
Dupicate
Position as shown in my tag
Merge down
Mirror
Merge down
Merge with the other lace layer

Add your name

Resize all layers to 60%

Add your © info

Save as jpg & you're all done!

I hope you enjoyed my tutorial

I would love to post your © compliant result, just email it to me with the tut name in the subject line

:)


Secrets of Dawn

Click for larger view

This tutorial was written by Sharon on August 6, 2011
For more info read my TOU

Supplies Needed
Sqirlz Water Reflection (A free program) here

Animation shop

A background image with water

The tube I used is by Elias Chatzoudis, you will need a license to use which you can purchase from PTE here
Photo by Jon Rattenbury, also an artist at PTE

For info on using 2 PTE artists read section 10 of the PTE TOU here

Open Sqirlz program
Open your photo
Click on the round circle at the top of the left tool bar
Select around the water area, when you get back to your starting poing right click your mouse
On the upper tool bar look for wavy blue icon, click on it
On the pop up window select E for motion type
Click on Add Flow
I set flow direction at 50 and flow strength at 30
Click on the yellow arrow then x out of both pop up windows
Click on the GIF icon
Select ripples only
Name your animation
Click ok

Back to psp
Open the non animated version of your photo

Paste your tube as a new layer
Resize as needed
Position into place
Add drop shadow

Add your name

Add your © and photo info

Merge your tube, name & info layers
Copy & paste into animation shop

My animation has 20 frames so I need to multiply my tube to 20 frames

Select all on the tube & on the animation

Grab the tube by the 1st frame and drop it onto the 1st frame of the animation
View your animation to be sure everything is ok

Save as gif and you're all done!

I hope you enjoyed my tutorial

I would love to post your © compliant result, just email it to me with the tut name in the subject line

:)

==================

Result by Nancy


Tuesday, June 21, 2011

Butterfly Babe Forum Size

Click for larger view

This tutorial was written by Sharon on June 21, 2011
For more info read my TOU

Plugins Needed
Filters Unlimited 2 Image Enhancement>Color Booster
Filters Unlimited 2 Noise Filters>Background Noise
Xero Porcelain

Mask 3 here

The tube I used is by Elias Chatzoudis, you will need a license to use which you can purchase from PTE here

New transparent canvas 700x300, we will resize later
Floodfill with a light color from your tube

Add a new raster layer
Floodfill with a darker color from your tube

Apply mask
Merge group
Apply Filters Unlimited 2 Image Enhancement>Color Booster using default settings
Apply Filters Unlimited 2 Noise Filters>Background Noise using default settings

Paste your tube as a new layer
Resize as needed
Position on the left side
Add a drop shadow, I used 5, 5, 75, 10
Duplicate & mirror
Luminance legacy & opacity at 50 on the right side one

Activate the left tube layer
Apply xero porcelain, default settings

Add text, I used Impact size 60
Effects>Cutout Change opacity to 85
Add drop shadow

Resize all layers to 75%

Add your © info & name

Merge all layers

Save as jpg and you're all done!

I hope you enjoyed my tutorial

I would love to post your result, just email it to me

:)

This tutorial is © protected
MyFreeCopyright.com Registered & Protected


The image I created for this tutorial is © protected
MyFreeCopyright.com Registered & Protected


Sunday, June 19, 2011

Summer Fun ~ Forum

Click for larger view

This tutorial was written by Sharon on June 7, 2011
For more info read my TOU

Supplies Needed
Scrapkit Summer Feeling here

The tubes I used are by Elias Chatzoudis.  You will need to purchase a license to use which you can get from PTE here


New transparent canvas, 800x400.  I'm making this for a banner contest, thats why its so large but we will resize later
Select all
Paste paper 16 into selection
Deselect


Paste car as a new layer
Resize to 75%
Position at the right bottom
Add a drop shadow, I used 5,5, 75, 10

Paste your tube as a new layer
Resize as needed
Position on top of the car
Add drop shadow

Paste tree as a new layer
Resize to 60%
Position on right side
Add a drop shadow
Duplicate & mirror

Paste pool as a new layer
Resize to 65%
Position lower left
Add drop shadow

Paste beachball as a new layer
Resize to 25%
Position in the pool
Add a drop shadow

Paste your 2nd tube as a new layer
Resize as needed
Position on the pool

Paste flipflop as a new layer
Resize to 40%
Rotate left 45
Add a drop shadow

Paste grass 1 as a new layer
Resize to 40%
Position on lower left
Add drop shadow
Duplicate 3 times and position in various places along the bottom

Do the same with grass 2 except duplicate only 2 times
Position in between the grass 1

Paste umbrella as a new layer
Resize to 85%
Move layer to below your #2 tube
Add a drop shadow

Paste flower 4 as a new layer
Resize to 40%
Position on the bottom
Add a drop shadow
Duplicate
Mirror

Paste drink 2 as a new layer
Resize to 30%
Position on the car
Add a drop shadow
Duplicate and position on the side of the pool

Paste butterfly 2 as a new layer
Resize to 35%
Position on edge of pool
Add a drop shadow

Repeat with butterfly 1 positioning on the car

Resize all layers to 60%

Add your text and © info

Merge all layers

Save as jpg and you're all done!

I hope you have enjoyed my tutorial

Hugs

:)


Tuesday, June 7, 2011

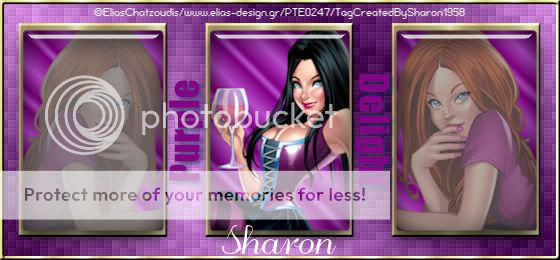
Purple Delight ~ Forum

Click for larger view

This tutorial was written by Sharon on Feb 14, 2011
For more information read my TOU

Supplies needed
I used Forum Template #27 by me here

Plugins
Eyecandy 5 Impact Glass
Xero Fritillary

The tubes I am using are by Elias Chatzoudis.  You will need a license to use which you can purchase here

Open template, shift D to duplicate and close original
Delete Raster 5

Activate raster 4
Select all>float>defloat
Paste your main tube as a new layer
Resize as needed
Invert your selection
Delete
Do Not Deselect

Paste your other tube as a new layer
Resize as needed & delete
Deselect
Duplicate the tube and mirror
Change layer properties to soft light
Duplicate
Mirror
Merge your tube layers with raster 4
Apply eyecandy glass effect using default settings

Activate raster 3
Apply bevel effect using bevel #3 width 2

Repeat on raster 2

Activate raster 1
Apply Xero Fritillary effect changing the top # to 8 and the bottom # to 12

Activate raster 4
Select Impact as your font and choose a purple color from the template
Type the word Purple and rotate left 90
Center it in between the 2 frames
Align vertical
convert to raster

Repeat for the word Delight centering between the other 2 frames and rotating right
Merge down and add a drop shadow

Resize all layers to 80%
Add your © info and your name

Merge all

Save a jpg and you're done!

I hope you enjoyed this tutorial
I would love to post your result if you email it to me

:)

===================================

Tut result sent in by Priscie