Showing posts with label Maryline Cazenave. Show all posts

Saturday, July 7, 2012

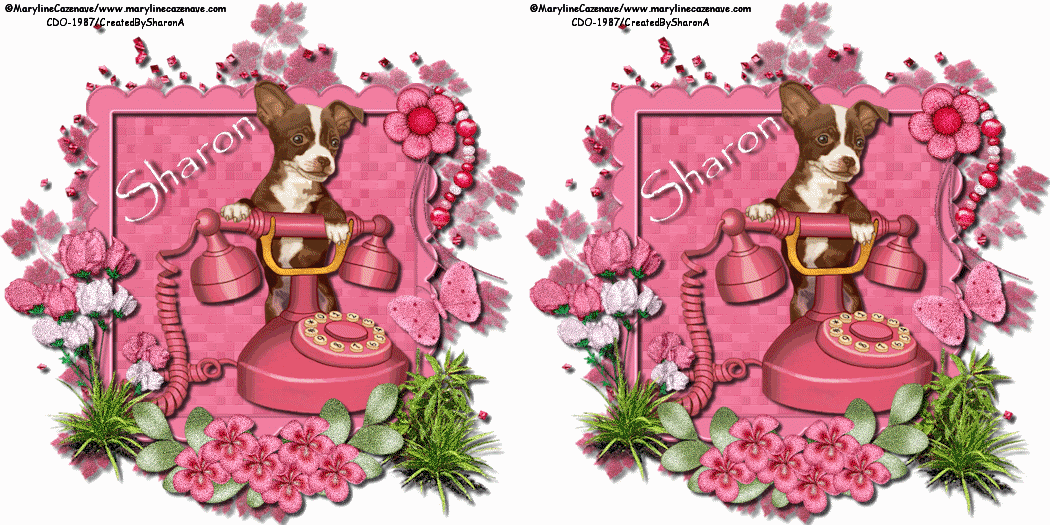
Take Me

Click for larger view

This tutorial was written by Sharon A on July 7, 2012 & is copyright protected
For more info read my TOU

Supplies Needed
Bone by me, right click to save
 Plugins
Mura Meister Copies
DC Special Nylon

The tube I used Suitcase Yorkie (25-2) is by  Maryline Cazenave, you can purchase this tube from CDO here

The name of the font I used is Edmunds


Open new transparent canvas 930x420, we will resize later
Floodfill with a color from your tube
Apply dc special nylon using default settings

Paste your bone as a new layer
Duplicate & hide the duplicated layer

Apply mura meister copies
Preset menu on tiling angle, gap 2
Change layer properties to burn
Add an inner bevel

Paste your tube as a new layer
Resize if needed
Add drop shadow

Unhide your bone & send to the top
Use your manual color correction to change the color
Change the sourse to white and the target to your color choice
Duplicate & hide the duplicated layer

Apply mura meister copies
Preset menu on line, number 13
Position near the bottom, leaving a space
Duplicate & flip
Merge down
Add an inner bevel & drop shadow

Unhide your duplicated bone
Resize the width to 75%
Reposition back to the center of your tag
Repeat copies changing # to 17

Move to above the angled bones layer
Duplicate 2 times
Effects>distortion effects>wave with these settings


Repeat on other 2 layers increasing the wave length by 1 on each layer
Hide the 2 bottom wave layers

Resize all layers to 70%

Add your text, name & © info


Animation:

Hide animation 2 & 3
Copy merged & paste into animation shop

Undo your merge
Hide animation 1 & unhide #2
Copy merged & paste after current in animation shop

Undo your merge
Hide animation 2 & unhide #3
Copy merged & paste after current in animation shop

View your animation

Save as gif & you're all done!

I hope you enjoyed my tutorial

Your comments are very much appreciated either here on this post or on the chat box.  I've made it easy for you to post on this tut by turning off the requirement of having to type in a confirmation code

I would love to post your © compliant result, just email it to me with ATT Sharon & the tut name in the subject line

You'll find my email blinkie on your left

:)


Result by Kaye W


Sunday, May 13, 2012

Calling The Rainbow Bridge

Click for larger view

This tutorial was written by Sharon A on May 13, 2012 & is copyright protected
For more info read my TOU

Supplies Needed
Scrapkit Rainbow Bridge by me here

The tube I used 10-3 is by Maryline Cazenave, you can purchase this tube from CDO here

The name of the font I used is Tamborine

I dedicate this tut to all of my four legged children who have passed on to the rainbow bridge throughout my life starting when I was only 6.  Her name was Mick & even though I was young when she passed I will never forget her.  She saved the lives of my mother, my brother, my great grandma & me when I was a baby before my sister was born.  My great grandmother had been staying with us and my dad was working the night shift.  She had left the gas stove on & went to bed.  Mick couldn't wake anybody so she came & shook my crib to wake me up which you know what happens when a baby wakes up!  That finally woke my mother who got up & opened all the windows & shut off the gas.  I've heard many similar stories about animals saving lives.  I of course remember none of it, this was told to me many times over the years by my mother.  I think of Mick & all the rest often


Open new transparent canvas 700x700, we will resize later
Select all
Paste paper 17 into selection
Deselect
Add an inner bevel

Paste frame 14 as a new layer
Resize to 75%
Click inside with your magic wand
Expand 5

Add a new raster layer
Paste paper 9 into selection
Move to below your frame layer
Deselect
Since this is a torn paper resize by 102%

Add an inner bevel & drop shadow to your frame

Paste your tube as a new layer
Resize if needed
Add drop shadow

Paste honeysuckle as a new layer
Resize to 60%
Add drop shadow
Position on the upper right corner of your frame
Duplicate, mirror & merge down

Paste a butterfly as a new layer
Resize to 40%
Rotate right 30
Add drop shadow
Position on the left side of your frame

Paste one of the sunshine flowers as a new layer
Resize to 40%
Position on the right side of your frame
Add drop shadow

Paste a butterfly bow as a new layer
Resize to 50%
Position on the lower left corner of your frame
Add drop shadow
Duplicate, mirror & merge down

Paste a tag as a new layer
Resize to 50%
Position at the bottom of your frame
Add drop shadow

Duplicate & position within your frame
Rotate left 30

Paste lace border as a new layer
Position at the top of your tag
Add drop shadow

Resize all layers to 70%

Add your name & © info

Add your text one word at a time, each on a new layer
I used size 42 for my font
Rotate left 30
Center over the tag in your frame
Add your inner bevel & drop shadow

Hide and add your next word
Keep doing this until you have all your words in
I had to resize the width of the word rainbow by 90%

The # of your frames in your animation will depend on how many words you use
I ended up with 9


Animation:

Hide all your text layers (not your name though)
Merge visible
Copy & paste into animation shop

Undo your merge
Unhide the word calling
Merge visible & paste after current in animation shop

Undo your merge
Hide the word calling & unhide the word my
Merge visible & paste after current in animation shop

Continue this until all your text words are pasted

I set my frame properties at 60

View your animation

Save as gif & you're all done!

I hope you enjoyed my tutorial

Your comments are very much appreciated either here on this post or on the chat box.  I've made it easy for you to post on this tut by turning off the requirement of having to type in a confirmation code

I would love to post your © compliant result, just email it to me with ATT Sharon & the tut name in the subject line

You'll find my email blinkie on your left

:)


Result by Kaye W
Using her own cats!


Friday, April 20, 2012

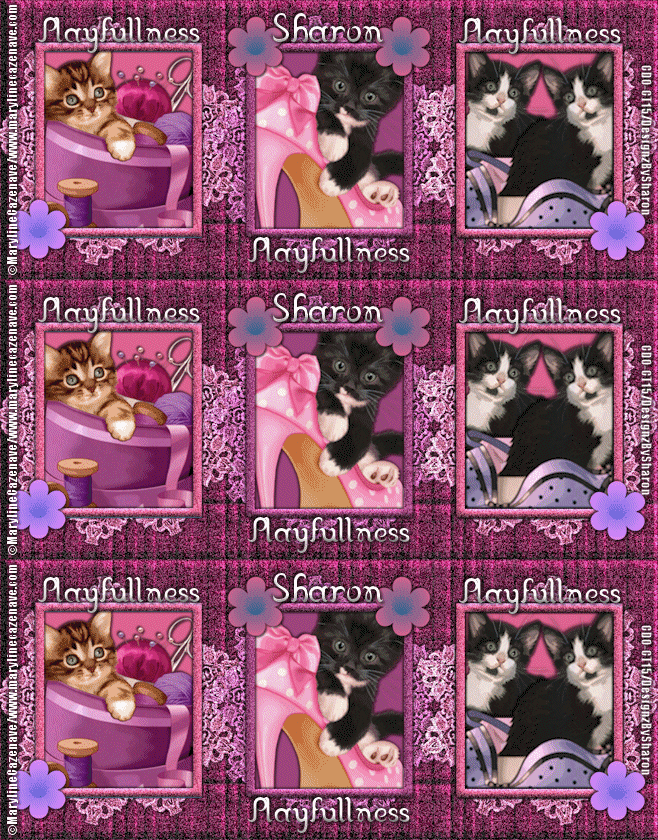
Playfullness

Click for larger view

This tutorial was written by Sharon A on Apr 20, 2012 & is copyright protected
For more info read my TOU

Supplies Needed
Forum Template 62 by me here

Plugins
DSB Flux Bright Noise

The tubes I used 2-2, 3-3 & 5-2 are by Maryline Cazenave, you can purchase these tubes from CDO here

The name of the font I used is Franklin Cascaes
I used size 42 & 48


Open your template, shift D to duplicate.  Close original
Delete the credit layer

Floodfill the bg layer with a color from one of your tubes
Add texture with these settings


Apply dsb flux bright noise intensity 75, mix checked

Activate your middle lace layer
Select all>float>defloat
Add a new raster layer
Floodfill with your bg color
Deselect
Change layer properties to hard light
Add drop shadow

Repeat with the other 2 lace layers using another color from another tube
Merge all the lace layers
Duplicate 2 times
Apply dsb flux bright noise intensity 60, mix checked

Repeat on other 2 layers changing intensity to 65 & 70

Activate one of your frame layers
Click inside with your magic wand
Expand 3

Paste your tube as a new layer
Resize as needed and add drop shadow
Position in place
Invert your selection
Delete & deselect

Repeat this with your other 2 frames & tubes
On the right one I duplicated & mirrored before using the magic wand on the frame

Floodfill your middle frame with your bg color
Add an inner bevel & drop shadow

Repeat with the other 2 frames using your 2nd color

Apply dsb flux bright noise to your frames, intensity 45, mix checked

Move flower 1 to the top
Merge down
Select all>float>defloat
Add a new raster layer
Floodfill with your bg color
Deselect
Change layer properties to hard light
Add drop shadow

Merge the other 2 flower layers
Repeat the above steps changing layaer properties to darken

Floodfill your middle square with your bg color
Floodfill the other 2 squares with your 2nd color

Resize all layers to 70%

Add your text, name & © info


Animation:

Hide animation 2 & 3
Merge visible
Copy & paste into animation shop

Undo your merge
Hide animation 1 & unhide #2
Merge & paste after current in animation shop

Undo your merge
Hide animation 2 & unhide #3
Merge visible & paste after current in animation shop

View your animation

Save as gif & you're all done!

I hope you enjoyed my tutorial

Your comments are very much appreciated either here on this post or on the chat box.  I've made it easy for you to post on this tut by turning off the requirement of having to type in a confirmation code

I would love to post your © compliant result, just email it to me with ATT Sharon & the tut name in the subject line

You'll find my email blinkie on your left

:)


Result by Kaye W


Wednesday, April 18, 2012

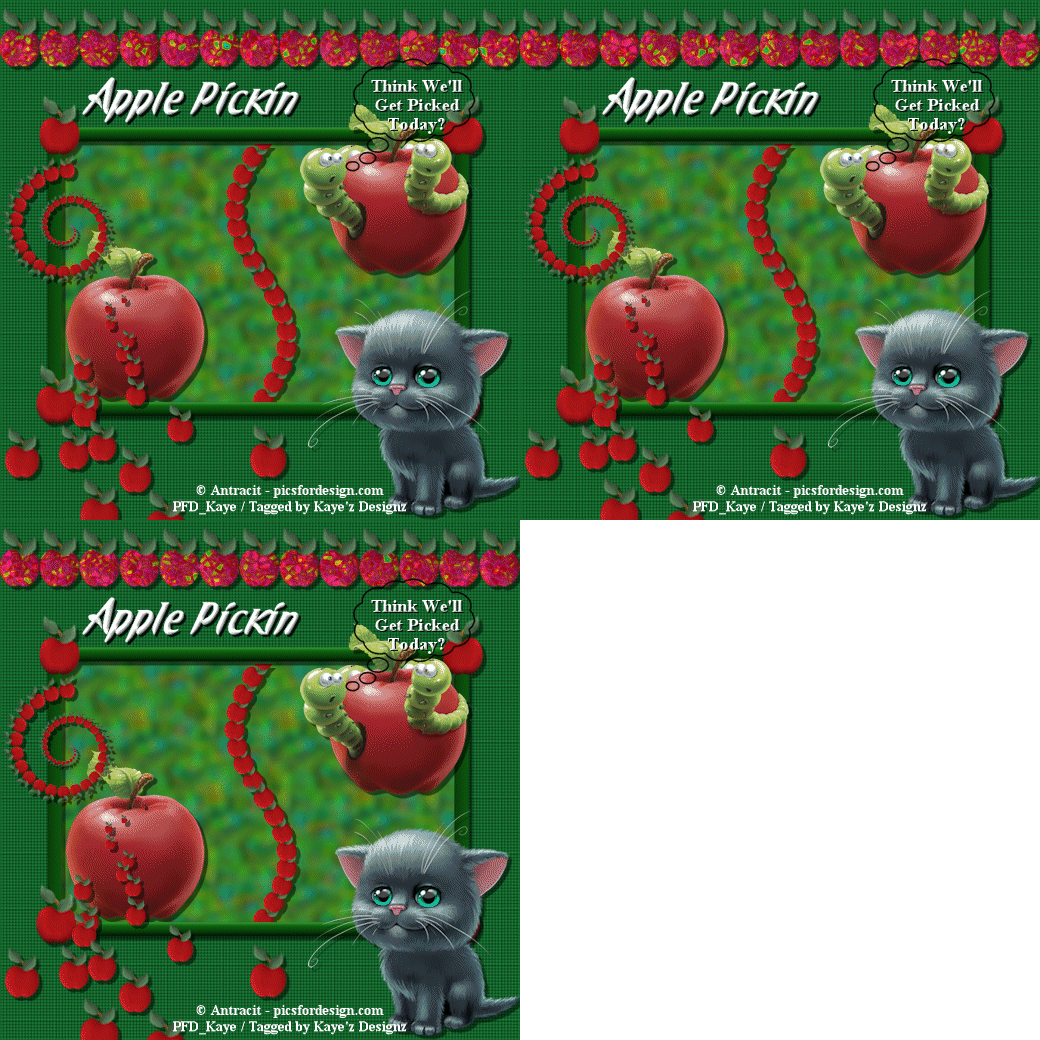
Apple Pickin

Click for larger view

This tutorial was written by Sharon A on Apr 18, 2012 & is copyright protected
For more info read my TOU

Supplies Needed
My apple elements pack which I made for this tut here

Plugins
DSB Flux Bright Noise


The tube I used 9-3 is by Maryline Cazenave, you can purchase this tube from CDO here

The name of my font is Applejuicing
I used size 60


Open new transparent canvas 700x700, we will resize later
Floodfill with green
Add texture
Fine canvas, scale 75, depth 1

Paste frame as a new layer
Click inside with your magic wand
Expand 3
Add a new raster layer
Floodfill with a greenery pattern
Move to below your frame layer

Add a drop shadow to your frame

Paste your tube as a new layer
Resize as needed
Add drop shadow
Position in left side of frame
Duplicate
Resize to 75%
Position in right side of frame
Move to below your frame layer
Use your eraser to get rid of any parts of the tube hanging out from behind the frame

Paste shower of apples as a new layer
Position at the bottom left of your tag
Add drop shadow

Paste apple vertical wave as a new layer
Resize to 50%
Add drop shadow
Move to below your tube layers

Paste apple spiral as a new layer
Resize to 40%
Add drop shadow
Position on the upper right of your frame

Paste apple line as a new layer
Position at the top of your tag
Add drop shadow

Merge your apple line with the shower of apples
Add another drop shadow
Duplicate 2 times
Apply dsb flux bright noise intensity 40, mix checked
Repeat on other 2 layers changing the intensity to 45 & 50

Resize all layers to 70%

Add your text, name & © info


Animation:

Hide animation 2 & 3
Merge visible
Copy & paste into animation shop

Undo your merge
Hide animation 1 & unhide #2
Merge & paste after current in animation shop

Undo your merge
Hide animation 2 & unhide #3
Merge visible & paste after current in animation shop

View your animation

Save as gif & you're all done!

I hope you enjoyed my tutorial

Your comments are very much appreciated either here on this post or on the chat box.  I've made it easy for you to post on this tut by turning off the requirement of having to type in a confirmation code

I would love to post your © compliant result, just email it to me with ATT Sharon & the tut name in the subject line

You'll find my email blinkie on your left

:)


Result by Kaye W



Monday, April 2, 2012

Kittys In My Garden

Click for larger view

This tutorial was written by Sharon A on Apr 2, 2012 & is copyright protected
For more info read my TOU

Supplies Needed
Paw Print Overlay made by me 
PSP here
PSD here
Window here

Plugins
Graphics Plus Cross Shadow
Eyecandy 5 Impact Glass

The tubes I used are by Maryline Cazenave, you can purchase this tube from CDO here

The name of my font is Tagettes
I used size 42 for my text & name after resizing


Open new transparent canvas 700x700, we will resize later
Select all

Open your pawprint overlay
Shift D to duplicate, close out original
Delete the info layer
Floodfill your top layer with your color
Change layer properties to overlay
Merge down
Copy & paste into your selection
Apply graphics plus cross shadow using default settings

Paste your window frame as a new layer
Click inside the frame with your magic wand
Expand 3

Go back to your overlay
Undo until your floodfill is undone
Floodfll with another color from your tube
Same steps as above
Resize to 50%
Copy & paste into your selection
Deselect & move to below your frame layer

Add a drop shadow to your window

Paste your tubes as new layers
Resize to various sizes
On the bottom left tube I rotated left 20
On the upper left tube I rotated left 15
The upper right tube I rotated right 15
Add a drop shadow to each one

If your tube doesn't have flowers & such then you'll need some
Paste them as new layers
Resize to small
Add drop shadow to each one
Position around in various areas on your tag

Play around with your property layers on the flowers

Resize all layers to 70%

Add your text, name & © info

Merge all

Apply eyecandy glass using default settings

Save as jpg & you're all done!

I hope you enjoyed my tutorial

Your comments are very much appreciated either here on this post or on the chat box.  I've made it easy for you to post on this tut by turning off the requirement of having to type in a confirmation code

I would love to post your © compliant result, just emaail it to me with ATT Sharon & the tut name in the subject line

You'll find my email blinkie on your left 

:)


Sunday, August 28, 2011

Forever Fall

Click for larger view

This tutorial was written by Sharon on August 27, 2011
For more info read my TOU

Supplies Needed
Scrapkit Forever Fall by Jenny here

The tube I used is by Maryline Cazenave, you will need a license to use which you can purchase from CDO here


Open new transparent canvas 700x700, we will resize later
Select all
Paste paper 3 into selection
Deselect

Paste window frame as a new layer
Resize to 40%
Using your magic wand and holding down the shift key click inside each window square
Expand 3

Paste paper 4 as a new layer
Invert your selection
Delete
Deselect
Move to below the window layer

Paste moon as a new layer
Resize to 20%
Position upper left corner of the windoe
Add drop shadow

Paste grass as a new layer
position on the lower left
Duplicate mirror
Merge down
Add drop shadow

Paste your main tube as a new layer
Resize as needed
Position lower right of window
Add drop shadow

Paste the other tube layer as a new layer
Resize as needed
Add drop shadow
Move to below the window layer

Activate your top layer
Paste broom as a new layer
Resize to 25%
Position on left side of window
Add drop shadow

Paste lantern as a new layer
Resize to 25%
Position on upper right corner of window
Add drop shadow

Paste leaves as a new layer
Resize to 20%
Position lower left corner
Add drop shadow
Duplicate
Resize to 80%
Reposition
Repeat one more time
Merge the leaves layers
Duplicate
Resize to 75%
Position a bit to the right
Now it looks like a pile of leaves!

Paste flower as a new layer
Resize to 50%
Add drop shadow
Duplicate
Resize to 75%
Mirror
Position on broom handle

Resize all layers to 75%

Add your name & your © info

Merge all

Save as jpg & you're all done!

I hope you enjoyed my tutorial

I would love to post your © compliant result, just email it to me with the tut name in the subject line

:)


Saturday, August 20, 2011

Phone's Ringin!

Click for larger view

This tutorial is dedicated to my mother who passed away on June 30, 2011
She was a small dog lover & was obsessed with the phone  Every time the phone rang she would say "Phone's Ringin!"

This tutorial was written by Sharon on August 20, 2011
For more info read my TOU

Supplies Needed
Scrapkit Think Pink here

Mask 21 by me here

Plugins
Xero Fritallary


The tube I used is by Maryline Cazenave, you will need a license to use which you can purchase from CDO here


Open a new transparent canvas 700x700, we will resize later
Floodfill with white

Paste paper 3 as a new layer

Apply mask
Merge group
Add drop shadow

Paste glitter 1 as a new layer
Resize to 110%
Add drop shadow

Paste frame 7 as a new layer
Using your magic wand click inside the frame
Expand 5
Paste paper 4 as a new layer
Invert your selection
Delete
Deselect
Move to below the frame layer
Apply xero fritallary changing the top & bottom #'s to 12

Apply drop shadow to the frame

Paste your tube as a new layer
Resize as needed
Add drop shadow

Paste flower 2 as a new layer
Resize to 75%
Add drop shadow
Position on left side of frame

Repeat with flower 3 resizing to 60%

Add new raster layer
Activate your tube tool
Add some greenery around the flower stems
Add drop shadow
Merge these 3 layers
Rotate left 5

Add a new raster layer
Add some greenery for the right side of the lower frame
Add drop shadow

Merge this layer with the 2 floral layers, the pendant & butterfly layers
Duplicate
Add noise>Gaussian & Monochrome checked, 20%
On the other layer change noise to 30%
Rename these layers to animation 1 & 2

Paste flower 8 as a new layer
Position at the bottom of the frame
Add drop shadow

Paste pendant 2 as a new layer
Resize to 75%
I erased the ring
Position on right side of frame
Add drop shadow

Paste butterfly 2 as a new layer
Resize to 50%
Rotate left 30
Position on right side of frame
Add drop shadow

Duplicate your mask layer
Repeat noise effects same as above
Rename these layers to animation 3 & 4

Add your name

Resize all layers to 75%

Add your © info

Animation

Hide animation 1 & 3
Merge visible
Copy & paste into animation shop

Undo your merge
Unhide animation 1 &3
Hide animation 2 & 4
Copy & paste after current in animation shop

Save as gif & you're all done!

I hope you enjoyed my tutorial

I would love to post your © compliant result, just email it to me with the tut name in the subject line

:)

============================
Result by Dixie