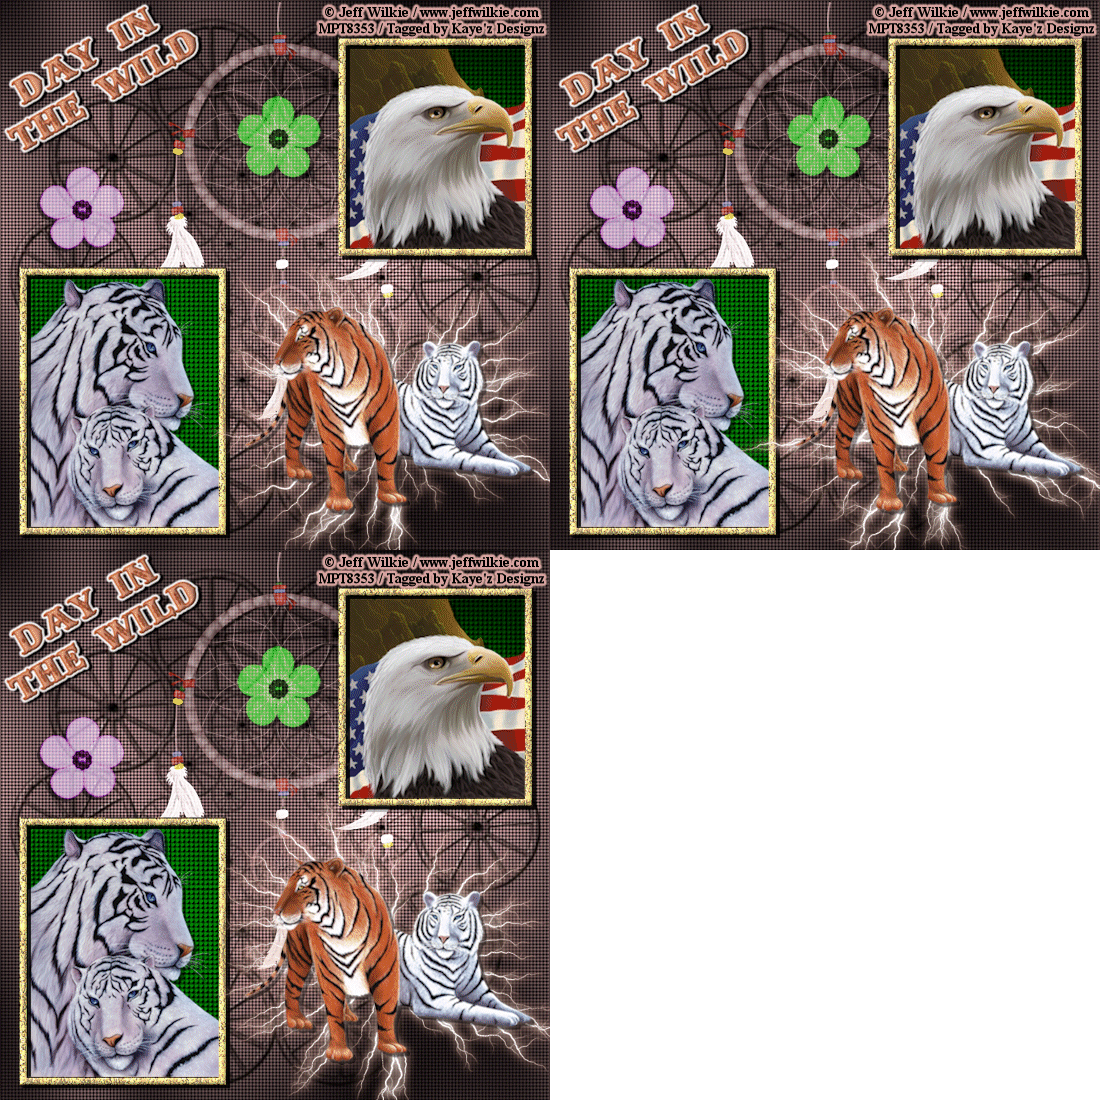
Click for larger view
This tutorial was written by Sharon A on April 4, 2012 & is copyright protected
For more info read my TOU
Supplies Needed
Collab Kit Western Gal by me here
Plugins
Graphics Plus Cross Shadow
Xenofex Electrify
The tubes I used are by Jeff Wilke, you can purchase these tubes from PTE here
The font I used is called Anderson Four Feather Falls
I used size 36 for my text & size 42 for my name

Open a new transparent canvas 700x700, we will resize later
Select all
Paste paper 18 into selection
Deselect
Add texture>small dimples>scale 100>depth 2
Apply graphics plus cross shadow changing the 2 bottom #'s to 100
Paste dream catcher as a new layer
Position at the top
Add drop shadow
Change layer properties to overlay
Paste your tubes as new layers
Resize as needed & position into place
Add drop shadow
Because my eagle & white tiger tubes had straight edges on them I used my rectangle tool width set on 10, foreground a color from your tube, background null, around these
I then added an inner bevel
Using your magic wand click inside your frame
Expand 3
Add a new raster layer
I floodfilled with the green on the kit color palette
Deselect
Move to below your tube layer
Add texture, I used fine canvas, scale 100, depth 3
Apply graphics plus cross shadow using default settings
Add drop shadow to your frame
Do with with your other tubes which have a straight edge
Use different texture effects
Apply the cross shadow
Add a drop shadow to the frames
Merge the frame, tube & floodfill layers
Activate one of your tubes
Duplicate 2 times
Apply xenfex electrify
I used default settings then clicked on glow
Change the outer color to something from your tag
Repeat on the other 2 layers clicking on the random seed button each time
Rename these layers to A1, A2 & A3
Paste feather 3 as a new layer
Resize to 45%
Rotate left 15
Add drop shadow
Duplicate & mirror
Position next to first feather
Merge down
Move to below your tube layer
Change layer properties to luminance
Duplicate & flip
Resize to 75%
Position below your eagle tube
Paste bow 4 as a new layer
Resize to 30%
Position on top of a frame
Add drop shadow
Paste flower 5 as a new layer
Resize to 20%
Position at the bottom of a frame
Add drop shadow
Resize all layers to 70%
Add your text, name & © info
Animation:
Hide animation 2 & 3
Merge visible
Copy & paste into animation shop
Undo your merge
Hide animation 1 & unhide #2
Merge & paste after current in animation shop
Undo your merge
Hide animation 2 & unhide #3
Merge visible & paste after current in animation shop
View your animation
Save as gif & you're all done!
I hope you enjoyed my tutorial
Your comments are very much appreciated either here on this post or on the chat box. I've made it easy for you to post on this tut by turning off the requirement of having to type in a confirmation code
I would love to post your © compliant result, just emaail it to me with ATT Sharon & the tut name in the subject line
You'll find my email blinkie on your left
:)
Result by Kaye W