Showing posts with label Cuddly Rigor Mortis. Show all posts

Wednesday, August 22, 2012

Stop Animal Abuse

Click for larger view

This tutorial was written by Sharon A on August 22, 2012 & is copyright protected
For more info read my TOU

Supplies Needed
Template #140 by me here
Supplies made by me for this tut here

Plugins
Xenofex 2 Puzzle
DSB Flux Bright Noise
Xero Fritillary

The tube I used Baby Chi (58-1) is by Cuddly Rigor Mortis, you can purchase this tube from CDO here

The name of the font I used is Isla Bella



Open your template, shift D to duplicate & close original
Delete the info layer

Paste your stop sign as a new layer
Add drop shadow

Activate your bg layer & floodfill with a color from the sign
Apply xenofex puzzle using default setting, change columns to 16

Activate the rectangles layer & floodfill with another color from your sign
Apply bright noise intesity 50, mix checked

Activate the small squares layer & floodfill with a 3rd color from the sign
Apply fritillary using default settings, change the top & bottom #'s to 12

Activate the square 2 layer
Floodfill with one of your colors
Add an inner bevel & drop shadow

Activate the square 1 layer
Select all>float>defloat
Paste the fur into selection
Use your manual color correction to change the color
(You'll need your source color to be #999595)
(To find your manual color correction go to View>Customize>Unused Commands)

Duplicate 2 times
Apply bright noise, intensity 30, mix checked
Repeat on other 2 layers changing intensity to 35 & 40

Paste your paw as a new layer
Recolor if desired
Rotate left 45
Add an inner bevel & drop shadow
Duplicate & mirror
Merge down
Duplicate & flip
Merge down

Paste your tube as a new layer
Resize as needed
Add drop shadow

Resize all layers to 70%

Add your text, name & © info
Duplicate your name 2 times & repeat bright noise same as above on the fur


Animation:

Hide animation 2 & 3
Copy merged & paste into animation shop

Undo your merge
Copy merged & paste after current in animation shop

Undo your merge
Copy merged & paste after current in animation shop

View your animation

Save as gif & you're all done!

I hope you enjoyed my tutorial

Your comments are very much appreciated either here on this post or on the chat box.  I've made it easy for you to post on this tut by turning off the requirement of having to type in a confirmation code

I would love to post your © compliant result, just email it to me with ATT Sharon & the tut name in the subject line

You'll find my email blinkie on your left

:)


Friday, June 1, 2012

Cuddly Cats & Dogs


Click for larger view

This tutorial was written by Sharon A on May 31, 2012 & is copyright protected
For more info read my TOU

Supplies Needed
Paw Print Overlay by me here

Plugins
DSB Flux Bright Noise
The tubes I used are by Cuddly Rigor Mortis, you can purchase these tubes from CDO here

The name of the font I used is Tamborine


Pick one of your tubes as your main tube which you will pick your colors from

Open your overlay, shift D to duplicate & close original
Add a new layer & floodfill with a color from your tube
Change layer properties to overlay, merge down

Activate your rectangle shape tool
Foreground a color from your tube, background null
Width 45
Draw out a frame almost as big as your tag
Align center
Convert to raster

Change your color from foreground to background
Draw out a narrow vertical line, align center & convert to raster
Repeat drawing a horizontal line
Move both to below your frame
Merge the 2 lines

Still on your lines layer
Select all>float>defloat
Add a new raster layer
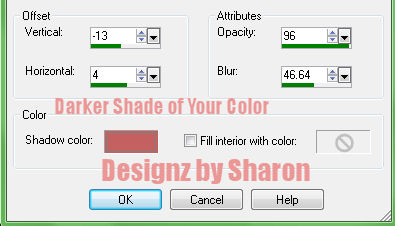
Apply cutout with these settings


Deselect & merge down

Repeat on your frame layer
Change the offset vertical to 36
Change the horizontal to -36
Deselect & merge down
Merge with the lines layer
Add an inner bevel

Open your paw print overlay again, shift D to duplicate, close original
Resize to 50%
Do the same as before using another color from your main tube
Merge down & copy

Back to your tag
Using your magic wand click inside the the 4 areas of your frame
Expand 5
Add a new raster layer
Paste into selection
Deselect & move to below your frame

Using your magic wand click inside one of the squares
Paste one of your tubes as a new layer
Resize as needed
Invert your selection
Delete & deselect
Add drop shadow & move to below your frame

Repeat with your next 3 tubes

Paste your main tube as a new layer
Resize so she's no higher than the horizontal line in your frame then move to the bottom of your tag
Add drop shadow

Add drop shadow to your frame
Duplicate 2 times
Apply bright noise intensity 35, mix checked
Repeat on other 2 layers changing intensity to 40 & 45
Resize all layers to 70%

Add your text, name & © info


Animation:

Hide animation 2 & 3
Copy merged & paste into animation shop

Hide animation 1 & unhide #2
Copy merged & paste after current in animation shop

Hide animation 2 & unhide #3
Copy merged & paste after current in animation shop

View your animation

Save as gif & you're all done!

I hope you enjoyed my tutorial

Your comments are very much appreciated either here on this post or on the chat box.  I've made it easy for you to post on this tut by turning off the requirement of having to type in a confirmation code

I would love to post your © compliant result, just email it to me with ATT Sharon & the tut name in the subject line

You'll find my email blinkie on your left

:)


Wednesday, May 9, 2012

Tiny Body Big Mouth

Click for larger view

This tutorial was written by Sharon A on May 9, 2012 & is copyright protected
For more info read my TOU

Supplies Needed
Paw Print Overlay by me here
Paw Print Frame by me here
A butterfly & flower of your choice

The tube I used Baby Chi (58-1) is by Cuddly Rigor Mortis, you can purchase this tube from CDO here

The name of the font I used is Honey Script

Once again my chihuahua Gooper was my inspiration on this tut.  I'm always saying he has a tiny body with a big mouth lol


Open your overlay
Add a new raster layer
Floodfill with a gradient of your choice
Change layer properties to overlay
Add drop shadow

Paste your frame as a new layer
Click inside with your magic wand
Expand 12

Add a new raster layer
Floodfill with a gradient to match a color on your tube
Move to below your frame layer

Add texture effects>blinds
Width 8>opacity 60>color a darker shade of your gradient color

Back on your frame
Add a new raster layer
Floodfill with a gradient darker than your bg gradient
Merge down
Add an inner bevel & drop shadow

Paste your tube as a new layer
Resize as neeed
Add drop shadow
Duplicate

Activate your warp brush
Push down on the lower lip & up on the upper lip

Paste your butterfly as a new layer
Resize as needed & add drop shadow
Position onto a corner of your frame
Duplicate & mirror

Repeat with your flower

Resize all layers to 70%

Add your text, name & © info


Animation:

Hide the closed mouth layer
Merge visible
Copy & paste into animation shop

Undo your merge
Hide the open mouth layer & unhide the closed mouth layer
Merge & paste after current in animation shop

I set my frame properties to 120 on the closed mouth & 20 on open mouth

View your animation

Save as gif & you're all done!

I hope you enjoyed my tutorial

Your comments are very much appreciated either here on this post or on the chat box.  I've made it easy for you to post on this tut by turning off the requirement of having to type in a confirmation code

I would love to post your © compliant result, just email it to me with ATT Sharon & the tut name in the subject line

You'll find my email blinkie on your left

:)


Result by Kaye W


Saturday, April 28, 2012

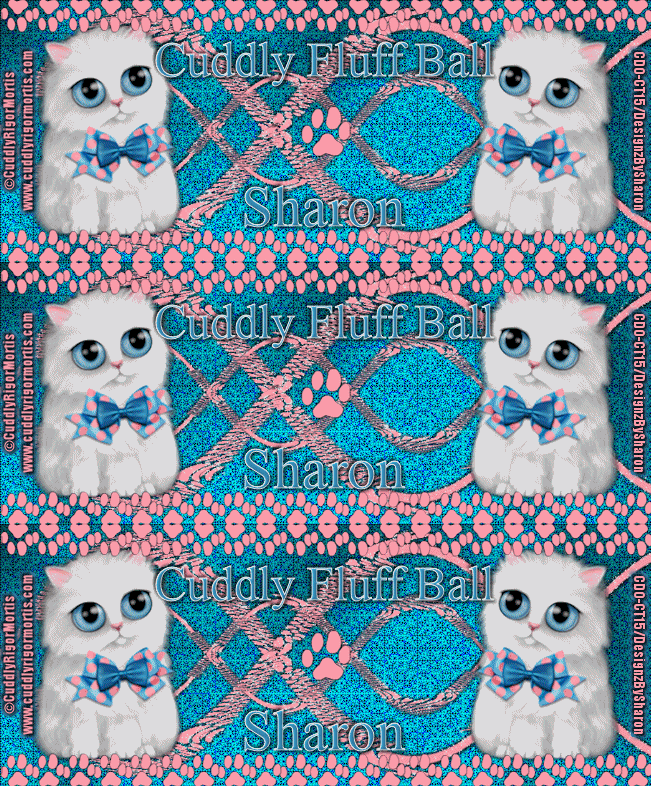
Cuddly Fluff Ball

Click for larger view

This tutorial was written by Sharon A on Apr 28, 2012 & is copyright protected
For more info read my TOU

Supplies Needed
Paw Print by me here

Plugins
Harrys Filters 4.0
Graphics Plus Cross Shadow
Xenofex Constellation
Mura Meister Copies

The tube I used 54-3 is by Cuddly Rigor Mortis, you can purchase this tube from CDO here

The name of the font I used is Applejuiced
I used size 60 & 72


Open new transparent canvas 930x375, we will resize later
Floodfill with a color from your tube
Apply harrys filters with these settings


Apply graphics plus cross shadow changing the 2 bottom #'s to 70

Paste your paw print as a new layer
Floodfill with another color from your tube
Add drop shadow
Duplicate & hide original

Resize to 40%
Apply mura meister copies>line>number 21
Duplicate & hide original

Effects>distortion effects>wave
Use these settings


Duplicate, flip & merge down
Duplicate, resize to 50%, flip, mirror & merge down
Add drop shadow

Duplicate 2 times
Apply constellation
Settings>small star constellation>keep original image checked
Repeat on other 2 layers clicking the random seed button each time

Paste your tube as a new layer
Resize as needed and add drop shadow
Position in a lower corner
Duplicate & mirror

Unhide your paw line
Move to the bottom of your tag
Duplicate, flip & merge down

Unhide your original paw print
Resize to 60%

Resize all layers to 70%

Add your text, name & © info


Animation:

Hide animation 2 & 3
Merge visible
Copy & paste into animation shop

Undo your merge
Hide animation 1 & unhide #2
Merge & paste after current in animation shop

Undo your merge
Hide animation 2 & unhide #3
Merge visible & paste after current in animation shop

View your animation

Save as gif & you're all done!

I hope you enjoyed my tutorial

Your comments are very much appreciated either here on this post or on the chat box.  I've made it easy for you to post on this tut by turning off the requirement of having to type in a confirmation code

I would love to post your © compliant result, just email it to me with ATT Sharon & the tut name in the subject line

You'll find my email blinkie on your left

:)

Result by Kaye W


Her Royal Highness

Click for larger view

This tutorial was written by Sharon A on Apr 28, 2012 & is copyright protected
For more info read my TOU

Supplies Needed
Scrapkit Her Royal Highness by Twinky here

Plugins
Graphics Plus Cross Shadow
Eyecandy Glass
Eyecandy Texture Noise

The tube I used Pinky (50-3) is by Cuddly Rigor Mortis, you can purchase this tube from CDO here

The name of the font I used is Tamborine
I used size 48 & 60


Open new transparent canvas 930x375, we will resize later

Open paper 8 and minimize
Activate your patterns, select your paper, scale 50
Floodfill your bg layer
Apply graphic plus cross shadow changing the 2 bottom #'s to 70

Paste triple gold frame as a new layer
Using your magic wand, hold down the shift key & click inside all 3 frames
Expand 3
Add a new raster layer

Open paper 12
Resize to 50%
Copy & close without saving
Paste into selection
Deselect
Move to below your frame layer

Click inside the middle frame with your magic wand
Expand 3
Paste your tube into selection
Deselect
Move to below your frame

Paste your tube as a new layer
Resize to fit side frames and add drop shadow
Duplicate, mirror & merge down
Move to below your frame

Add an inner bevel & drop shadow to your frame

Click inside all 3 frames again with your magic wand
Expand 3
Apply eyecandy glass using default settings
Deselect

Paste bow 3 as a new layer
Resize to 25%
Position at the top of your middle frame
Add drop shadow

Paste flower 2 as a new layer
Resize to 20%
Add drop shadow
Position on a corner of your frame
Duplicate, mirror & merge down
Duplicate, flip & merge down

Duplicate 2 times
Apply eyecandy texture noise
Settings>smooth fractal noise
Repeat on other 2 layers clicking the random seed button each time

Resize all layers to 70%

Add your text, name & © info


Animation:

Hide animation 2 & 3
Merge visible
Copy & paste into animation shop

Undo your merge
Hide animation 1 & unhide #2
Merge & paste after current in animation shop

Undo your merge
Hide animation 2 & unhide #3
Merge visible & paste after current in animation shop

View your animation

Save as gif & you're all done!

I hope you enjoyed my tutorial

Your comments are very much appreciated either here on this post or on the chat box.  I've made it easy for you to post on this tut by turning off the requirement of having to type in a confirmation code

I would love to post your © compliant result, just email it to me with ATT Sharon & the tut name in the subject line

You'll find my email blinkie on your left

:)


Result by Kaye W


Tuesday, April 10, 2012

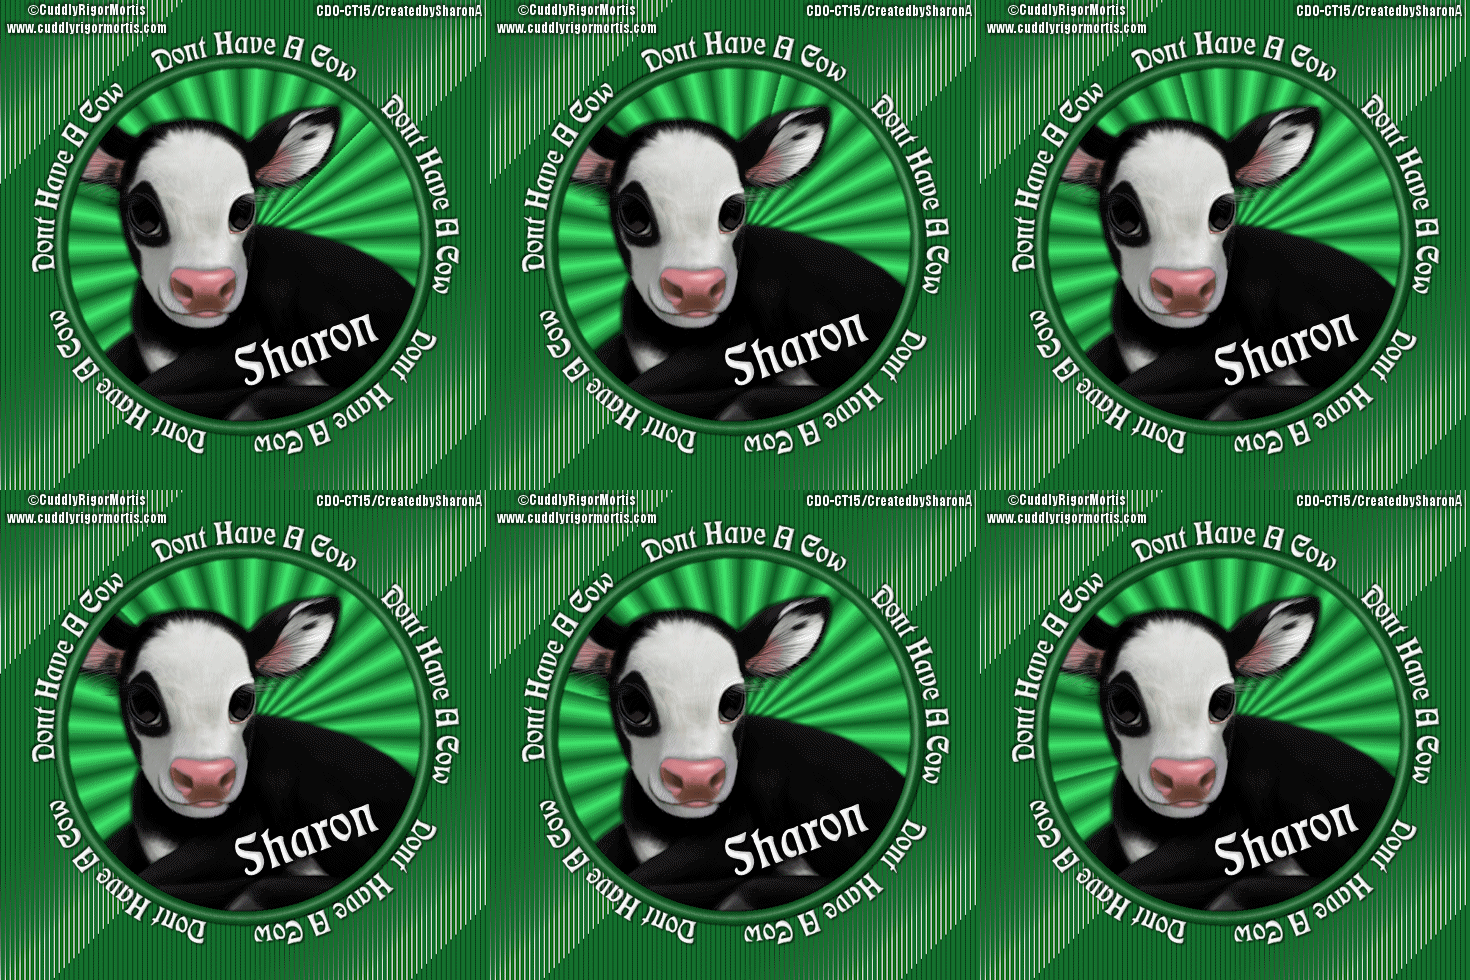
Dont Have A Cow

Click for larger view

This tutorial was written by Sharon A on Apr 10, 2012 & is copyright protected
For more info read my TOU

Plugins
Tramages Tow The Line


The tube I used Betty (57-1) is by cuddly Rigor Mortis, you can purchase this tube from CDO here

The name of my font is Tamborine
I used size 48 for my text before resizing
I used size 60 for my name after resizing


Open new transparent canvas 700x700, we will resize later
Floodfill with a color of your choice
Apply tramages tow the line using default settings

Paste your tube as a new layer
Add a drop shadow

Activate your elipse shape tool, change mode to circle, width 20, foreground null
Pick a darker shade of your color
Draw a circle around your tube
Resize if needed
Align center
Add inner bevel

Move your color to the background & pick a lighter shade for your foreground
Activate your foreground gradient, radial, angle 45, repeats 60
Activate your magic wand & click inside your circle
Expand 3
Add a new raster layer & floodfill
Move to below your tube layer
Do Not Deselect

Activate your tube layer
Invert your selection
Delete & deselect

Add a drop shadow to your circle

Activate your circle tool again, select a contrasting color, width 1, background null
Align center

Add a new vector layer
Activate your text tool
Hover your text tool over the top of the circle, left click when you see the little A
Write out your text
I used size 48 & had to add 4 spaces in between each phrase

Go back to your circle background layer
Duplicate & rotate right 30
Repeat this until you have a total of 6

Resize all layers to 70%

After resizing I repasted my tube, resized to 90% and did the selection inside the frame, inverted then deleted & deselected
I did this because I didn't like the way the cow looked & I wanted her to look bigger

Add your name & © info


Animation:

Hide all your animation layers except the top one
Merge visible
Copy & paste into animation shop

Undo your merge
Hide animation 1 & unhide #2
Merge & paste after current in animation shop

Undo your merge
Hide animation 2 & unhide #3
Merge visible & paste after current in animation shop

Keep doing this until you have all 6 layers pasted

I set my frame properties at 15

View your animation

Save as gif & you're all done!

I hope you enjoyed my tutorial

Your comments are very much appreciated either here on this post or on the chat box.  I've made it easy for you to post on this tut by turning off the requirement of having to type in a confirmation code

I would love to post your © compliant result, just email it to me with ATT Sharon & the tut name in the subject line

You'll find my email blinkie on your left

:)


Result by Kaye W


Saturday, April 7, 2012

Spoiled Princess

Click for larger view

This tutorial was written by Sharon A on Apr 7, 2012 & is copyright protected
For more info read my TOU

Supplies Needed
Forum Template 60 by me here

Plugins
DC Specail Nylon
Graphics Plus Cross Shadow
Xero Fritillary
DSB Flux Bright Noise
Eyecandy Texture


The tube I used Pinky (50-3) is by Cuddly Rigor Mortis, you can purchase this tube from CDO here

The name of the font I used is FranciscoLucas Briosa
I used size 36 for my text & 48 for my name


Open your template, shift D to duplicate & close original
Delete credit layer

Floodfill bg layer with a color from your tube
Apply dc special nylon
I used these settings but you'll  have to play with it depending on your color
My color is #6e94b3


Apply graphics plus cross shadow changing the 2 bottom #'s to 100
Floodfill your square layers
Apply xero fritillay changing the top & bottom #'s to 12

Paste your tube as a new layer
Resize as needed
Position into place
Add drop shadow
Duplicate & mirror

Floodfill your frames using a darker shade of your 1st color
Add an inner bevel & drop shadow

Move your bottom bar to above your top tube
Floodfill with your first color
Add an inner bevel & drop shadow
Apply nylon with the same settings as before
Change layer properties to mulitiply
Add another drop shadow

Floodfill the top bar layer with your second color
Add an inner bevel & drop shadow
Apply dsb flux bright noise intensity 40, mix checked

Activate your lace layer
Select all>float>defloat
Add a new raster layer
Floodfill with a darker shade of your square layers color
Deselect
Change layer properties to hard light
Add drop shadow

Activate one of your flower layers
Select all>float>defloat
Add a new raster layer
Floodfill with one of your colors
Deselect
Change layer properties to multiply
Add an inner bevel & drop shadow

Repeat with the other flower

Activate your star layer
Select all>float>defloat
Add a new raster layer
Floodfill with your 1st color
Change layer properties to hard light
Add drop shadow

Apply eyecandy noise texture
Settings
Smooth fractal noise
Click on basic and change the color to your color
Merge down

Duplicate & rotate right 30
Repeat this 4 more times for a total of 6 star layers

Resize all layers to 70%

Add your text, name & © info


Animation:

Mine is rotating left because I started with the top star frame
If you want it to go right start with the bottom

Hide all your star layers except the top one
Merge visible
Copy & paste into animation shop

Undo your merge
Hide the top star & unhide the 2nd one
Merge visible & paste after current in animation shop

Repeat until you have 6 frames

View your animation

Save as gif & you're all done!

I hope you enjoyed my tutorial

Your comments are very much appreciated either here on this post or on the chat box.  I've made it easy for you to post on this tut by turning off the requirement of having to type in a confirmation code

I would love to post your © compliant result, just email it to me with ATT Sharon & the tut name in the subject line

You'll find my email blinkie on your left 

:)


Result by Kaye W


Tuesday, April 3, 2012

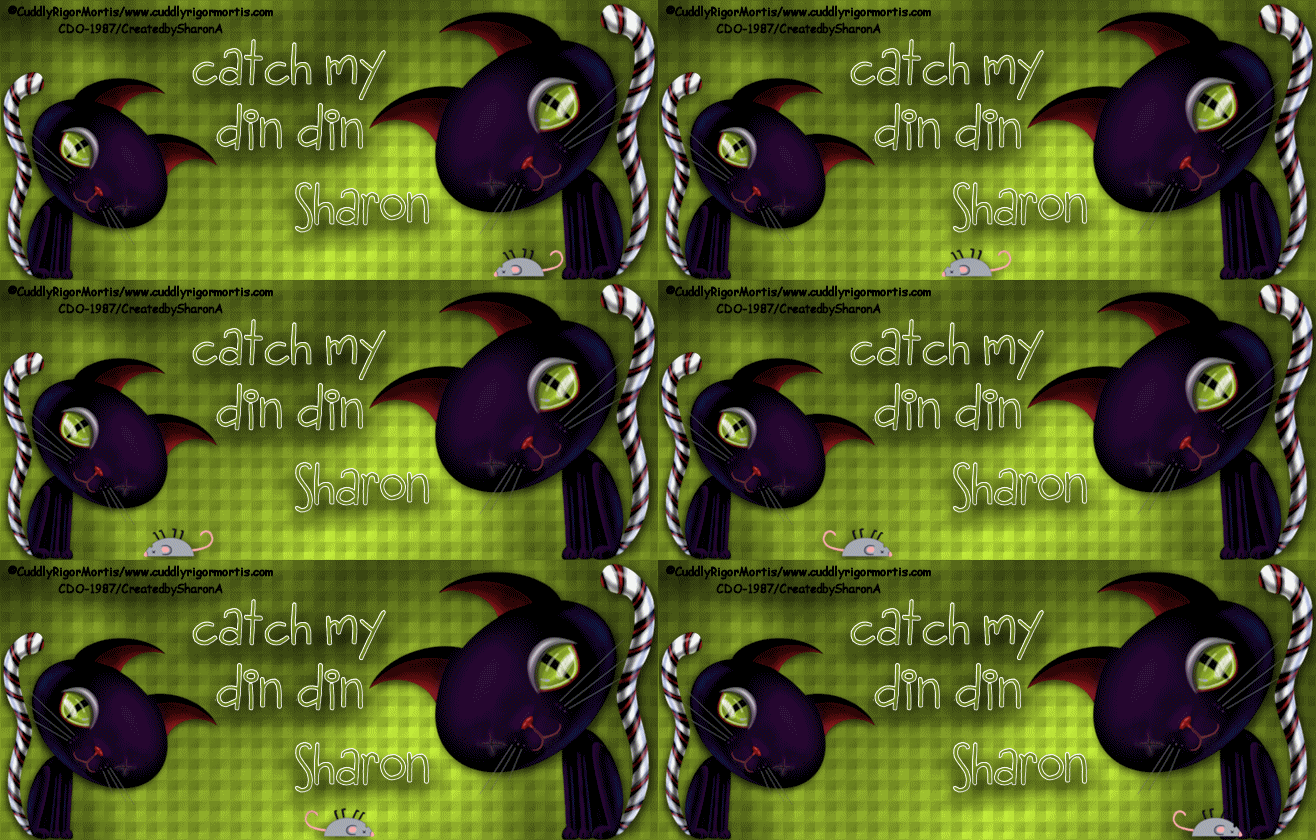
Catch My Din Din

Click for larger view

This tutorial was written by Sharon A on Apr 3, 2012 & is copyright protected
For more info read my TOU

Supplies Needed
Animation Shop

Plugins
Graphics Plus Cross Shadow

The tube I used #29-2 is by Cuddly Rigor Mortis, you can purchase this tube from CDO here

The name of the font I used is FB Lipgloss
I used size 48


Open new transparent canvas 940x400, we will resize later
Floodfill with a color from your tube
Add texture>daze.scale 50, depth 3
Apply grahics plus cross shadow, change the 2 bottom #'s to 70

Paste your tube as a new layer
Resize as needed
Add drop shadow
If you're using the same tube,
Select around the mouse, copy & cut
Paste as a new layer

Duplicate & mirror your tube
Resize to 75%
Position in opposite corner

Position your mouse beside the right cat
Activate your pick tool
Duplicate 1 time
Decrease the position x by 100

Duplicate and decrease position by 100 again

Duplicate & repeat
Do this all the way across

I ended up with 7 mice

Starting from the bottom mouse rename these layers to mouse 1, mouse 2, etc

Duplicate each of the mouse layers, one at a time then mirror & hide

You'll now have layers named mouse 1, copy of mouse 1 & so on

Resize all layers to 70%

Add your text, name & © info


Animation:

Hide all your mouse layers except mouse 1
Merge visible
Copy & paste into animation shop

Undo your merge
Hide mouse 1 & unhide mouse 2
Merge & paste after current in animation shop

Undo your merge
Hide mouse 2 & unhide mouse 3
Merge visible & paste after current in animation shop

Continue this for all 7 mouse layers

Undo your last merge
Hide mouse 7 & unhide copy of mouse 1

Continue until you have all of the copy layers done

You should have 14 frames

I set my frame properties on 15

View your animation

Save as gif & you're all done!

I hope you enjoyed my tutorial

Your comments are very much appreciated either here on this post or on the chat box.  I've made it easy for you to post on this tut by turning off the requirement of having to type in a confirmation code

I would love to post your © compliant result, just emaail it to me with ATT Sharon & the tut name in the subject line

You'll find my email blinkie on your left 

:)

Result by Kaye W


Saturday, March 31, 2012

Bunny Hop

Click for larger view

This tutorial was written by Sharon A on Mar 31 2012 & is copyright protected
For more info read my TOU

Supplies Needed
Easter Egg here

Plugins
Xero Fritillary
DSB Flux Bright Noise

The tube I used is a bonus tube called Bunny by Cuddly Rigor Mortis, you can purchase this tube from CDO here

The name of my font is Easter Sunrise
I used size 48 for the text & 42 for my name


Open new transparent canvas 700x700, we will resize later
Floodfill with a rainbow gradient
I set mine on radial, angle 45, repeats 8
Apply xero fritillary changing the top & bottom #'s to 18
Apply dsb flux bright noise intensity 60, mix checked
Add an inner bevel

Paste your egg as a new layer
Resize to 58%
Add drop shadow
Change layer properties to multiply

Paste your tubes as new layers
Resize as needed
Add drop shadow
Position around on your tag

Activate one of your bunnies (the one you want a moving ear on)
I chose the top one
You'll want this to be your bottom ear layer
Using your freehand selection tool select around an ear
Copy & cut
Paste 3 times
Move 1 back into position where it was

Take the second, move to above the ear you just did
Rotate left 15
Put back into position, line it up
You may have to use your clone brush to cover up any seams

Rotate the last one right 15
Same as above

Activate your left bunny
Duplicate 2 times
Activate your move tool, click on the middle tube then press your up arrow 20 times to move the bunny up

Click on the top copy of your bunny with your move tool
Press the up arrow button 40 times

Activate your right bunny
Follow same steps above except move down

Resize all layers to 70%

Add your text, name & © info


Animation:

Hide middle & bottom layer of all your animations
Merge visible
Copy & paste into animation shop

Undo your merge
Unhide middle layers & hide the top layers of all your animations

Merge & paste after current in animation shop

Undo your merge
Hide your middle layers & unhide the bottom layers
Merge visible
Copy & past after current in animation shop

I set the frame properties at 60

View your animation

Save as gif & you're all done!

I hope you enjoyed my tutorial

Your comments are very much appreciated either here on this post or on the chat box.  I've made it easy for you to post on this tut by turning off the requirement of having to type in a confirmation code

I would love to post your © compliant result, just emaail it to me with ATT Sharon & the tut name in the subject line

You'll find my email blinkie on your left 

:)


Result by Kaye W


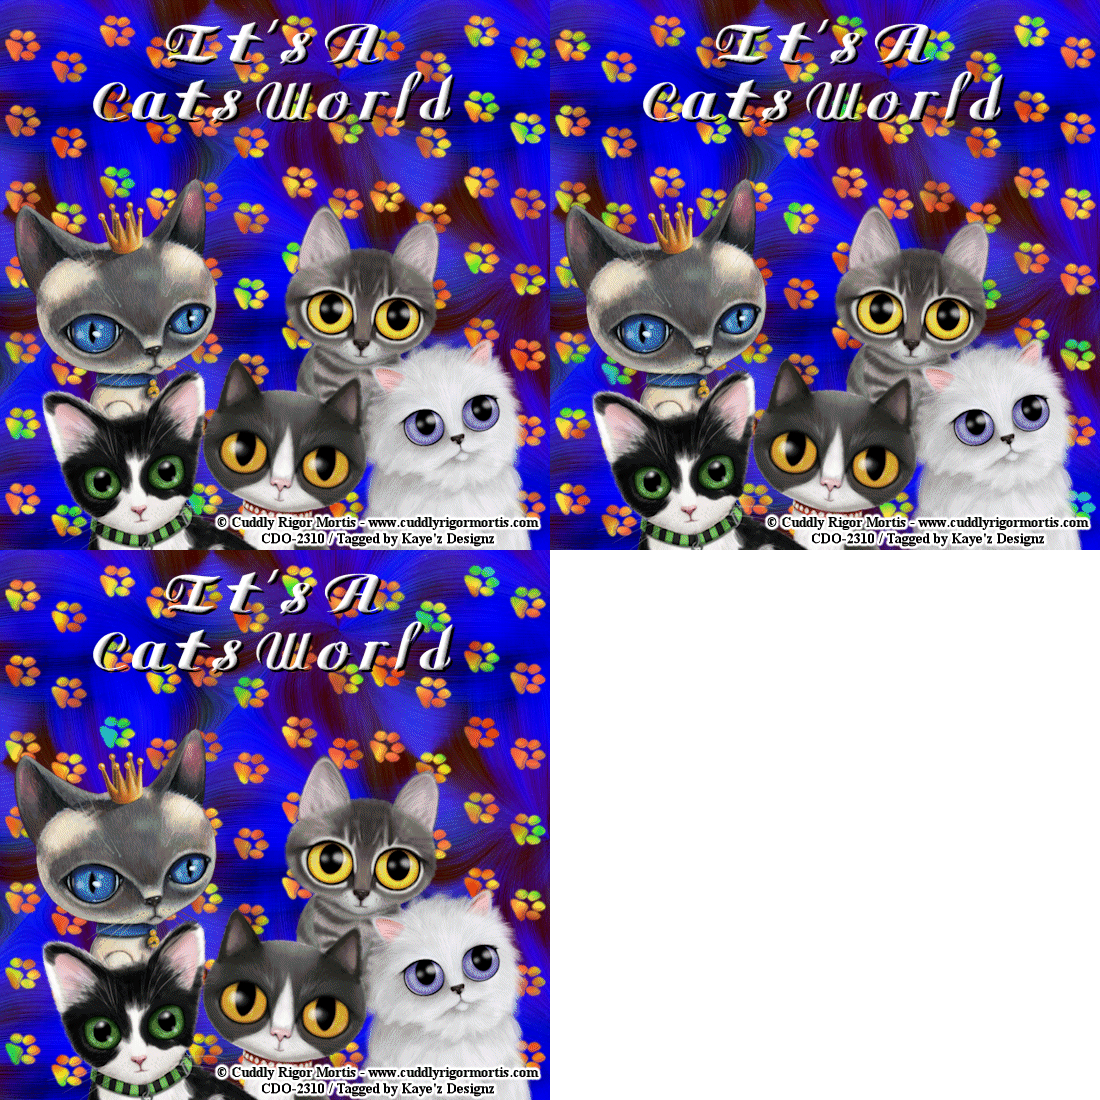
It's A Cats World

Click for larger view

This tutorial was written by Sharon A on Mar 31 2012 & is copyright protected
For more info read my TOU

Supplies Needed
Animation Shop

Paw Print Overlay which I made for this tut 
PSP here
PSD here

This is for PU only ~ Do Not Share

Plugins
Eyecandy 4 HSB Noise

The tubes I used are by Cuddly Rigor Mortis, you can purchase these tubes from CDO here

The name of my font is Gauche Display


Open your paw prints overlay
Delete the info layer
Activate the paw print layer
Add an inner bevel
Add drop shadow, twice
Activate the transparent layer
Floodfill with a color from your tube
Change layer properties to overlay
Merge down

Open new transparent canvas 800x800, we will resize later
I made it a little bigger this time to make room for all my cats
Select all
Paste your paper into selection 

Duplicate 2 times
Apply eyecandy hsb noise using default settings, pattern on smooth lumps
Repeat on the other 2 layers clicking on the random seed button each time
Rename these layers to A1, A2 & A3

Paste your tubes as new layers
Resize each as needed & add drop shadow
Arrange them around to your liking

Resize all layers to 65%

Add your text, name & © info


Animation:

Hide animation layers 2 & 3
Merge visible
Copy and paste into animation shop

Back to your psp program
Undo your merge
Hide animation 2 & unhide animation 2
Merge visible
Copy & paste after current in animation shop
Back to your psp program

Undo your merge
Hide animation 2 & unhide animation 3
Merge visible
Copy and paste after currnet in animation shop

View your animation

Save as gif & you're all done!

I hope you enjoyed my tutorial

I would love to post your © compliant result, just emaail it to me with ATT Sharon & the tut name in the subject line

You'll find my email blinkie on your left 

:)


Result by Kaye W