Showing posts with label Mrs Home Lynn. Show all posts

Sunday, April 22, 2012

Roly Poly

Click for larger view

This tutorial was written by Sharon A on April 22, 2012 & is copyright protected
For more info read my TOU

Supplies Needed
Paw Print by me here
Flower by me here

Plugins
Mura Meister Copies
Graphics Plus Cross Shadow
Cybia Screenworks
DSB Flux Bright Noise

The tube I used Mitizee (PTE5791) is by Mrs Homer Lynn, you can purchase this tube from PTE here

I bought this tube a few days ago & was trying to figure out what to do with it.  I finally opened it up & sat here looking at it trying to decide what to name it.  As I was looking I realized how "fluffy" she is lol.  I have a cat named Miss Audrey who is fat & I sometimes call her Roly Poly and it just popped into my mind lol

Mrs Homer Lynn has ftu scrapkits & tubes here
Her kits are awesome!

The font I used is called Tamborine
I used size 72

For more paw print dividers go to my other blog


Open a new transparent canvas 700x700, we will resize later
Floodfill with with a color from your tube

Paste your paw print as a new layer
Resize to 35%
Apply mura meister copies
Tiling>gap 4
Change layer properties to overlay
Add drop shadow
Merge down

Duplicate 2 times
Apply graphics plus cross shadow using default settings
Repeat on other 2 layers changing the 2 bottom #'s to 118 & 108

Paste your tube as a new layer
Resize as needed
Add drop shadow

Activate your rectangle shape tool
Foreground set to your bg color, background null, width 25
Draw a frame around your tube
Align center
Add an inner bevel

Using your magic wand click inside your frame
Expand 3
Add a new raster layer
Floodfill with a lighter shade of your color
Deselect
Move to below your tube layer
Apply cybia screenworks canvas mesh
Apply graphics plus cross shadow using default settings

Add drop shadow to your frame
Apply dsb flux bright noise intensity 50, mix checked

Paste your flower as a new layer
Resize to 40%
Select all>float>defloat
Add a new raster layer
Floodfill with your color
Change layer properties to overlay
Merge down
Add an inner bevel & drop shadow
Position on a corner of your frame

Duplicate, mirror & merge down
Duplicate, flip & merge down

Resize all layers to 70%

Add your text, name & © info


Animation:

Hide animation 2 & 3
Merge visible
Copy & paste into animation shop

Undo your merge
Hide animation 1 & unhide #2
Merge & paste after current in animation shop

Undo your merge
Hide animation 2 & unhide #3
Merge visible & paste after current in animation shop

View your animation

Save as gif & you're all done!

I hope you enjoyed my tutorial

Your comments are very much appreciated either here on this post or on the chat box.  I've made it easy for you to post on this tut by turning off the requirement of having to type in a confirmation code

I would love to post your © compliant result, just email it to me with ATT Sharon & the tut name in the subject line

You'll find my email blinkie on your left

:)


Result by Kaye W


Tuesday, March 20, 2012

Paw Prints

Click for larger view

This tutorial was written by Sharon A on March 20, 2012
For more info read my TOU

Supplies Needed
Paw Print Bling by Karen here

Plugins
Eyecandy 5 Textures Animal Fur
Eyecandy 5 Impact Chrome
Grapics Plus Cross Shadow
Xero Porcelain

The tube I used Looking for Trouble is by Mrs Homer Lynn, you can purchase this tube from PTE here


Open a new transparent canvas 930x475, we will resize later
Apply Eyecandy Textures Animal Fur
Change settings to Calico Smooth
Change pattern to Leopard
Apply Graphics Plus Cross Shadow using default settings

Paste your tube as a new layer
Resize as needed
Position on the left side
Apply Xero Porcelain using default settings, twice
Add drop shadow

Activate your preset shapes tool
Draw out a heart
Apply Eyecandy Impact Chrome
Change settings to Gold, small edge
Change reflection map to abstract penny

Resize all layers to 65%

Add your text, name & © info

Animation:
Merge all
Copy & paste into animation shop
Duplicate until you have 3 frames
Select all

Open your pawprint bling
Resize to 35%
Delete frame 1
Select all

Drag frame 1 of bling onto frame 1 of your tag

Repeat

Resize again to 75% & repeat

Save as gif & you're all done!

I hope you enjoyed my tutorial

I would love to post your © compliant result, just email it to me with the tut name in the subject line

:)


Result by Kaye W


Tuesday, March 13, 2012

Blog Blinkie


This tutorial was written by Sharon A on March 13, 2012
For more info read my TOU

Making a blinkie for your blog is not as difficult as it looks.  I taught myself how to do it by studying various blinkies and then just playing around
So go ahead and give it a try!  Its fun!  You don't have to use a tube, you can use just accents if you want

Supplies Needed
Animation Shop
Your Imagination

Plugins
Any of your choice

The tube I used Looking For Trouble is by Mrs Homer Lynn, you can purchase this tube from PTE here


Open a new transparent canvas 300x150, we will resize later
Floodfill with a color, pattern or gradient of your choice
Apply any effects you wish

Paste your tube as a new layer if you're using one
Resize as needed & add a drop shadow

Add the name of your blog one word to a layer
Make your font large, if not you won't be able to see it after resizing
Add an inner bevel & drop shadow

Activate your top layer
Add a new raster layer, name this layer Curtain
Floodfill with a color, gradient or pattern of your choice

Add your © info

Copy your curtain layer & paste into animation shop
Effects>Insert Image Transition
Effect>Curtains
Click on Customize
Check horizontal & Opening

You'll now have 11 frames

View the animation
Activate frame 1, select all

Back to psp

Delete the curtain layer
Unhide the first word of your blog & hide the other words
Merge visible
Copy & paste into animation shop
Duplicate until you have 11 frames
*Activate frame 1 & select all

Grab the curtain by the first frame and drop onto the first frame of your blinkie
View your animation
Don't worry about the speed yet, we'll take care of that later

Re-activate the curtain animation, press CTRL Z to bring the curtain back
Activate frame 1 & select all
Back to psp

Hide the first word and unhide the 2nd
Merge visible
Activate frame 11
Copy & Paste after current in animation shop
Multiply frame 12 until you have 22 frames

Activate frame 12, while holding down the shift key click on frame 12 & 22, this will select frames 12 thru 22
Drag the curtain to frame 12
View your animation*

Keep repeating these steps from * to * until you have all your words in, add 11 frames for each word you add

I set the frame properties at 30 on the closed curtain frames & 75 on the open curtain frames.  10 on the rest

Resize your animation to 50%

Save a gif & you're all done!

I hope you enjoyed my tutorial

I would love to post your © compliant result, just email it to me with the tut name in the subject line

:)


Monday, March 12, 2012

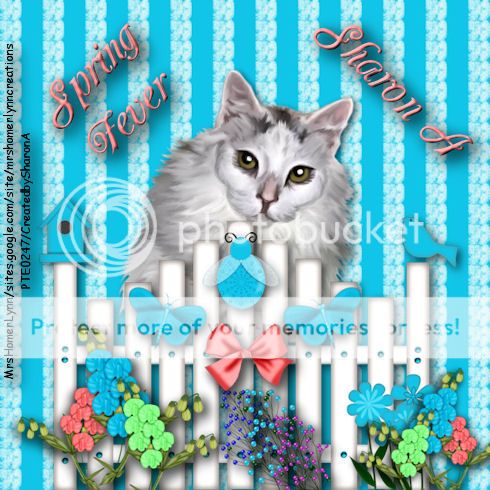
Spring Fever

Click for larger view

This tutorial was written by Sharon A on March 12, 2012
For more info read my TOU

Supplies Needed
Scrapkit Spring Fever by me here

The tube I used Looking For Trouble is by Mrs Homer Lynn, you can purchase this tube from PTE here


Open a new transparent canvas 700x700, we will resize later
Select all
Paste paper 4 into selection

Paste your tube as a new layer
Add drop shadow

Paste fence as a new layer
Position at the bottom of your tag
Add drop shadow

Paste tropical bloom as a new layer
Resize to 75%
Position near bottom left of fence
Add drop shadow

Repeat with another tropical bloom of another color, twice (I resized this one to 60%)
I mirrored the 3rd one
Merge these 3 layers
Add another drop shadow
Duplicate
Resize to 75%
Position in front of the right side flowers

Paste berries as a new layer
Resize to 50%
Add drop shadow, twice

Paste another berries, resize to 40%
Add drop shadow twice

Repeat with another berries

Merge these 3 layers
Position between the tropical flowers

Paste butterfly as a new layer
Resize to 40%
Add drop shadow
Rotate left 25
Position near the left side
Duplicate & mirror

Paste bow as a new layer
Resize to 50%
Position near the center of the fence
Add drop shadow

Paste ladybug as a new layer
Resize to 35%
Position near the top of the fence center board
Add drop shadow

Resize all layers to 70%

Add your text, name & © info

Merge all

Save as jpg & you're all done!

I hope you enjoyed my tutorial

I would love to post your © compliant result, just email it to me with the tut name in the subject line

:)


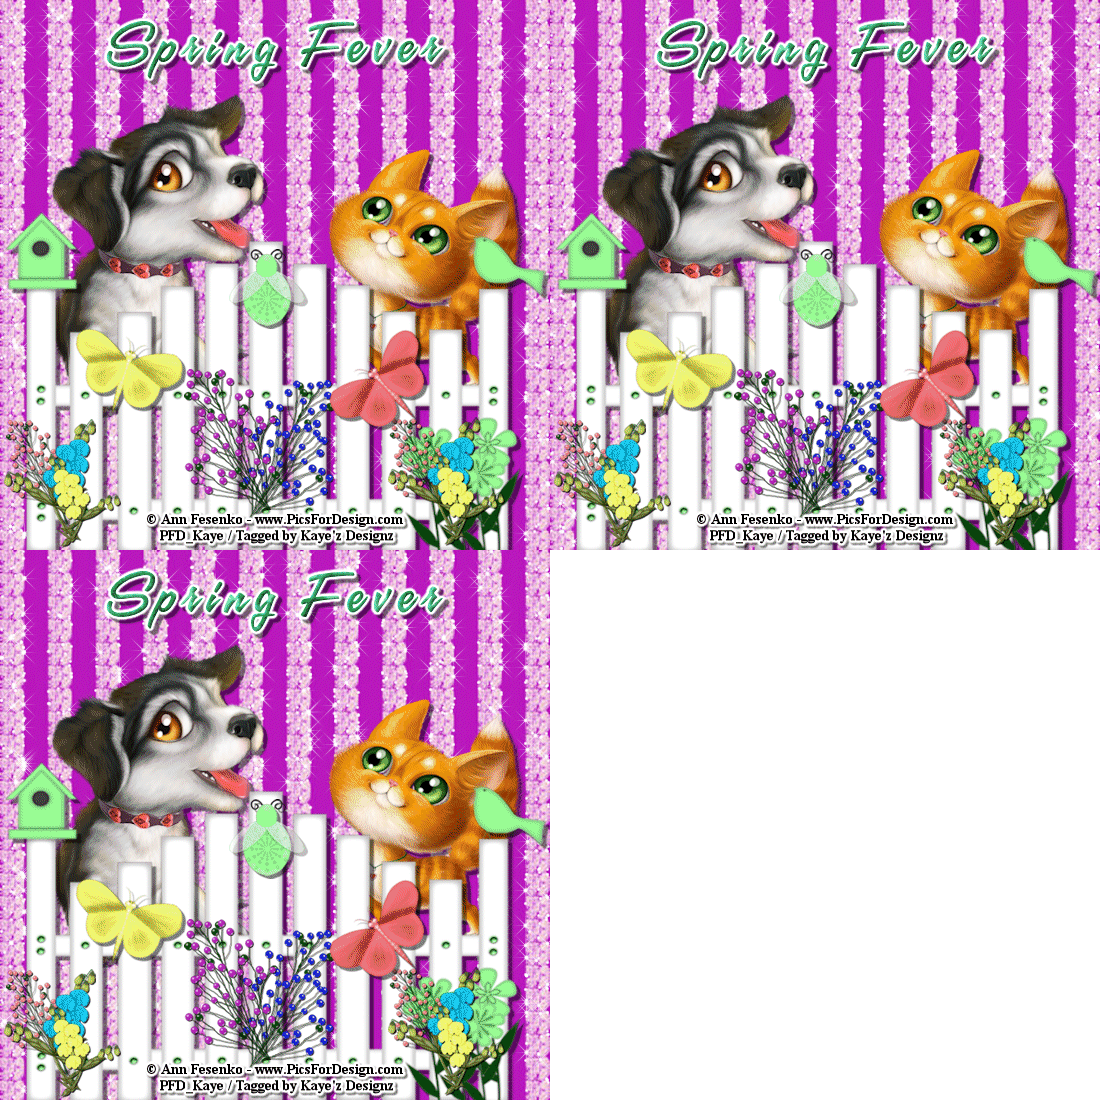
Result by Kaye W