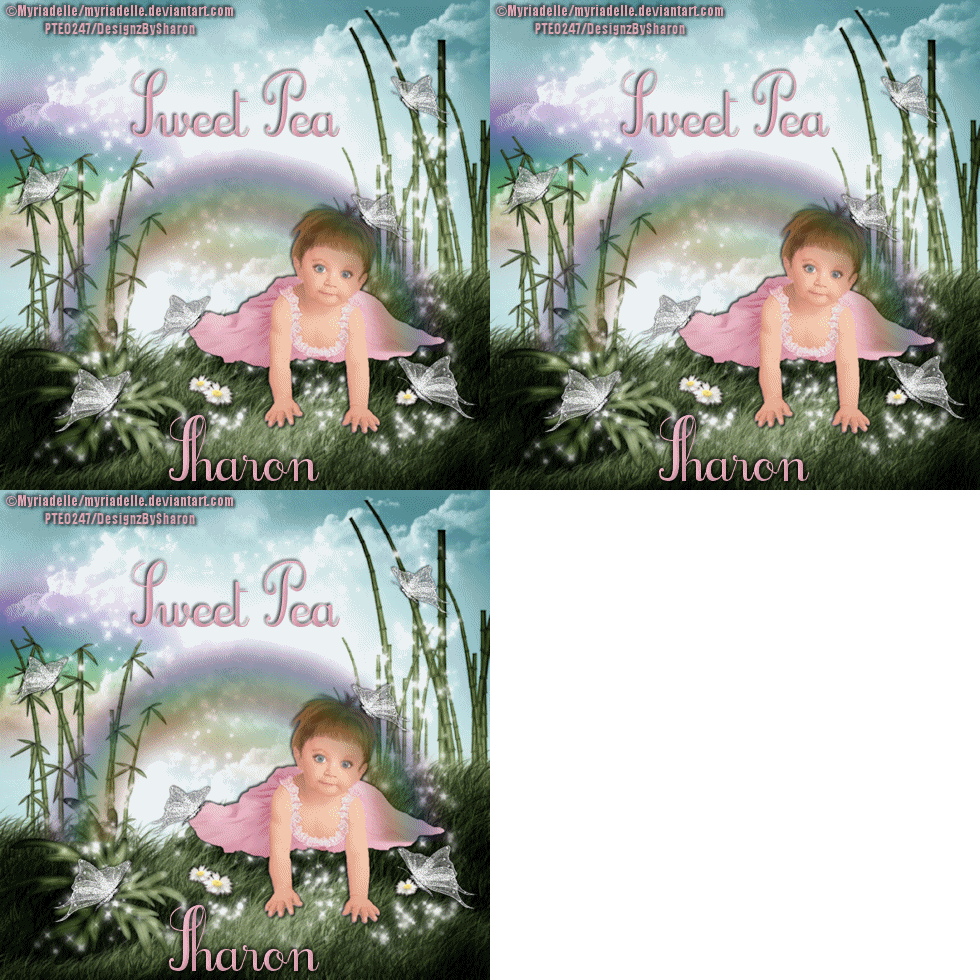
Click for larger view
This tutorial was written by Sharon A on May 4, 2012 & is copyright protected
For more info read my TOU
Supplies Needed
Mothers Day Frame by me here
Plugins
Xero Fritillary
DSB Flux Bright Noise
Graphics Plus Cross Shadow
The tube I used Sweet Pea (PTE5129) is by Myriadelle, you can purchase this tube from PTE here
The name of my font is Tagettes
This tutorial was written by Sharon A on May 4, 2012 & is copyright protected
For more info read my TOU
Supplies Needed
Mothers Day Frame by me here
Plugins
Xero Fritillary
DSB Flux Bright Noise
Graphics Plus Cross Shadow
The tube I used Sweet Pea (PTE5129) is by Myriadelle, you can purchase this tube from PTE here
The name of my font is Tagettes
I used size 42

Open your frame, shift D to duplicate & close original
Delete credit layer
Activate raster 1
Floodfill with a medium pink
Add an inner bevel
Apply xero fritillary changing the top & bottom #'s to 12
Click inside your frame with your magic wand
Expand 3
Add a new raster layer
Floodfill with light pink
Deselect
Move to above your bg layer
Apply dsb flux bright noise intesity 35, mix checked
Activate your big crocus layer
Change layer properties to multiply
Change layer opacity to 70
Add drop shadow
Activate your swag layer
Select all>float>defloat
Add a new raster layer
Floodfill with your last color
Delete & deselect
Change layer properties to hard light
Add drop shadow
Activate your lace layer
Change layer properties to luminance
Add drop shadow
Duplicate 2 times
Apply cross shadow using default settings
Repeat on other 2 layers changing the 2 bottom #'s to 108 & 88
Activate your frame
Darken your color a bit and floodfill your frame
Add an inner bevel & drop shadow
Repeat bright noise, same settings as before
Paste your tube as a new layer
Resize as needed
I positioned my tube so her hands are touching the Mom element
Add drop shadow
Add a drop shadow to all your flowers & bee
Add an inner bevel & drop shadow on your Mom element
Resize all layers to 70%
Add your text, name & © info
Animation:
Hide animation 2 & 3
Merge visible
Copy & paste into animation shop
Undo your merge
Hide animation 1 & unhide #2
Merge & paste after current in animation shop
Undo your merge
Hide animation 2 & unhide #3
Merge visible & paste after current in animation shop
View your animation
Save as gif & you're all done!
I hope you enjoyed my tutorial
Your comments are very much appreciated either here on this post or on the chat box. I've made it easy for you to post on this tut by turning off the requirement of having to type in a confirmation code
I would love to post your © compliant result, just email it to me with ATT Sharon & the tut name in the subject line
You'll find my email blinkie on your left
:)
Open your frame, shift D to duplicate & close original
Delete credit layer
Activate raster 1
Floodfill with a medium pink
Add an inner bevel
Apply xero fritillary changing the top & bottom #'s to 12
Click inside your frame with your magic wand
Expand 3
Add a new raster layer
Floodfill with light pink
Deselect
Move to above your bg layer
Apply dsb flux bright noise intesity 35, mix checked
Activate your big crocus layer
Change layer properties to multiply
Change layer opacity to 70
Add drop shadow
Activate your swag layer
Select all>float>defloat
Add a new raster layer
Floodfill with your last color
Delete & deselect
Change layer properties to hard light
Add drop shadow
Activate your lace layer
Change layer properties to luminance
Add drop shadow
Duplicate 2 times
Apply cross shadow using default settings
Repeat on other 2 layers changing the 2 bottom #'s to 108 & 88
Activate your frame
Darken your color a bit and floodfill your frame
Add an inner bevel & drop shadow
Repeat bright noise, same settings as before
Paste your tube as a new layer
Resize as needed
I positioned my tube so her hands are touching the Mom element
Add drop shadow
Add a drop shadow to all your flowers & bee
Add an inner bevel & drop shadow on your Mom element
Resize all layers to 70%
Add your text, name & © info
Animation:
Hide animation 2 & 3
Merge visible
Copy & paste into animation shop
Undo your merge
Hide animation 1 & unhide #2
Merge & paste after current in animation shop
Undo your merge
Hide animation 2 & unhide #3
Merge visible & paste after current in animation shop
View your animation
Save as gif & you're all done!
I hope you enjoyed my tutorial
Your comments are very much appreciated either here on this post or on the chat box. I've made it easy for you to post on this tut by turning off the requirement of having to type in a confirmation code
I would love to post your © compliant result, just email it to me with ATT Sharon & the tut name in the subject line
You'll find my email blinkie on your left
:)