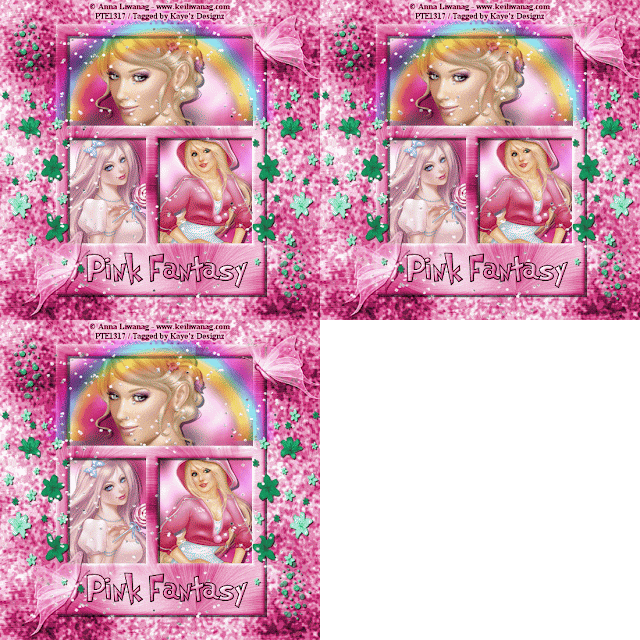
Click for larger view
This tutorial was written by Sharon A on March 26, 2012
For more info read my TOU
Supplies Needed
Scrapkit Fantasy World here
Plugins
Eyecandy 4 HSB Noise
Graphics Plus Cross Shadow
DSB Flux Bright Noise
The tubes I used Cherry Blossom, Angel & Rose is by Anna Liwanag, you can purchase these tubes from PTE here
The font I used is called Many Weatz
Open a new transparent canvas 700x700, we will resize later
Floodfill with a color from your tube
Apply eyecandy hsb noise using default settings
Paste frame 2 as a new layer
Resize to 75%
Floodfill with a color from your tube
Using your magic wand, holding down the shift key, click inside all 3 areas of the frame
Expand 3
Add a new raster layer
Floodfill with a color from your tube
Move to below your frame layer
Apply graphics plus cross shadow using default settings
Do Not Deselect
Paste your tubes as new layers
Resize as needed and place into position under the frame layer
(I duplicated my top tube, mirrored & merged down)
Invert your selection
Delete
Deselect
Add an inner bevel to your frame
Duplicate 2 times
Apply dsb flux bright noise, intensity 30, mix checked
Repeat on other 2 layers changing intensity to 35 & 40
Rename these layers to animation 1, 2 & 3
Paste bubbles as a new layer
Resize to 25%
Position toward left side
Change layer properties to luminance legacy
Duplicate, mirror & flip
Merge down
Paste rainbow as a new layer
Position upper left
Change frame properties to hard light
Add drop shadow
Paste butterfly as a new layer
Resize to 50%
Position on right side of frame as shown on my tag
Change layer properties to luminance legacy
Duplicate & mirror
Rotate left 20
Postion on left side of frame
Merge down
Add drop shadow
Paste flowers as a new layer
Resize to 75%
Position left side
Change layer properties to soft light
Add drop shadow
Duplicate & mirror
Paste glitter spill as a new layer
Position at the top
Change layer properties to overlay
Duplicate & flip
Change opacity to 70
Resize all layers to 70%
Add your text, name & © info
Animation:
Hide animation 2 & 3
Merge visible
Copy & paste into animation shop
Undo your merge
Hide animation 1 & unhide #2
Merge & paste after current in animation shop
Undo your merge
Hide animation 2 & unhide #3
Merge visible & paste after current in animation shop
View your animation
Save as gif & you're all done!
I hope you enjoyed my tutorial
I would love to post your © compliant result, just email it to me with the tut name in the subject line
:)
Result by Kaye W


No comments:
Post a Comment
Please keep your language clean, thank you!