Showing posts with label Ash Evans. Show all posts

Friday, April 13, 2012

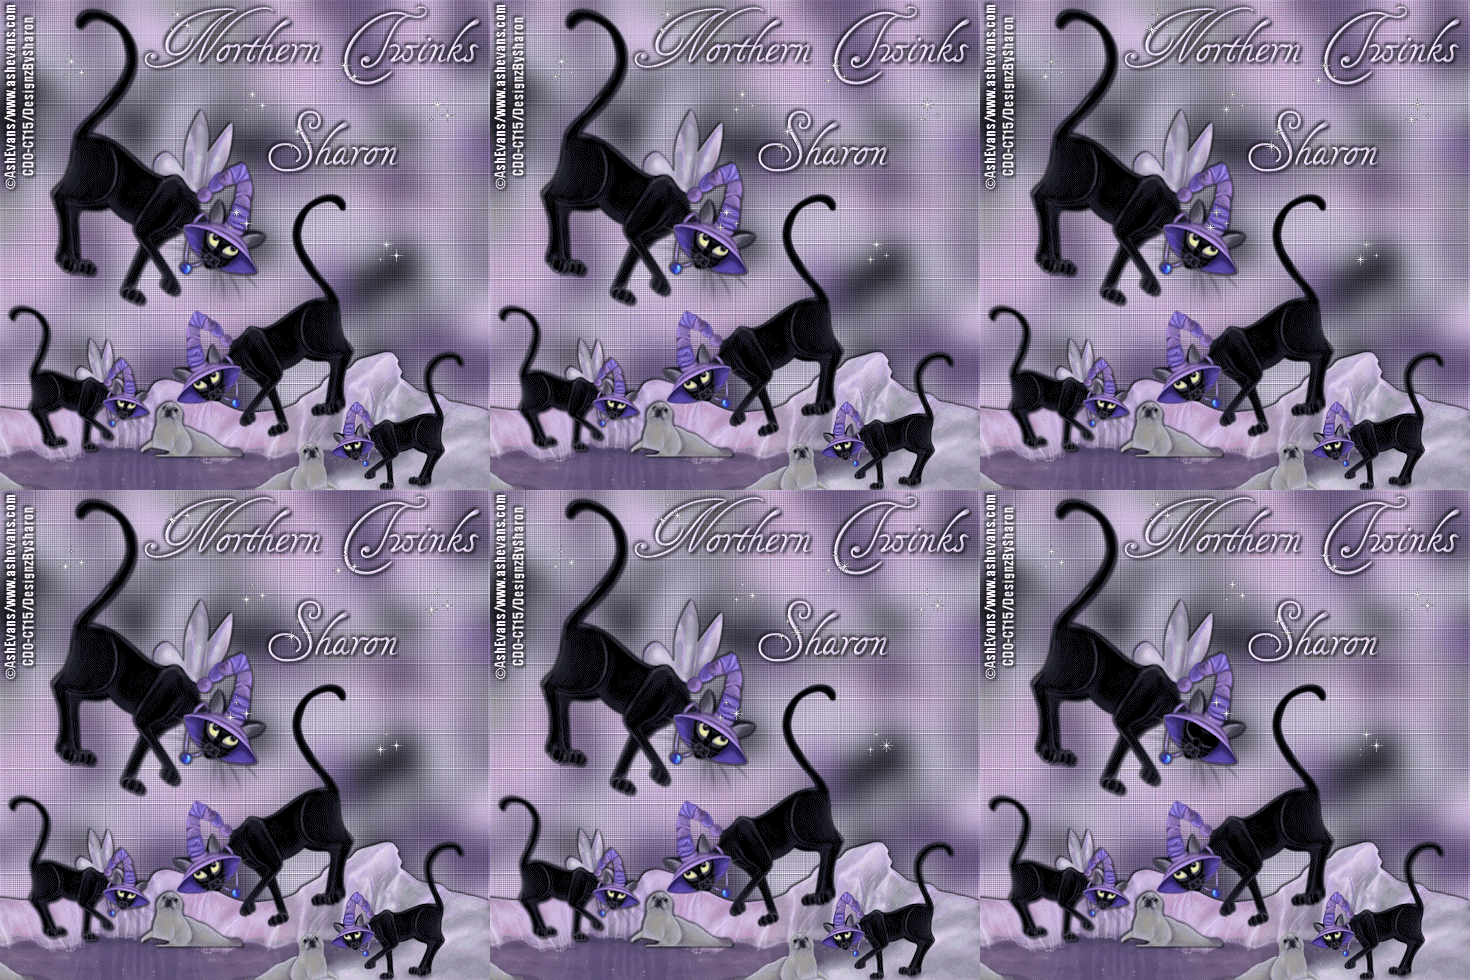
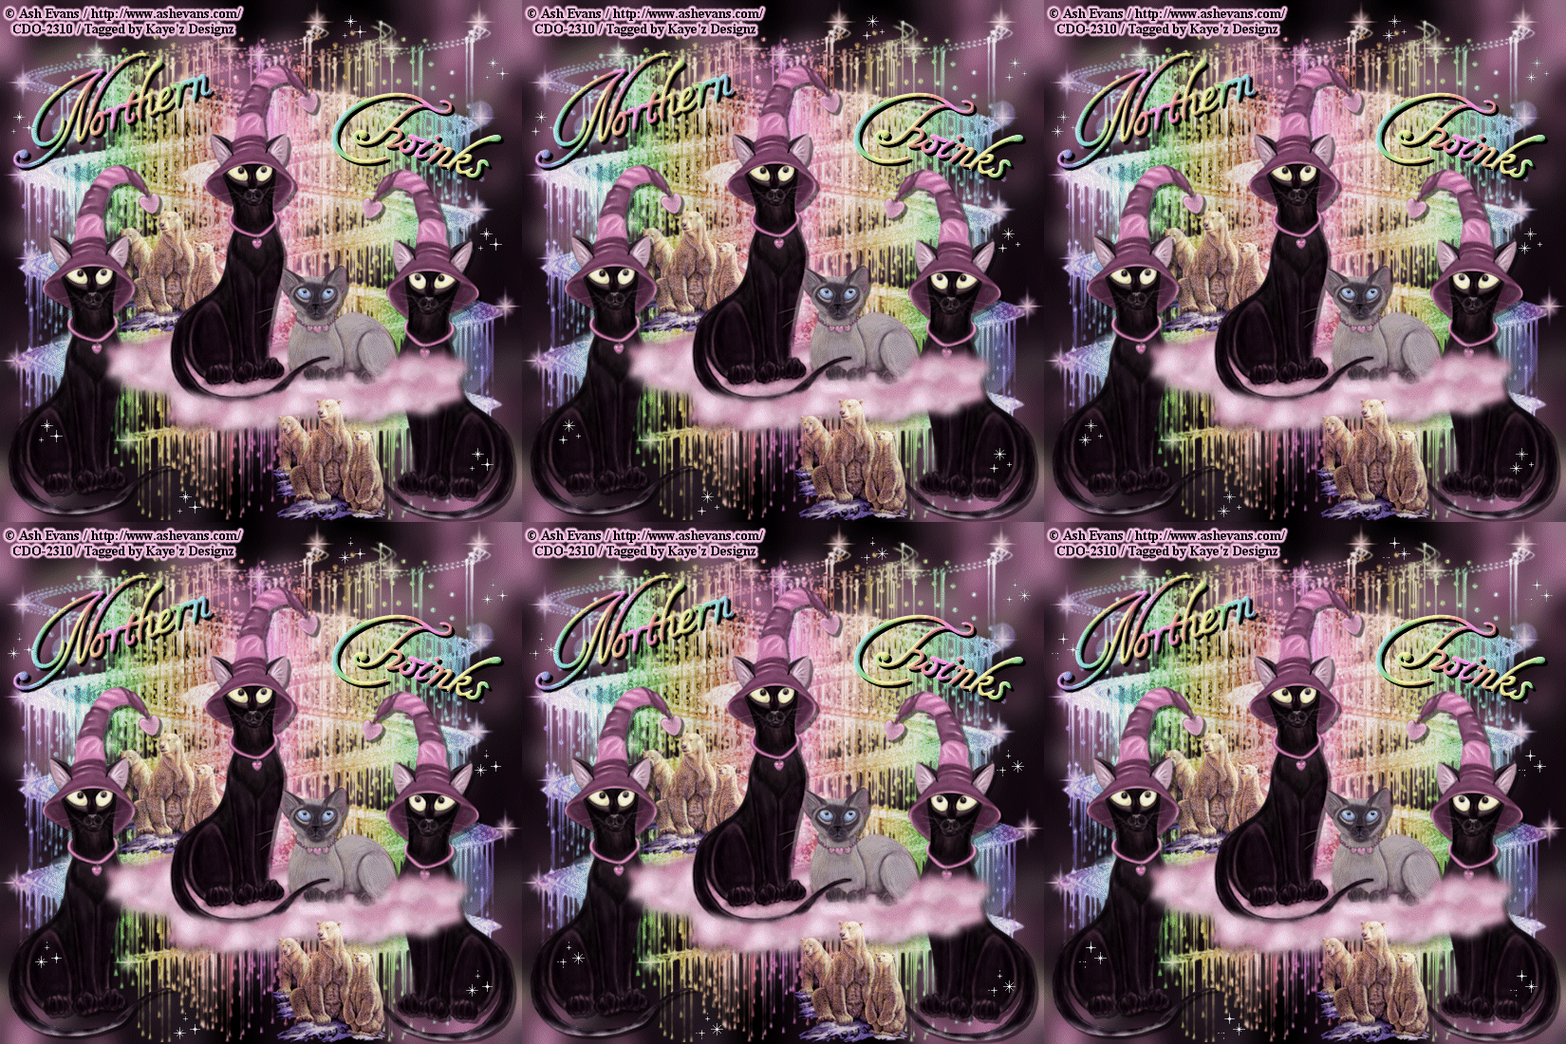
Northern Twinks

 Click for larger view

This tutorial was written by Sharon A on Apr 11, 2012 & is copyright protected
For more info read my TOU

Supplies Needed
Twinks, right click to save


Plugins
Mura Meister Copies
Eyecandy Textures Swirl


The tube I used Northern Lights (5-2) is by Ash Evans, you can purchase this tube from CDO here

The name of my font is Tagettes
I used size 42


Open new transparent canvas 700x700, we will resize later
Floodfill with a color from your tube

Paste your tube as a new layer
Apply mura meister copies, wallpaper rotate, number 23
Apply eyecandy texture swirl, settings on random, large loops, long streaks
Add gaussian blur, radius 20
Add texture, fine canvas, scale 50, depth 2

Paste your tubes as new layers
Resize as needed
Add drop shadow & arrange around on your tag

I duplicated the layer with the frozen pond & mirrored
I then moved it to the left, lined up the edges
I then used my rectangle selection tool to select around the layer & then cropped

On the layer with the seal I resized, mirrored & positioned on the left side of the pond

On the cat without wings I resized, rotated left 15 & positioned near the center of the pond
I made her bigger than the others

On the cat with wings I resized & rotated right 20
Positon upper left area

A solid color cat is much easier to do a blinking or winking because you don't have to use the clone tool
If your tube is not a solid color you'll need to use the clone

Using your freehand selection tool, select around the eyes
(Just one if you want winking)
Duplicate
I had to expand my selection by 1
Floodfill with your matching color
Deselect
Rename these layers to open & closed

Resize all layers to 70%

Add your text, name & © info


Animation:

Hide the closed eye layer
Merge visible
Copy & paste into animation shop
Multiply until you have 14 frames
Activate your last frame

Undo your merge
Hide the open eyes & unhide the closed
Merge & paste after current in animation shop
Paste after current, twice

Activate frame 1 & select all

You should have 16 frames now

View your animation

Open your twinks animation
Activate frame 1 & select all

Grab the twinks from frame 1 & drop onto frame 1 of your tag
Go back to your twinks & undo (CTRL Z)
Drag onto your tag again

Repeat this as many times as you want

View your animation

Save as gif & you're all done!

I hope you enjoyed my tutorial

Your comments are very much appreciated either here on this post or on the chat box.  I've made it easy for you to post on this tut by turning off the requirement of having to type in a confirmation code

I would love to post your © compliant result, just email it to me with ATT Sharon & the tut name in the subject line

You'll find my email blinkie on your left

:)


Result by Kaye W


Saturday, April 7, 2012

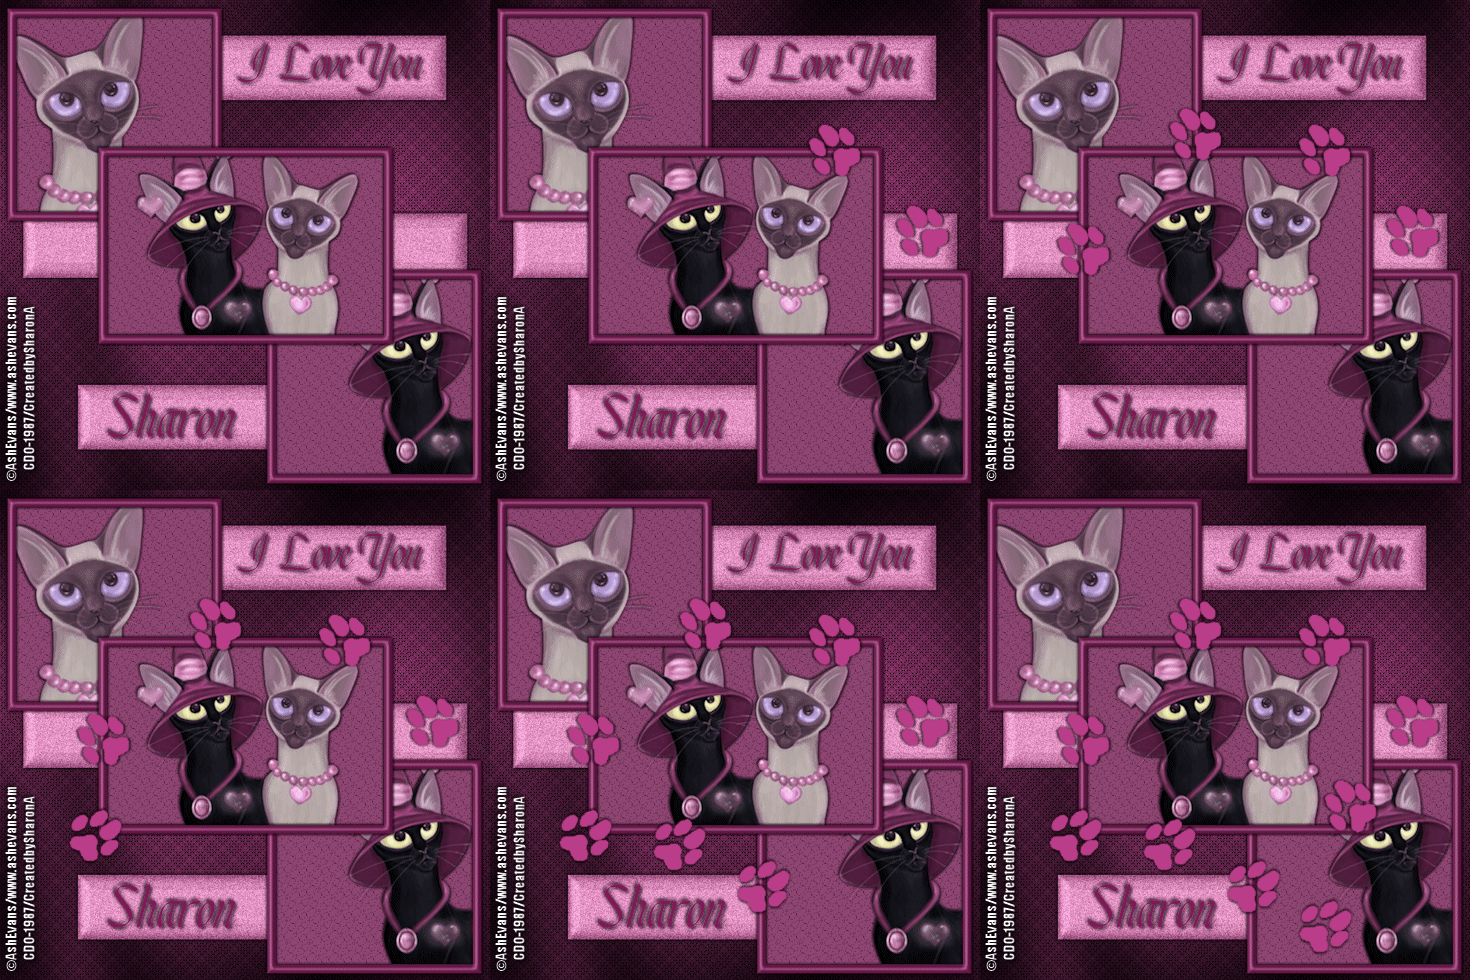
I Love You

Click for larger view

This tutorial was written by Sharon A on Apr 7, 2012 & is copyright protected
For more info read my TOU

Supplies Needed
Template # 144 which I made for this tut here

Plugins
Screenworks Fabric Weave & Lace Screen
Simple Diamonds
Graphics Plus Cross Shadow
DSB Flux Bright Noise


The tube I used Love is in the Air (4-2) is by Ash Evans, you can purchase this tube from CDO here

The name of my font is Chancery Cursive
I used size 48 for my text & 60 for my name


Open your template, shift D to duplicate & close original
Delete credit layer

Floodfill bg layer with a color from your tube
Apply screenworks fabric weave
Apply simple diamonds
Apply graphics plus cross shadow changing the 2 bottom #'s to 100

Activate your middle frame layer
Click inside it with your magic wand

Paste your main tube as a new layer
Resize as needed
Invert your selection 
Delete & deselect
Add drop shadow
Move to below your frame layer

Repeat with your other 2 tubes

I mirrored my top tube then positioned back into place

Floodfill your square layers with a lighter shade of your color
Apply screenworks lace sreen

Darken your color a bit & floodfill your frame layers
Add inner bevel & drop shadow

Lighten your color & floodfill the bar layers
Add an inner bevel & drop shadow
Merge these layers
Apply dsb flux bright noise intensity 30, mix checked

Resize the left facing paw to 60%
Delete the other paw

Floodfill with one of your colors & add a drop shadow

Duplicate 4 times
Position in the order you want the walking to go

Duplicate & rotate right 90

Duplicate 3 more times

You'll have 9 paw layers

Resize all layers to 70%

Add your text, name & © info


Animation:

Hide all your paw layers
Merge visible & paste after current in animation shop

Undo your merge
Unhide your bottom paw layer
Merge visible & paste after current in animation shop

Undo your meger
Unhide your next paw 
Merge visible & paste after current in animation shop

Keep doing this until you have all your layers pasted into animation shop

You'll have 10 frames

I set the frame properties on 60

View your animation

Save as gif & you're all done!

I hope you enjoyed my tutorial

Your comments are very much appreciated either here on this post or on the chat box.  I've made it easy for you to post on this tut by turning off the requirement of having to type in a confirmation code

I would love to post your © compliant result, just email it to me with ATT Sharon & the tut name in the subject line

You'll find my email blinkie on your left 

:)


Result by Kaye W


Tuesday, April 3, 2012

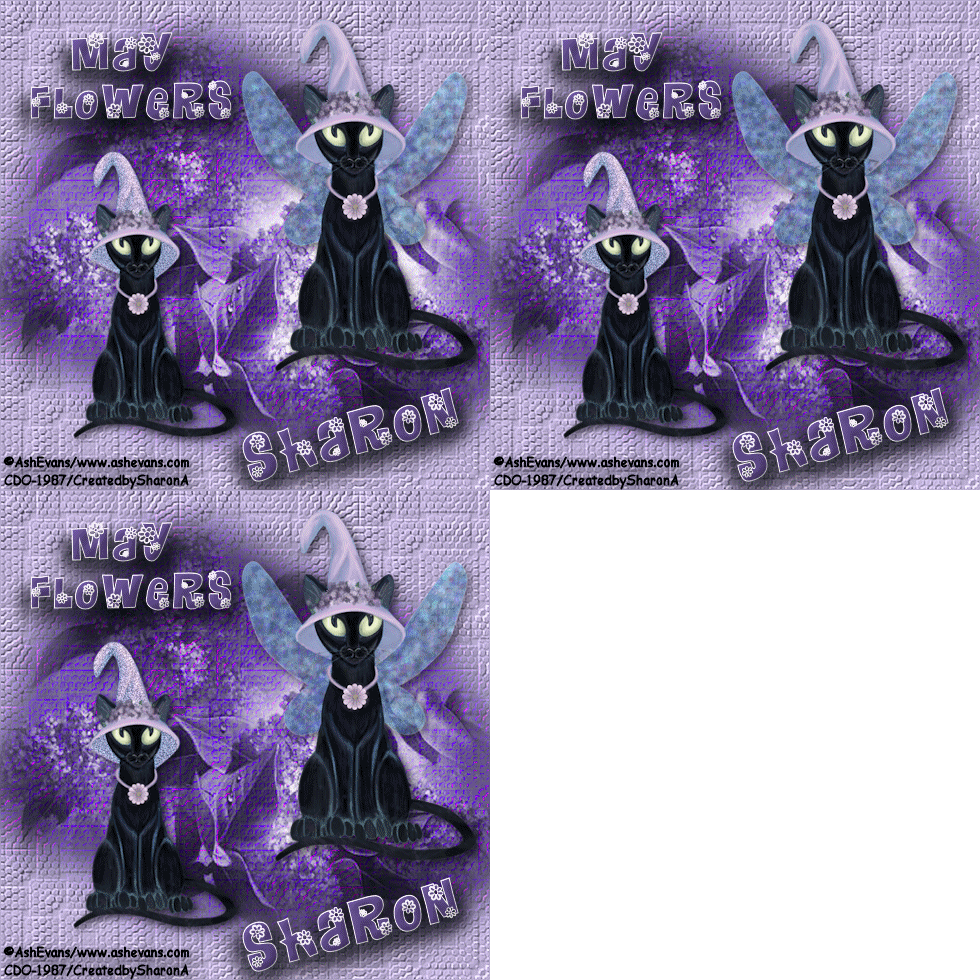
May Flowers

Click for larger view

This tutorial was written by Sharon A on Apr 3, 2012 & is copyright protected
For more info read my TOU

Supplies Needed
Lilac here

Plugins
Graphics Plus Cross Shadow
Eyecandy 4 HSB Noise
DSB Flux Bright Noise

The tube I used #3-2, May Flowers is by Ash Evans, you can purchase this tube from CDO here

The name of my font is Floralies
I used size 48 for my text & 60 for my name


Open new transparent canvas 700x700, we will resize later
Floodfill with a color from your tube
Apply texture>mosiac weave, scale 30, depth 1

Paste your lilacs as a new layer
Resize to 175%
Add drop shadow
Change layer properties to luminance

Duplicate 2 times
Apply graphics plus cross shadow, change the bottom 2 numbers to 90
Repeat on other 2 layers changing the #'s to 80 & 70

Paste your tubes as a new layer
Resize as needed & position into place
Add drop shadow

I was able to use my magic wand to select around the wings of my cat, depneding on your tube you may have to use the freehand selection tool
Duplicate 2 times
Apply eyecandy hsb noise using default settings, change the pattern to smooth fractal
Repeat on other 2 layers clicking on the random seed button each time
Deselect
Select around the hat of the other tube
Duplicate 2 times
Apply dsb flux bright noise, intensity 40, mix checked
Repeat on other 2 layers changing intensity to 45 & 50
Deselect

Resize all layers to 70%

Add your text, name & © info


Animation:

Hide all your middle & bottom animation layers
Merge visible
Copy & paste into animation shop

Undo your merge
Hide top layers, unhide middle layers
Merge & paste after current in animation shop

Undo your merge
Hide middle layers, unhide bottom layers
Merge visible & paste after current in animation shop

View your animation

Save as gif & you're all done!

I hope you enjoyed my tutorial

Your comments are very much appreciated either here on this post or on the chat box.  I've made it easy for you to post on this tut by turning off the requirement of having to type in a confirmation code

I would love to post your © compliant result, just emaail it to me with ATT Sharon & the tut name in the subject line

You'll find my email blinkie on your left 

:)


Friday, March 9, 2012

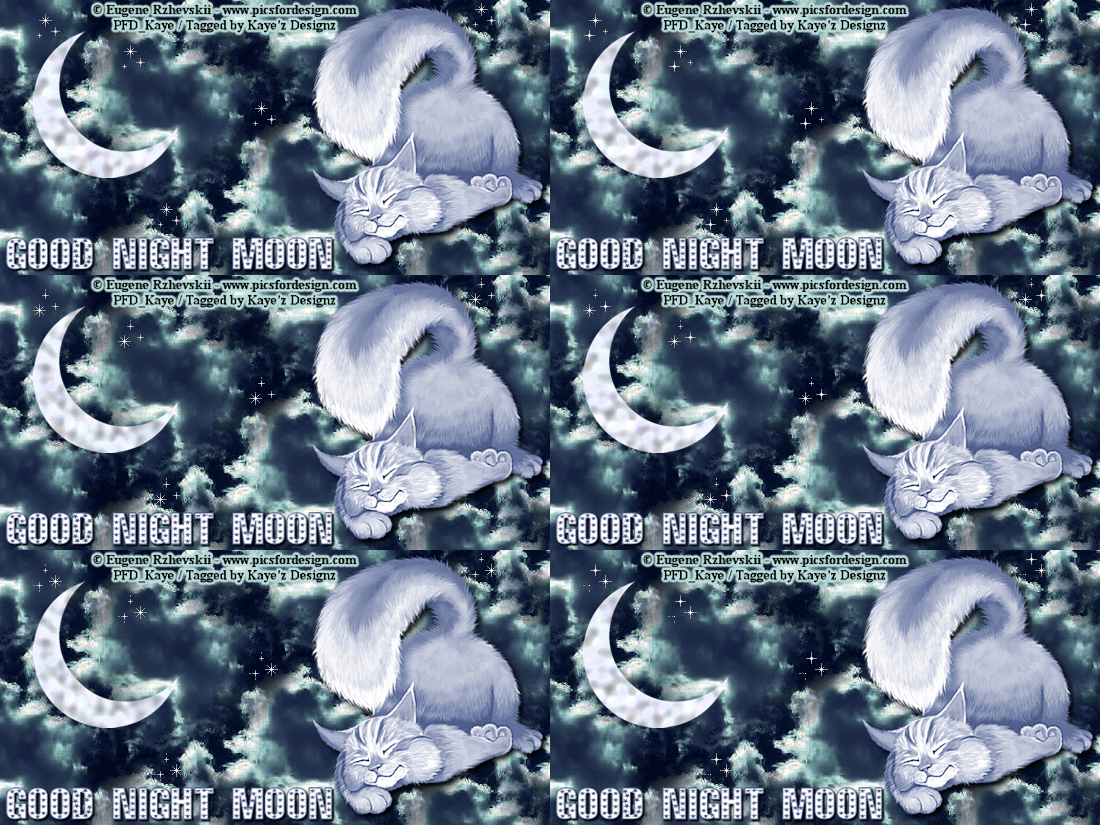
Good Night Moon

Click for larger view

This tutorial was written by Sharon A on March 9, 2012
For more info read my TOU

Supplies Needed

Moon here
Twinkle Animation Here

Animation Software, I use Animation Shop

Plugins
Eyecandy 4 HSB Noise

The tube I used 3-3 Unicorn Magic is by Ash Evans, you can purchase this tube from CDO here


Open new transparent canvas 700x275

Floodfill with a cloud pattern
Adjust>Hue & Saturation>Hue Map
Change the Lightness Shift to -70

Paste moon as a new layer
Resize to 35%
Position near top left
Adjust>Hue & Saturation>Hue Saturation Lightness>
Change lightness to 90
Duplicate 2 times
Apply Eyecandy HSB Noise using default settings on the top moon layer
Repeat on the other 2 moon layers clicking on the random seed button

Paste your tube as a new layer
Position toward lower right
Apply drop shadow 3 times

Add your text

Add your name & your © info


Animation

Hide all 3 moon layers
Merge visible

Unhide the top moon
Merge visible
Copy & paste into animation shop

Hide the top moon, unhide 2nd moon
Merge visible
Copy & paste after current in animation shop

Hide 2nd moon, unhide moon 3
Merge visible
Copy & paste after current in animation shop

Select all 3 frames, duplicate until you have 15 frames
Activate the first frame & select all

Open up the twinkle animation
Activate the first frame & select all

Drag frame 1 of the twinkle animtion & drop it somewhere on the 1st frame of your tag
Repeat this as many times as you want

Save as gif & you're all done!

I hope you enjoyed my tutorial

I would love to post your © compliant result, just email it to me with the tut name in the subject line

:)


Result by Kaye W


Saturday, October 15, 2011

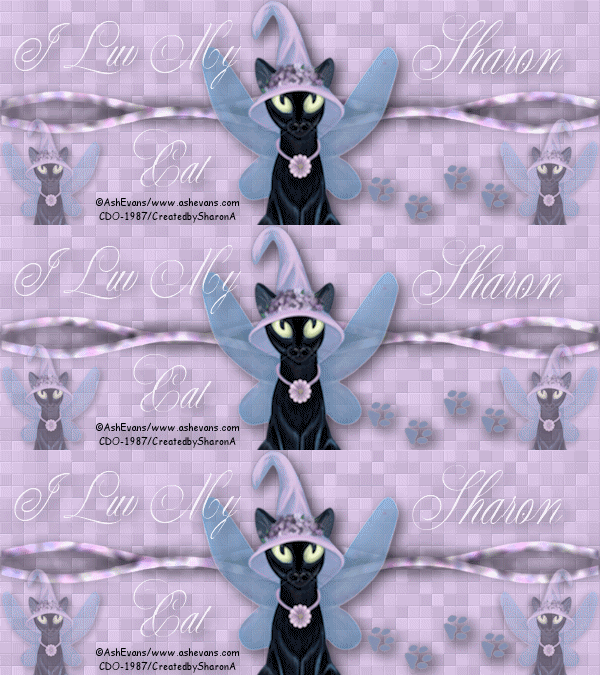
I Luv My Cat


Click for larger view

This tutorial was written by Sharon on Oct 15, 2011
For more info read my TOU

Supplies Needed
Paw Prints
Right click to save


Plugins
Xero Fritillary
Eyecandy 4 HSB Noise


The tube I used May Flowers is by Ash Evans, you can purchase this tube from CDO here


Open new transparent canvas 600x225
Floodfill with a color from your tube
Apply xero fritillary using default settings, change top & bottom #'s to 12

Activate your shapes tool set on rectangle.  Null foreground, background same as your floodfill
Draw a rectangle starting at x300 y100 ending at x600 y110
Effects>Distortion Effects>Wave>Default Settings
Apply inner bevel with these settings, bevel #2, width 31, smoothness 35, depth 3, ambience 0, shininess 30, angle 315, intensity 50, elevation 30
Add drop shadow
Duplicate & flip
Merge down
Duplicate & mirror
Merge down

Duplicate 2 times
Rename these layers to animation 1, 2 & 3
Activate animation 1
Apply eyecandy hsb noise using default settings

Repeat on animations 2 & 3 clicking on the random seed button each time

Paste your tube as a new layer
Resize as needed
Add drop shadow
Duplicate
Resize to 50%
Position left side
Change opacity to 50
Duplicate & mirror

Hide all layers except:
Your main tube layer
Animation 1
Background
Merge visible

Activate your selection tool
Click on customize
Top 50, left 225, right 375, bottom 200
Copy
Paste as new image
Add your intinial & © info
Save

Back to your main tag

Undo your merge
Deselect
Unhide the 2 side cats

Paste paws as a new layer
Select all>float>defloat
Floodfill with a color from your tube
Deselect
Resize to 85%
Position lower right side
Add drop shadow

Add your text

Add your name & your © info

Make sure animations 2 & 3 are hidden

Merge visible
Copy & paste into animation shop

Undo your merge
Hide animation 1 & unhide animation 2
Merge visible
Copy & paste after current in animation shop

Undo your merge
Hide animation 2 & unhide animation 3
Merge visible
Copy & paste after current in animation shop

I left the frame properties on the default of 10

Save as gif & you're all done!

I hope you enjoyed my tutorial

I would love to post your © compliant result, just email it to me with the tut name in the subject line

:)


Result by Lori


Saturday, September 17, 2011

Magic & MIschief Cats

Click for larger view

This tutorial was written by Sharon on Sept 17, 2011
For more info read my TOU

Supplies Needed
Scrapkit Ooh LaLa here

Plugins
Eyecandy 4 HSB Noise

The tube I used Magic & Mishchief is by Ash Evans, you can purchase this tube from CDO here


Open new transparent canvas 700x700, we will resize later
Floodfill with a color from your tube

Paste door 1 as a new layer
Resize to 85%
Add drop shadow

Paste your tube as a new layer
Resize as needed
Move to below the window
Add drop shadow

Paste the other cat above the window and resize as needed
Add drop shadow

Paste tree 2 as a new layer
Position on the right
Add drop shadow
Move to just above the window layer

Paste grasss 3 as a new layer
Position across the bottom
Add drop shadow
Move to just above the tree layer

Paste grass 5 as a new layer
Resize to 60%
Position bottom right
Add drop shadow

Paste flower 4 as a new layer
Resize to 20%
Position in front of the grass 5 layer

Paste jewel leaf as a new layer
Resize to 50%
Position on left
Add drop shadow
Move to below the grass layer
Duplicate 2 times for a total of 3
Rename these layers to animation 1, 2 & 3

On animation 1 apply eyecandy hsb noise with default settings

Do the same on animations 2 & 3 clicking on the random seed button each time

Paste bow 2 as a new layer
Resize to 35%
Position on the top of the left door
Add drop shadow
Duplicate & mirror

Resize all layers to 70%

Add your text

Add your name & your © info

Animation:
Hide animations 1 & 2
Merge visible
Copy & paste into animation shop

Undo your merge
Unhide animation 2 and hide animation 3
Merge visible
Copy & paste after current in animation shop

Undo your merge
Unhide animation 1 and hide animation 2
Merge visible
Copy & paste after current in animation shop

View your animation

Save as gif & you're all done!

I hope you enjoyed my tutorial

I would love to post your © compliant result, just email it to me with the tut name in the subject line

:)


Thursday, September 1, 2011

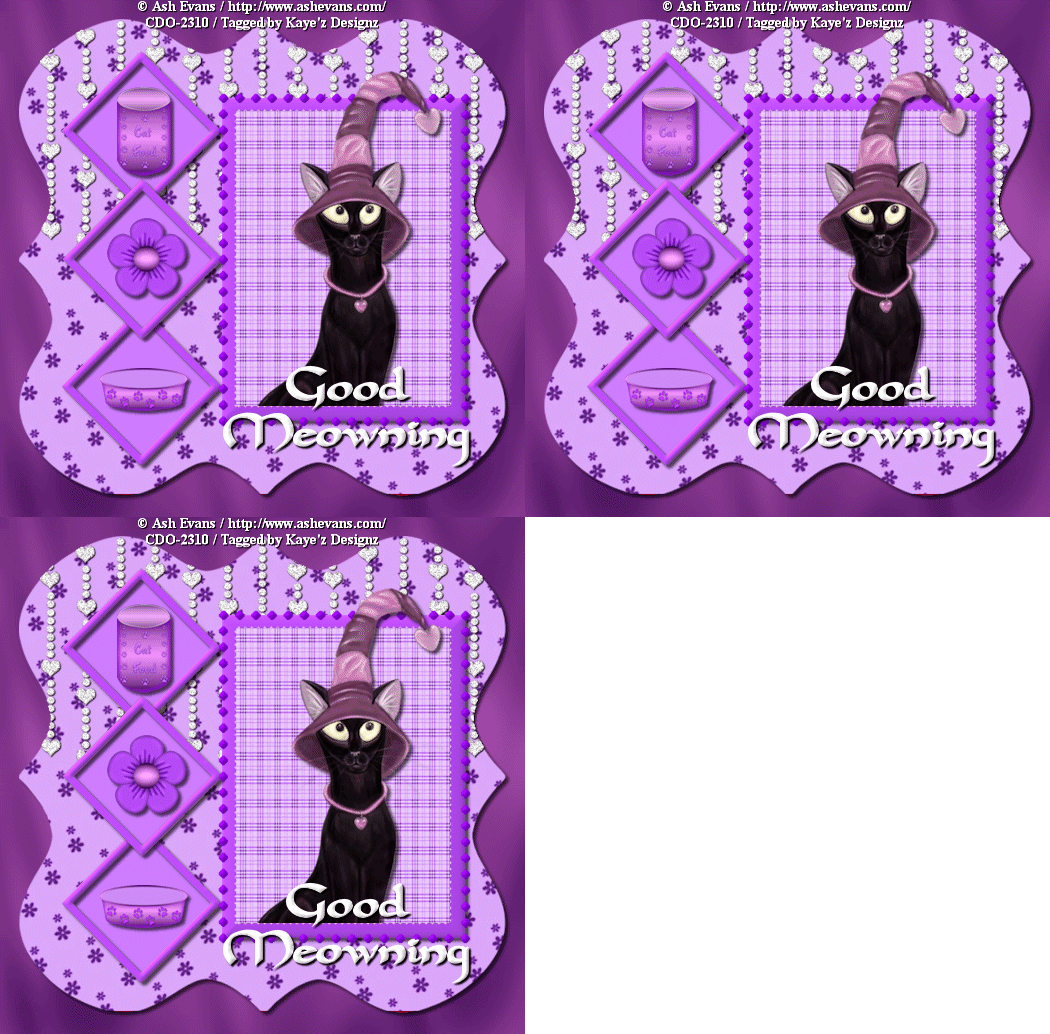
Good Meowning

Click for larger view

This tutorial was written by Sharon on Sept 1, 2011
For more info read my TOU

Supplies Needed
I used my Paws & Purrs kit for this one here

Template #34 by LaCarolita here

The name of the font I used is Carolingia, you can get it here

Plugins
Grahpics Plus Cross Shadow

The tube I used called Magic & Mischief is by Ash Evans, you can purchase this tube from CDO here


Open your template, shift D to duplicate & close original
Delete credit layer

Activate the background layer
Select all>float>defloat
Paste paper 14 into selection
Deselect

Add a new raster layer
Floodfill with a color from your tube
Apply graphics plus cross shadow using default settings
Move to below your background layer

Paste one of the curtains as a new layer
Resize to 75%
Move it up using your move tool, make sure the highest peak is covered
Invert your selection
Delete
Deselect
Duplicate 2 times
Rename these layers to animantion 1, 2 & 3

On animation 1 add noise Gaussian & Monochrome checked, 35%
Repeat on animation 2 changing to 40%
On animation 3 change to 45%

Activate raster 5
Select all>float>defloat>
Paste paper 9 into selection

Paste your tube as a new layer
Resize as needed
Add drop shadow

Pick a color from your tube or the paper 
Floodfill rasters 1, 3 & 6
Add inner bevel using bevel # 2 width 10 to each

Floodfill rasters 2 & 4 with a different shade of the color you just used

Activate raster 7
Select all>float>defloat
Rather than floodfill all the diamond shapes add a new raster layer
Floodfill with the color you just used
Invert your selection
Delete
Deselect
Add drop shadow

Send your tube to the top

Paste flower 4 as a new layer
Resize to 50%
Position over center diamond shape
Add drop shadow

Paste cat food 4 as a new layer
Resize to 50%
Position over top diamond shape
Add drop shadow

Paste one of the purple bowls as a new layer
Resize to 50%
Position over bottom diamond shape
Add drop shadow

Add your text
Add drop shadow

Resize all layers to 75%

Add your name & your © info

Animation

Hide animations 2 & 3
Merge visible
Copy & paste into animation shop

Back to psp

Undo your merge
Unhide animation 2
Hide animation 1
Merge visible
Copy & paste after current in animation shop

Back to psp

Undo your merge
Hide animation 2
Unhide animation 3
Merge visible
Copy and paste after current in animation shop

Leave frame properties at default of 10

View your animation

Save as gif & you're all done!

I hope you enjoyed my tutorial

I would love to post your © compliant result, just email it to me with the tut name in the subject line

:)


Result by Kaye


Wednesday, August 24, 2011

Cool Breeze Cat

Click for larger view

This tutorial was written by Sharon on August 24, 2011
For more info read my TOU

Supplies Needed
Scrapkit Cool Breeze by Lynne here

The tube I used is by Ash Evans, you will need a license to use which you can purchase from CDO here


Open a new transparent canvas, 700x700.  We will resize later
Select all

Open paper 3
Resize to 15%
Paste into selection
Deselect

Paste frame as a new layer
Resize to 25%
Using your magic wand click inside the frame
Holding down your shift key you need to also click inside the small blank areas inside the flowers on the inside part of the frame
Expand 3

Paste paper 2 as a new layer
Resize to 15%
Invert your selection
Deselect
Move to below your frame layer

Paste your tube as a new layer
Resize as needed
Move to below your frame layer
Add drop shadow

Go back to your frame now and add a drop shadow
Add inner bevel using bevel #2 width 30

Paste flowers as a new layer
Resize to 20%
Position lower left corner
Add drop shadow
Duplicate & mirror

Paste blossom as a new layer
Resize to 10%
Position behind the flowers
Add drop shadow
Duplicate & Mirror

Back to the flowers
Duplicate one
Resize to 75%
Duplicate 4 more times
Arrange at different heights across the bottom
Merge these layers
Add drop shadow

Paste owl as a new layer
Resize to 10%
Rotate left 45
Position near the upper left of the frame
Add drop shadow

Paste bird as a new layer
Resize to 8%
Position upper right of frame
Rotate right 20
Add drop shadow

Paste butterfly as a new layer
Resize to 10%
Rotate left 30
Position at top of frame
Add drop shadow

Add your name and text

Resize all layers to 75%

Add your © info

Animation

Activate your tube layer
(This will work best on a 1 color cat, if you have a multicolored cat you will need to use your clone tool)
Duplicate
Select around one of the eyes using your freehand selection tool
You may have to expand a bit
Add new raster layer
Floodfill with black (or color to match your cat)

Repeat for other eye

Merge your 2 floodfilled layers
Merge down with your top tube layer

Rename these layers to animation 1 & 2

Add your name and text

Resize all layers to 85%

Add your © info

Hide animation 1
Merge visible
Copy & paste into animation shop

Undo your merge
Unhide animation 1
Hide animation 2 
Copy & paste after current in animation shop

On the open eyes frame set frame properties at 250
On the closed eyes frame set frame properties at 20

View your animation

Save as gif & you're all done!

I hope you enjoyed my tutorial

I would love to post your © compliant result, just email it to me with the tut name in the subject line

:)


Here's a tag Lori made for me, she based it on this tutorial but used a different scrap kit
I think it's stunning!
Thank you Lori!