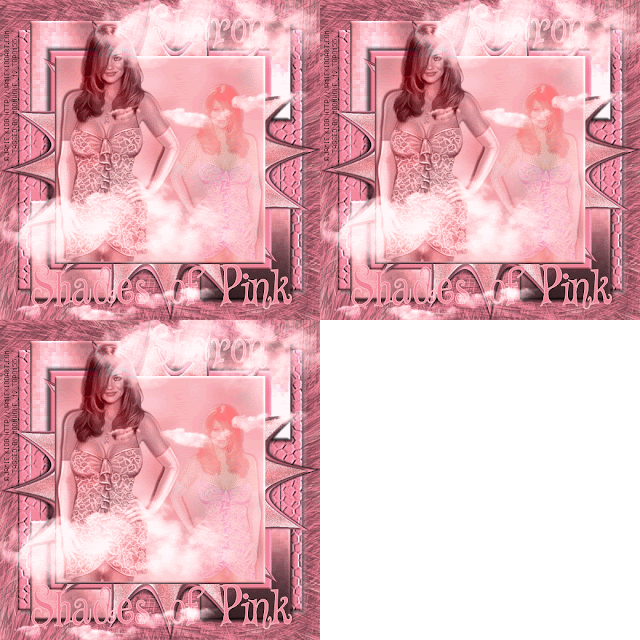
Click for larger view
This tutorial was written by Sharon A on March 26, 2012
For more info read my TOU
Supplies Needed
Template #140 by me here
You will need a cloud, you probably have one in your tubes or in one of your kits
If you don't have one email me & I'll send you mine
(Look on the left for my email blinkie)
Plugins
Eyecandy 5 Textures Texture Noise & Animal Fur
DSB Flux Center Mirror & Bright Noise
Graphics Plus Cross Shadow
Xero Fritillary
Screenworks Aged Mosaic
The tube I used Felicity is by Keith Garvey, you can purchase this tube from PTE here
The font I used is called Chancery Cursive
Open your template, shift D to duplicate & close original
Delete info layer
Floodfill square 1 with a color from your tube
Duplicate
Apply eyecandy texture noise with these settings
Transparent haze
click on basic
Texture smooth lumps, random seed 1
Merge down
Add an inner bevel
Duplicate
Apply dsb flux center mirror using default settings
Move to below square 1
Add drop shadow
Duplicate 2 times
Apply dsb flux bright noise, intensity 30, mix checked
Repeat on other 2 layers changing intensity to 35 & 40
Rename thesse layers to animation 1, 2 & 3
Paste your tube as a new layer
Resize as needed
Move to the left
Add drop shadow
Duplicate
Resize to 75%
Mirror
Change layer properties to luminance legacy on the big tube
Change layer properties to soft light on the small tube
Floodfill square 2 with a darker shade of your color
Add an inner bevel
Add drop shadow, twice
Duplicate
Apply dsb flux center mirror, same settings as before
Floodfill the small squares layer with your light color
Apply xero fritillary changing the top & botton #'s to 10
Apply graphics plus cross shadow using default settings
Add an inner bevel
Add drop shadow, twice
Floodfill the rectangles layer with your dark color
Add an inner bevel
Add drop shadow, twice
Apply screenworks aged mosaic
Floodfill bg with your light color
Apply eyecandy textures animal fur
Settings on calico, swirly
Base color your dark color, spot color your light color
Resize all layers to 65%
Add your text, name & © info
Making sure you're on the top layer, paste cloud as a new layer
Resize to 75%
Position in a corner
Duplicate 2 times and move around
Merge these layers
Change layer properties to luminance legacy
Animation:
Hide animation 2 & 3
Merge visible
Copy & paste into animation shop
Undo your merge
Hide animation 1 & unhide #2
Merge & paste after current in animation shop
Undo your merge
Hide animation 2 & unhide #3
Merge visible & paste after current in animation shop
View your animation
Save as gif & you're all done!
I hope you enjoyed my tutorial
I would love to post your © compliant result, just email it to me with the tut name in the subject line
:)
Result by Tammy


No comments:
Post a Comment
Please keep your language clean, thank you!