Showing posts with label Deborah Grieves. Show all posts

Tuesday, April 17, 2012

Silvery Moon

Click for larger view

This tutorial was written by Sharon A on April 17, 2012 & is copyright protected
For more info read my TOU

Supplies Needed
Lace here

Star here

Plugins
Graphics Plus Cross Shadow
DSB Flux Bright Noise


The tube I used A World Of Possibilities (PTE4545) is by Deborah Grieves, you can purchase this tube from PTE here

The font I used is called Aquarelle
I used size 48 & 60


Open a new transparent canvas 700x700, we will resize later
Floodfill with a color from your tube
Add texture>fine canvas>default settings
Apply graphics plus cross shadow changing the 2 bottom #'s to 90
Apply dsb flux bright noise intensity 25, mix checked

Paste your lace as a new layer
Resize to 170%
Change layer properties to overlay

Duplicate & rotate right 30
Repeat until you have 6 lace layers

Paste your tube as a new layer
Resize as needed
Add drop shadow

Paste your star as a new layer
Position in the upper right corner
Add drop shadow
Change layer properties to luminance legacy
Duplicate, mirror & merge down
Duplicate, flip & merge down
Merge down again

Resize all layers to 70%

Add your text, name & © info


Animation:

Hide all your lace layers except the top one
Merge visible
Copy & paste into animation shop

Undo your merge
Hide your top lace layer & unhide the 2nd one
Merge & paste after current in animation shop

Undo your merge
Hide your 2nd lace layer & unhide the 3rd
Merge visible & paste after current in animation shop

Keep doing this until all 6 frames are pasted

View your animation

Save as gif & you're all done!

I hope you enjoyed my tutorial

Your comments are very much appreciated either here on this post or on the chat box.  I've made it easy for you to post on this tut by turning off the requirement of having to type in a confirmation code

I would love to post your © compliant result, just email it to me with ATT Sharon & the tut name in the subject line

You'll find my email blinkie on your left

:)


Result by Laura


Result by Kaye W


Monday, April 2, 2012

Dark Rendevouz

Click for larger view

This tutorial was written by Sharon A on April 2, 2012 & is copyright protected
For more info read my TOU

Supplies Needed
Scrapkit Blue Bayou by Babs at Bitzy Beez Designz here

Plugins
Graphics Plus Cross Shadow
Eyecandy 4 HSB Noise

The tube I used Dark Rendevouz is by Debrorah Grieves, you can purchase this tube from PTE here

The font I used is called Night Sky
I used size 60 for my text & size 72 for my name after I resized


Open a new transparent canvas 700x700, we will resize later
Select all
Paste paaer 19 into selection
Deselect
Apply graphics plus cross shadow, change the 2 bottom #'s to 148

Paste sachet 1 as a new layer
Resize to 145%
Add drop shadow

Paste frame 6 as a new layer
Resize to 70%
Click inside the frame with your magic wand
Expand 3
Add a new raster layer
Paste paper 13 into selection
Move to below your frame layer
Deselect

Paste your tube as a new layer
Resize as needed
Add drop shadow to your tube & frame

Zoom up close
Using your freehand selection tool select around one of the wings
Hold down your shift key to select around the other one
Duplicate 2 times

Apply eyecandy hsb noise using default settings
Repeat on other 2 layers clicking on the random seed button each time

Deselect

Paste triple star charm 1 as a new layer
Resize to 65%
Position on left side of frame
Add an inner bevel & drop shadow
Repeat drop shadow
Duplicate & mirror

Paste butterfly 2 as a new layer
Resize to 35%
Rotate right 25
Position upper left corner of frame
Add drop shadow
Duplicate & mirror

Paste bow 1 as a new layer
Resize to 35%
Position at the top of the frame
Add drop shadow
Duplicate & flip

Paste dragonfly 1 as a new layer
Resize to 30%
Position on your tube
Add drop shadow

Resize all layers to 70%

Add your text, name & © info


Animation:

Hide animation 2 & 3
Merge visible
Copy & paste into animation shop

Undo your merge
Hide animation 1 & unhide #2
Merge & paste after current in animation shop

Undo your merge
Hide animation 2 & unhide #3
Merge visible & paste after current in animation shop

View your animation

Save as gif & you're all done!

I hope you enjoyed my tutorial

Your comments are very much appreciated either here on this post or on the chat box.  I've made it easy for you to post on this tut by turning off the requirement of having to type in a confirmation code

I would love to post your © compliant result, just emaail it to me with ATT Sharon & the tut name in the subject line

You'll find my email blinkie on your left 

:)


Saturday, March 31, 2012

A Day in the Garden

Click for larger view

This tutorial was written by Sharon A on March 31, 2012 & is copyright protected
For more info read my TOU

Supplies Needed
Scrapkit A Day in the Garden by Vaybs here

Plugins
Graphics Plus Cross Shadow
DSB Flux Bright Noise

The tube I used Welcome Spring is by Deborah Grieves, you can purchase this tube from PTE here

The font I used is called Daisy Mae
I used size 60 for the top text
size 30 for the bottom text
Size 48 for my name


Open a new transparent canvas 700x700, we will resize later
Select all
Paste paper 6 into selection
Deselect
Apply graphics plud cross shadow, change the bottom two #'s to 65
Add inner bevel

Paste frame 7 as a new layer
Click inside frame with your magic wand
Expand 3
Add a new raster layer
Paste paper 10 into selection
Deselect
Move to below your frame layer

Add an inner bevel to your frame
Add drop shadow, twice

Paste your tube as a new layer
Resize as needed
Add drop shadow
Move to below your frame layer

Activate your magic wand
Set the tolerlance to 50
Hold down your shift key and click around on the wings.  I had to change the tolerance a couple of times
Duplicate 2 times
Rename these layers to A1, A2 & A3

Apply dsb flux bright noise intensity 50, mix checked
Repeat on other 2 layers changing intensity to 55 & 60

Paste element 11 as a new layer
Resize to 85%
Mirror
Position on right side of frame as shown on my tag
Add drop shadow
Change layer properties to luminance legacy
Duplicate & mirror
Merge down
Move to below your frame layer

Paste element 5 as a new layer
Resize to 75%
Add drop shadow
Position upper left corner
Duplicate, mirror & merge down

Paste element 5 as another new layer
Resize to 75%
Add drop shadow
Position lower right corner
Duplicate, mirror & merge down
Merge down
Change layer properties to luminance legacy


Resize all layers to 70%

Add your text, name & © info


Animation:

Hide animation 2 & 3
Merge visible
Copy & paste into animation shop

Undo your merge
Hide animation 1 & unhide #2
Merge & paste after current in animation shop

Undo your merge
Hide animation 2 & unhide #3
Merge visible & paste after current in animation shop

View your animation

Save as gif & you're all done!

I hope you enjoyed my tutorial

Your comments are very much appreciated either here on this post or on the chat box.  I've made it easy for you to post on this tut by turning off the requirement of having to type in a confirmation code

I would love to post your © compliant result, just emaail it to me with ATT Sharon & the tut name in the subject line

You'll find my email blinkie on your left 

:)


Sunday, March 25, 2012

Spring is Here

Click for larger view

This tutorial was written by Sharon A on March 25, 2012
For more info read my TOU

Supplies Needed
Spring Template #1 by me here

Plugins
Graphics Plus Cross Shadow

The tube I used Spring Sprite is by Deborah Grieves, you can purchase this tube from PTE here


Open your template, shift D to duplicate & close original
Delete credit layer

Activate circle 1
Floodfill with a color from your tube
Apply graphics plus cross shadow using default settings
Select all>float>defloat

Paste your tube as a new layer
Resize as needed
Invert your selection
Delete
Deselect
Add drop shadow

Floodfill rectangle 1 with a light shade of your last color

Pick another color from your tube
Floodfill rectangle 2

Pick a darker shade of your first color
Floodfill the circles layer
Add drop shadow

Pick a darker shade of your 2nd color
Floodfill the bg layer
Apply graphics plus cross shadow using default setting

Pick a new color
Floodfill rectangle 4 & 2
Add an inner bevel & drop shadow

Repeat on circle 2

Activate one of your flower layers
Select all>float>defloat
Add a new raster layer
Floodfill with a pastel color
Deselect
Change layer properties to overlay
Merge down
Add drop shadow

Repeat with other flowers & leaves
Reposition to various areas
Add drop shadow

Repeat with the word art layer

Resize all layers to 60%

Add your text, name & © info

Merge all

Save as jpg & you're all done!

I hope you enjoyed my tutorial

I would love to post your © compliant result, just email it to me with the tut name in the subject line

:)


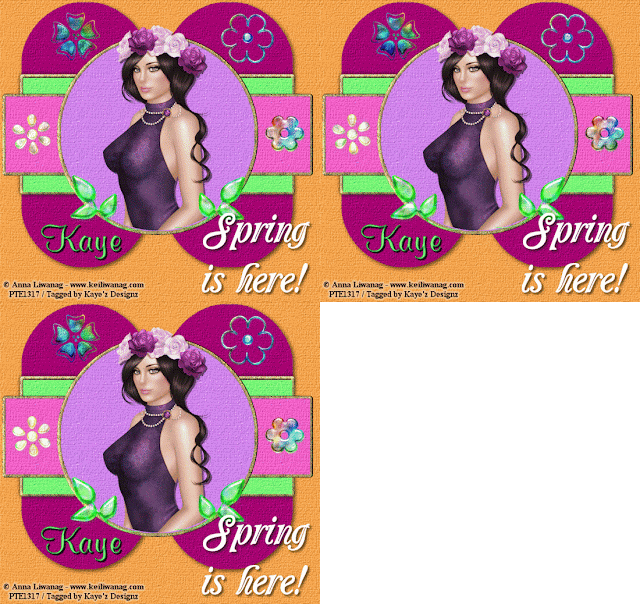
Result by Kaye W


Tuesday, October 18, 2011

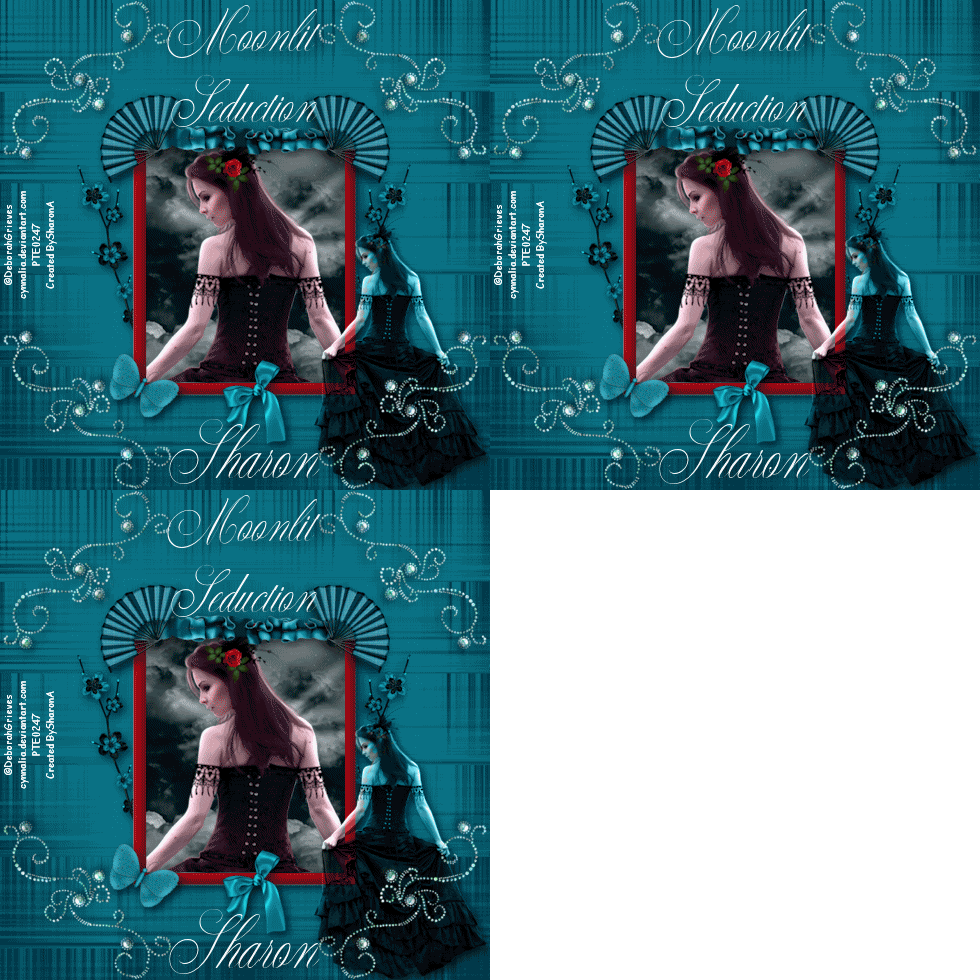
Moonlit Seduction

Click for larger view

This tutorial was written by Sharon on Oct 18, 2011
For more info read my TOU

Supplies Needed
Scrapkit Nightlife by Bea here
(Click on the 4 shared link near the top & scroll down about 1/2 way)

Plugins
Eyecandy 4 HSB Noise

The tube I used Moonlit Seduction is by Deborah Grieves, you can purchase this tube from PTE here


Open a new transparent canvas 700x700, we will resize later
Select all
Paste paper 2 into selection
Deselect

Activate your shapes tool set on rectangle, width 20
Foreground a color from your tube, background null
Draw out a rectangle begging at x200 y200 ending at x500 y555
Add an inner bevel
Using your magic wand click inside your frame
Expand 3

Paste paper 13 as a new layer
Resize to 50%
Move down a bit with your move tool
Invert your selection
Delete
Do Not Deselect

Paste the close up of your tube as a new layer
Resize as needed
Invert your selection
Delete
Deselect

Add a drop shadow to the frame

Paste the full size layer of your tube as a new layer
Resize as needed (I resized mine to 75%)
Add drop shadow
Change layer properties to luminance legacy

Paste bling swirl 2 as a new layer
Resize to 50%
Rotate left 45
Position upper left corner
Apply an inner bevel & drop shadow
Duplicate & mirror
Merge down
Duplicate & flip
Merge down

Duplicate 2 times
Rename these layers to animation 1, 2 & 3
Apply eyecandy hsb noise using default settings, random seed on 1

Repeat on animations 2 & 3 clicking on the random seed button each time

Paste bow 4 as a new layer
Resize to 35%
Position on bottom of frame
Add drop shadow

Paste flower 1 as a new layer
Resize to 50%
Position on left side of frame
Add drop shadow
Duplicate and mirror
Merge down
Move to below your frame layer

Back to the top

Paste butterfly 7 as a new layer
Resize to 40%
Rotate right 30
Position lower left corner of frame
Add drop shadow

Paste ruffle 3 as a new layer
Resize to 50%
Position at top of frame
Add drop shadow

Paste fan 1 as a new layer
Resize to 35%
Position upper left corner of frame
Add drop shadow
Duplicate & mirror
Merge down

Resize all layers to 70%

Add your text, name & your © info

Make sure animations 2 & 3 are hidden

Merge visible
Copy & paste into animation shop

Undo your merge
Hide animation 1 & unhide animation 2
Merge visible
Copy & paste after current in animation shop

Undo your merge
Hide animation 2 & unhide animation 3
Merge visible
Copy & paste after current in animation shop

I left the frame properties on the default of 10

Save as gif & you're all done!

I hope you enjoyed my tutorial

I would love to post your © compliant result, just email it to me with the tut name in the subject line

:)