Showing posts with label Judy Mastrangelo. Show all posts

Friday, May 18, 2012

My Birthday Party

Click for larger view

This tutorial was written by Sharon A on May 18, 2012 & is copyright protected
For more info read my TOU

Supplies Needed
Scrapkit Birthday Wishes here

Plugins
Eyecandy Texture Weave
Xenofex Constellation
DSB Flux Bright Noise

The tubes I used are by Judy Mastrangelo, you can purchase these tubes from PTE here

The name of my font is Wild Script


Open a new transparent canvas 700x700, we will resize later
Select all
Paste paper 12 into selection
Deselect
Apply eyecandy texture weave
Settings on solid plain angled
Use these settings on basic


Paste element 6 as a new layer
Add drop shadow

Paste element 56 as a new layer
Resize to 85%
Resize the width to 75% by unchecking the lock aspect ratio button
Reposition
Click inside with your magic wand
Expand 5

Add a new raster layer
Paste paper 13 into selection
Deselect & move to below your frame
Apply bright noise, intensity 40, mix checked

Duplicate 2 times
Apply constellation
Settings on medium, keep original image checked
Repeat on other 2 layers clicking on the random seed button each time
Paste your main tube as a new layer
Resize as needed
Add drop shadow

Add an inner bevel & drop shadow to your frame

Paste your other tubes as new layers
Resize as needed & add drop shadow
Position near the bottom of your tag

Paste element 24 as a new layer
Resize to 40%
Position on left side of your frame
Add drop shadow

Paste element 50 as a new layer
Resize to 30%
Position on right side of your frame
Add drop shadow

Paste element 51 as a new layer
Resize to 50%
Position at the top center of your tag
Add drop shadow

Paste element 53 as a new layer
Resize to 15%
Position inside the frame
Rotate left 30
Add drop shadow

Resize all layers to 70%

Add your text, name & © info


Animation:

Hide animation 2 & 3
Merge visible
Copy & paste into animation shop

Undo your merge
Hide animation 1 & unhide #2
Merge & paste after current in animation shop

Undo your merge
Hide animation 2 & unhide #3
Merge visible & paste after current in animation shop

View your animation

Save as gif & you're all done!

I hope you enjoyed my tutorial

Your comments are very much appreciated either here on this post or on the chat box.  I've made it easy for you to post on this tut by turning off the requirement of having to type in a confirmation code

I would love to post your © compliant result, just email it to me with ATT Sharon & the tut name in the subject line

You'll find my email blinkie on your left

:)


Result by Kaye W


Saturday, April 28, 2012

Spring Flowers

Click for larger view

This tutorial was written by Sharon A on April 27, 2012 & is copyright protected
For more info read my TOU

Supplies Needed
Scrapkit Eat, Love, Live by Jenny here

Plugins
DSB Flux Bright Noise

The tube I used Earth Mother (PTE5391) is by Judy Mastrangelo, you can purchase this tube from PTE here

The name of my font is Soupleaf


Open a new transparent canvas 700x700, we will resize later
Select all

Open paper 5
Resize to 700x700 pixels
Copy & close without saving
Paste into selection
Deselect

Add a new raster layer
Select all
Open dust
Resize to 30%
Copy & close without saving
Paste into selection
Deselect & add drop shadow

I mirroed both my tubes

Paste your tube as a new layer
Resize as needed
Add drop shadow

Paste your close up as a new layer
I resized it to 75%
Position in lower right corner
Add drop shadow

Paste flower box as a new layer
Resize to 15%
Position at the bottom
Add drop shadow

Move your main tube to hide the straight edges behind the flower box

Paste lilies as a new layer
Resize to 10%
Position over flower box
Add drop shadow

Paste flower 3 as a new layer
Resize to 10%
Position on left side of flower box, line the bottom of the stem up with the bottom of your tag
Duplicate & mirror

Resize to 75%
Position over the other flower
Merge down
Move to below your flower box layer
Move up a bit

Paste flower 4 as a new layer
Resize to 20%
Add drop shadow
Position next to your yellow flowers and a bit lower
Duplicate & mirror

Resize to 75%
Position in front of other flower
Rotate right 5
Merge down
Move to below your flower box

Merge with your yellow flowers
Duplicate & mirror
Resize to 90%
Move to the right side of your flower box

Merge your flower box, lilies & flowers
Duplicate & resize to 75%
Move to the left side of your tag
Duplicate & mirror

Move your tubes if needed

Paste flower 1 as a new layer
Resize to 10% then again to 35%
Position on a corner of your middle flower box
Add drop shadow
Duplicate, mirror & merge down

Paste flower 2 as a new layer
Resize to 20%
Position in upper right corner
Add drop shadow
Duplicate & mirror
Merge down

Paste flower 5 as a new layer
Resize to 10% then again to 50%
Position in the left flower box
Add drop shadow
Duplicate & mirror
Duplicate & position on the left side of the middle flower box

Merge all your flowers & flower boxes
Duplicate 2 times
Apply dsb flux bright noise intensity 30, mix checked
Repeat on other 2 layers changing intensity to 35 & 40

Paste birds as a new layer
Resize to 35%
Postion on your flower boxes
Add drop shadow

Paste bird as a new layer
Resize to 10%
Mirror
Position on the right side of your tag
Add drop shadow

Duplicate & resize to 75%
Position on the wings of your tube

Duplicate
Position on the right side of your flower boxes
Duplicate & mirror

Merge all your birds

Resize all layers to 70%

Add your text, name & © info
I added bright noise to my name & text, same settings as before


Animation:

Hide animation 2 & 3
Merge visible
Copy & paste into animation shop

Undo your merge
Hide animation 1 & unhide #2
Merge & paste after current in animation shop

Undo your merge
Hide animation 2 & unhide #3
Merge visible & paste after current in animation shop

View your animation

Save as gif & you're all done!

I hope you enjoyed my tutorial

Your comments are very much appreciated either here on this post or on the chat box.  I've made it easy for you to post on this tut by turning off the requirement of having to type in a confirmation code

I would love to post your © compliant result, just email it to me with ATT Sharon & the tut name in the subject line

You'll find my email blinkie on your left

:)


Result by Kaye W


Wednesday, April 25, 2012

Twilight Magic

'Click for larger view

This tutorial was written by Sharon A on April 25, 2012 & is copyright protected
For more info read my TOU

Supplies Needed
Template 152 by me here

Plugins
DC Special Nylon
Cybia Screenworks
Xenofex Constellation

The tube I used Twilight Magic is by Judy Mastrangelo, you can purchase this tube from PTE here

The font I used is called Tagettes
I used size 42 & 60


Open your template, shift D to duplicate, close original
Delete info layer

Activate your bg layer
Add a new raster layer
Floodfill with a color from your tube
Merge down
Apply dc special nylon using default settings

Activate your bars layer
Select all>float>defloat
Add a new raster layer
Floodfill with a darker shade of your bg color
Deselect
Add an inner bevel & drop shadow
Merge down

Activate bubbles 3
Add a new raster layer
Floodfill with your dark color
Back to bubbles 3>select all>float>defloat
Back to your floodfill>invert your selection>delete & deselect
Change layer properties to color legacy
Merge down
Change layer opacity to 80

Activate animation 3
Select all>float>defloat
Add a new raster layer
Floodfill with your dark color
Deselect
Change layer properties to overlay
Merge down

Repeat on animation 2 & 1

Activate animation 1
Select all>float>defloat
Add a new raster layer
Paste your tube into selection
Deselect
Add drop shadow

Still on animation 1
Select all>float>defloat
Add a new raster layer
Paste your tube into selection
Deselect
Change layer properties to darken

Activate bubbles 2
Follow the same steps as with bubbles 3 using your light color
Change layer properties color legacy
Merge down
Change layer opacity to 60

Repeat with bubbles 1 using your dark color
Layer properties hue legacy
Opacity 80
I mirrored & fliped mine

Floodfill your border with your dark color
Add an inner bevel & drop shadow
Apply cybia screenworks fabric weave mode 25

Resize all layers to 70%

Activate your circle shape tool
Foreground white, bg null, width 2
Draw a circle around the large bubble
Align center
Resize if needed

Activate your text tool
Add a new vector layer
Hover over your circle, when you see the little A left click & add your text
Align horizontal
Convert to raster layer
Delete your circle
Add an inner bevel & drop shadow

Apply constellation
Settings>star field>keep original image checked

Add your name & © info
Repeat constellation on your name


Animation:

Hide animation 2 & 3
Merge visible
Copy & paste into animation shop

Undo your merge
Hide animation 1 & unhide #2
Merge & paste after current in animation shop

Undo your merge
Hide animation 2 & unhide #3
Merge visible & paste after current in animation shop

I set my frame properties at 30

View your animation

Save as gif & you're all done!

I hope you enjoyed my tutorial

Your comments are very much appreciated either here on this post or on the chat box.  I've made it easy for you to post on this tut by turning off the requirement of having to type in a confirmation code

I would love to post your © compliant result, just email it to me with ATT Sharon & the tut name in the subject line

You'll find my email blinkie on your left

:)


Monday, April 16, 2012

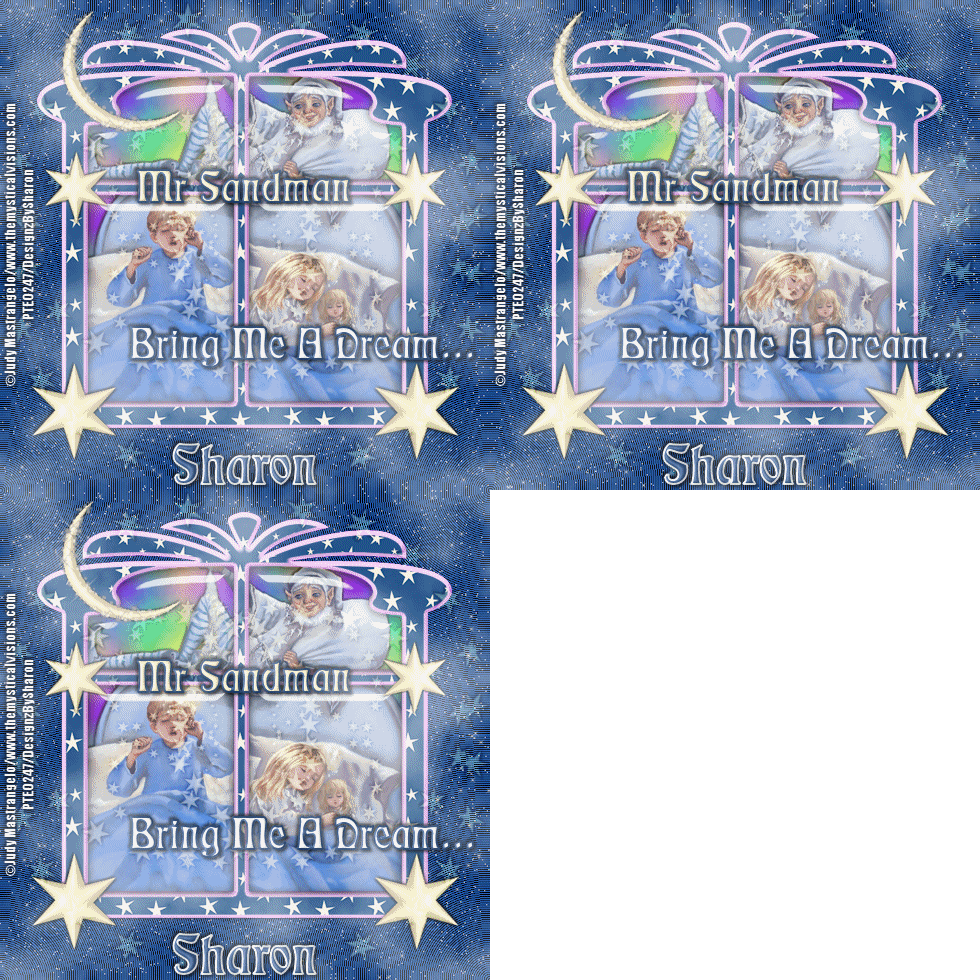
Bring Me A Dream


Click for larger view

This tutorial was written by Sharon A on April 16, 2012 & is copyright protected
For more info read my TOU

Supplies Needed
Window by me here
Moon by me here

Plugins
DC Special Nylon
Eyecandy Glass
Xenofex Constellation
Mura Meister Cloud


The tube I used Sandman Magic is by Judy Mastrangelo, you can purchase this tube from PTE here

The font I used is called Tamborine
I used size 48 for my text & 60 for my name


Open a new transparent canvas 700x700, we will resize later
Floodfill with a medium or dark blue
Apply dc special nylon, play with the colors to get the color you want
Duplicate 2 times

Apply xenofex constellation
Click on settings then on star field
Repeat on other 2 layers clicking on the random seed button each time

Paste your tube as a new layer
Resize as needed
Add drop shadow

Paste your window as a new layer
Move up a bit
Using your magic wand click inside the window frames
Expand 3
Add a new raster layer
Floodfill with a color or pattern of your choice or use the one I provided
Move to below your tube layer
Deselect

Activate your window layer
Select all>float>defloat
Add a new raster layer
Floodfill with a dark color from your pattern
Change layer properties to hard light
Do Not Deselect

Add another new raster layer
Floodfill with a pattern
Deselect

Activate the original window layer
Click inside the window panes with your magic wand
Expand 3
Add a new raster layer & move to top
Apply eyecandy glass
Settings>clear, bevel width 35
Deselect

Activate your symmetric shapes tool, set on star, 6 sides
Foreground null, background color of your choice
Draw a small star
Position on lower left side of your window
Add an inner bevel & drop shadow
Duplicate & mirror

Duplicate & resize to 75%
Position as shown on my tag
Duplicate & mirror

Duplicate one of the small stars
Position in the center of your tag
Apply mura meister copies
Preset menu>spiral, change # to 40

Position in the upper right corner
Duplicate, mirror & merge down
Duplicate, flip & merge down
Add drop shadow

Paste your moon as a new layer
Resize to 50%
Floodfill with your star color
Add an inner bevel & drop shadow
Apply xenofex constellation
Click on settings then on a few small stars
Click on the keep original image box

Resize all layers to 70%

Add your text, name & © info

Add a new raster layer
Apply mura meister cloud
Preset on thin clouds
Uncheck the light & bg boxes
Change layer opacity to 50


Animation:

Hide animation 2 & 3
Merge visible
Copy & paste into animation shop

Undo your merge
Hide animation 1 & unhide #2
Merge & paste after current in animation shop

Undo your merge
Hide animation 2 & unhide #3
Merge visible & paste after current in animation shop

View your animation

Save as gif & you're all done!

I hope you enjoyed my tutorial

Your comments are very much appreciated either here on this post or on the chat box.  I've made it easy for you to post on this tut by turning off the requirement of having to type in a confirmation code

I would love to post your © compliant result, just email it to me with ATT Sharon & the tut name in the subject line

You'll find my email blinkie on your left

:)


Result by Kaye W


Sunday, April 8, 2012

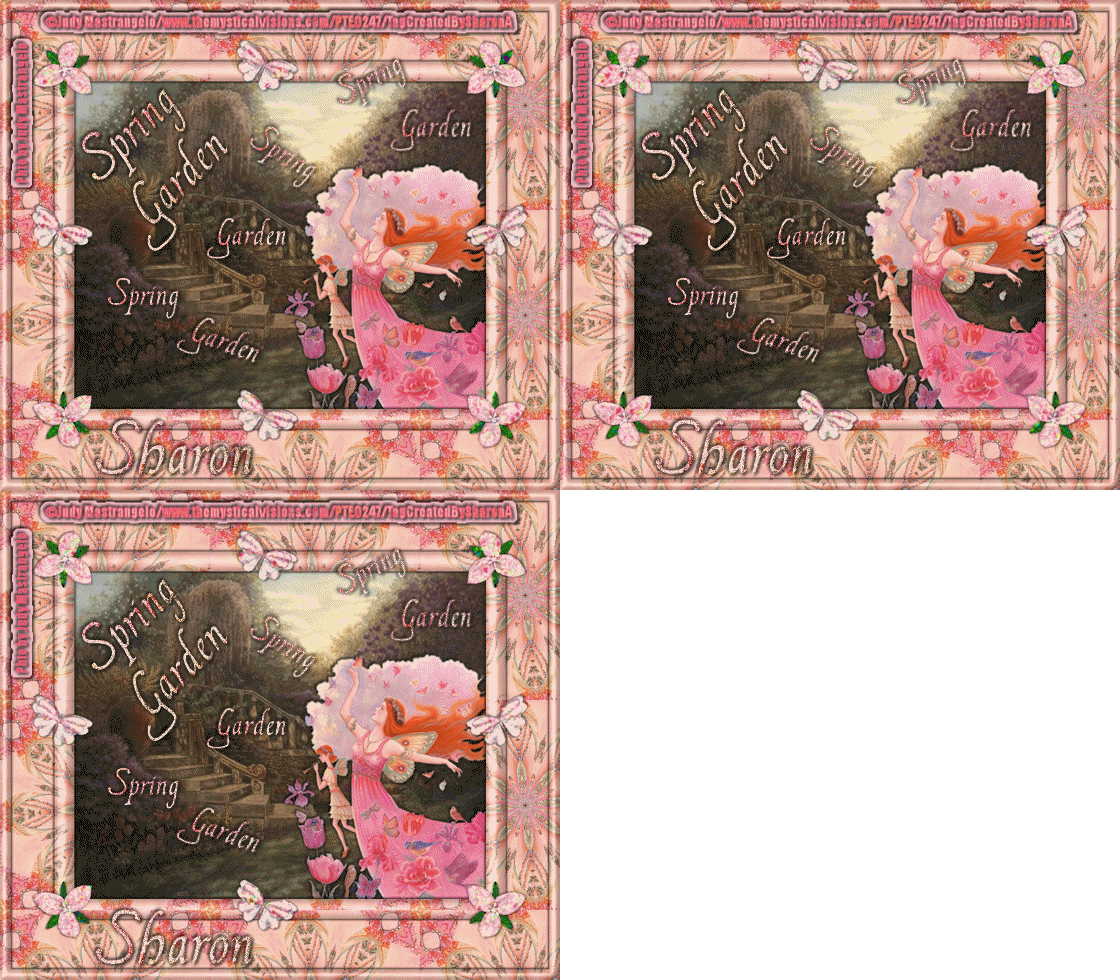
Spring Garden

Click for larger view

This tutorial was written by Sharon A on April 8, 2012 & is copyright protected
For more info read my TOU

Supplies Needed
Butterfly, Flower & Pattern here

A Photo

The photo I used is called April Garden and is by Judy mastrangelo, you can purchase this photo at PTE here

Plugins
Eyecandy Texture Noise
DSB Flux Bright Noise


The tube I used Daylight Dance is by Judy Mastrangelo, you can purchase this tube from PTE here

The font I used is called FranciscoLucas Briosa
I used size 48 for my text & 60 for my name
For the smaller words I used size 30


Open a new transparent canvas 800x700, we will resize later
Floodfill with your pattern

Duplicate
Select all
Contract 15
Delete & deselect
Add inner bevel & drop shadow

Paste photo as a new layer
Resize if needed
Add drop shadow

Paste your tube as a new layer
Resize as needed
positon in a lower corner
Add drop shadow

Activate your rectangel shape tool
Foreground on your pattern, background null
Width 28
Draw a rectangle around your photo
convert to raster
Add inner bevel & drop shadow

Paste flower as a new layer
Resize to 35%
Position on a corner
Add drop shadow
Duplicate & mirror
Merge down
Duplicate & flip
Merge down

Paste butterfly as a new layer
Resize to 35%
Add drop shadow
Position at the top center of your frame
Duplicate
Positon at the center bottom of your frame

Duplicate
Position at the center left of your frame
Duplicate & mirror
Merge these layers

Merge with your flower layer

Duplicate 2 times
Apply eyecandy texture noise crinkle
Repeat on other 2 layers clicking on the random seed button each time

Resize all layers to 70%

Add your text, name & © info

Change your font to a smaller size
Add the words Spring & Garden
Add inner bevel & drop shadow

Rotate some of them
I rotated left & right 20
Positon in different areas of your tag
Merge all your text layers except the © layer

Duplicate 2 times
Apply dsb flux bright noise intensity 50, mix checked
Repeat on the other 2 layers changing the intensity to 55 & 60


Animation:

Hide middle & bottom animation layers
Merge visible
Copy & paste into animation shop

Undo your merge
Hide the top animation layers & unhide the middle ones
Merge & paste after current in animation shop

Undo your merge
Hide hide your middle animation layers & unhide the bottom ones
Merge visible & paste after current in animation shop

View your animation

Save as gif & you're all done!

I hope you enjoyed my tutorial

Your comments are very much appreciated either here on this post or on the chat box.  I've made it easy for you to post on this tut by turning off the requirement of having to type in a confirmation code

I would love to post your © compliant result, just email it to me with ATT Sharon & the tut name in the subject line

You'll find my email blinkie on your left

:)


Result by Priscie


Friday, April 6, 2012

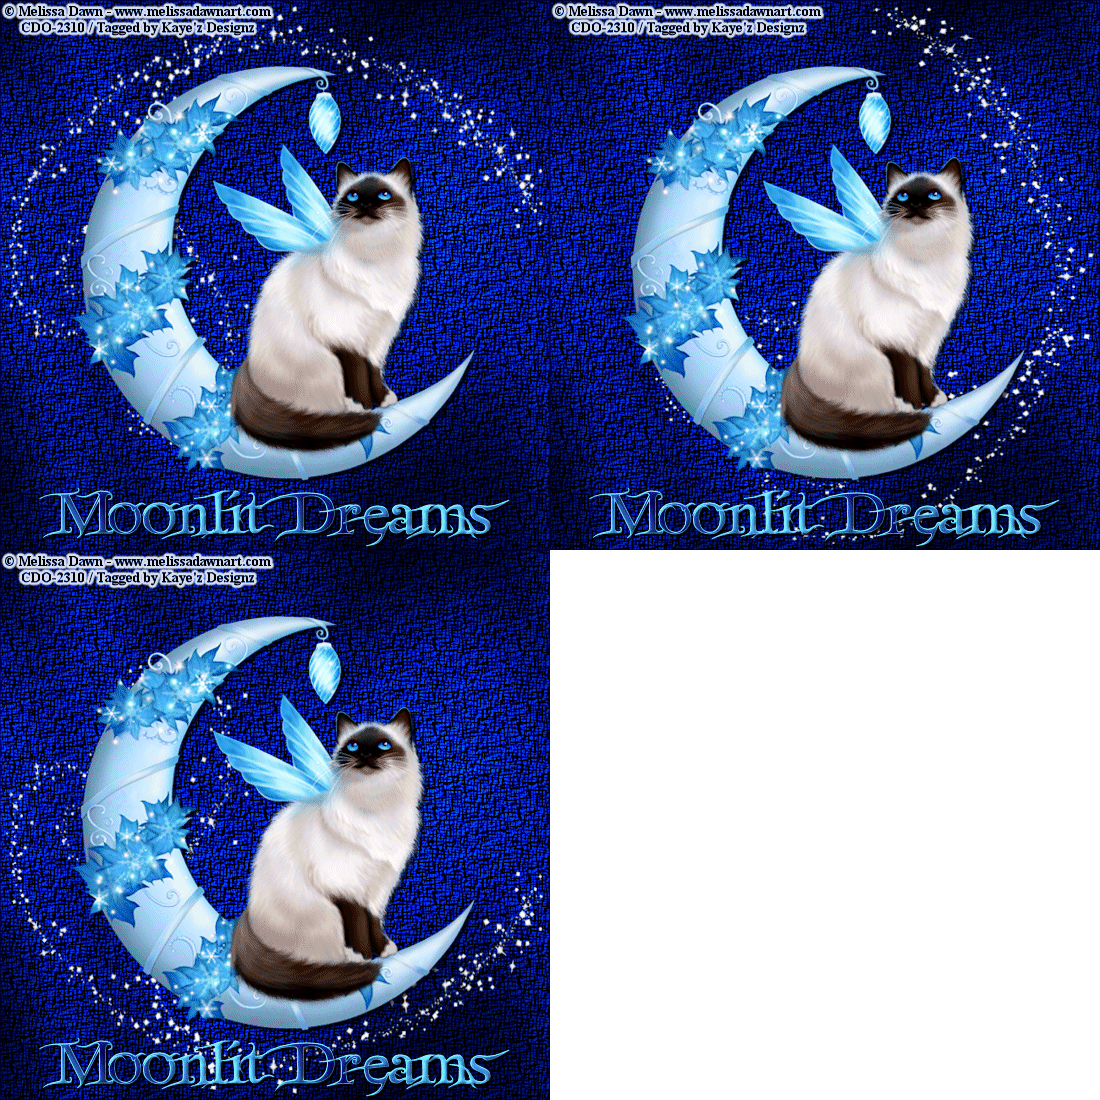
Moonlit Dreams

Click for larger view

This tutorial was written by Sharon A on April 6, 2012 & is copyright protected
For more info read my TOU

Supplies Needed
Star Dust here

Plugins
Graphics Plus Cross Shadow

The tube I used Evening Dreams is by Judy Mastrangelo, you can purchase this tube from PTE here

The font I used is called Habitat Decorated One
I used size 48


Open a new transparent canvas 700x700, we will resize later
Floodfill with a color from your tube
Add texture>canvas small>scale 50>depth 20
Apply graphics plus cross shadow changing the 2 bottom #'s to 80

Paste star dust as a new layer
Duplicat & mirror
Duplicate & flip
Duplicate 2 times

Paste your tube as a new layer
Add drop shadow

Resize all layers to 70%

Add your text, name & © info


Animation:

Hide animation 2 & 3
Merge visible
Copy & paste into animation shop

Undo your merge
Hide animation 1 & unhide #2
Merge & paste after current in animation shop

Undo your merge
Hide animation 2 & unhide #3
Merge visible & paste after current in animation shop

View your animation

Save as gif & you're all done!

I hope you enjoyed my tutorial

Your comments are very much appreciated either here on this post or on the chat box.  I've made it easy for you to post on this tut by turning off the requirement of having to type in a confirmation code

I would love to post your © compliant result, just email it to me with ATT Sharon & the tut name in the subject line

You'll find my email blinkie on your left 

:)


Result by Kaye W


Tuesday, April 3, 2012

Spring Joy

Click for larger view

This tutorial was written by Sharon A on April 3, 2012 & is copyright protected
For more info read my TOU

Supplies Needed
Scrapkit Summer Joy by Vaybs here

Plugins
DSB Flux Bright Noise

The tube I used Mother Earth is by Judy Mastrangelo, you can purchase this tube from PTE here

The font I used is called Floralies
I used size 48 for my text and size 60 for my name


Open a new transparent canvas 700x700, we will resize later
Select all
Paste paper 4 into selection
Deselect

Paste element 69 as a new layer
Position upper right corner
Add drop shadow
Duplicate & mirror
Merge down
Change layer properties to luminance legacy

Paste element 57 as a new layer
Add drop shadow

Paste your tube as a new layer
Resize as needed & position into place
Add drop shadow
Using your magic wand or freehand selection tool select around the wings\
Duplicate 2 times

Apply dsb flux bright noise intensity 40, mix checked
Repeat on other 2 layers changing instensity to 45 & 50

Paste element 12 as a new layer
Resize to 30%
Add drop shadow
Position on upper left of wire

Paste element 16 as a new layer
Resize to 25%
Position on right side of wire

Paste element 59 as a new layer
Resize to 50%
Rotate left 15
Add drop shadow
Position near lower right of wire

Paste element 34 as a new layer
Resize to 40%
Rotate right 30
Add drop shadow
Position near the left side

Paste element 15 as a new layer
Resize to 30%
Add drop shadow
position on the wire

Repeat with elements 9, 23, 10, 19 & 21
I resized a couple of them to 25%

Resize all layers to 70%

Add your text, name & © info


Animation:

Hide animation 2 & 3
Merge visible
Copy & paste into animation shop

Undo your merge
Hide animation 1 & unhide #2
Merge & paste after current in animation shop

Undo your merge
Hide animation 2 & unhide #3
Merge visible & paste after current in animation shop

View your animation

Save as gif & you're all done!

I hope you enjoyed my tutorial

Your comments are very much appreciated either here on this post or on the chat box.  I've made it easy for you to post on this tut by turning off the requirement of having to type in a confirmation code

I would love to post your © compliant result, just emaail it to me with ATT Sharon & the tut name in the subject line

You'll find my email blinkie on your left 

:)


Sunday, April 1, 2012

Cherry Blossom Fairy

Click for larger view

This tutorial was written by Sharon A on April 1, 2012 & is copyright protected
For more info read my TOU

Supplies Needed
Frame I made especially for this tut here

Plugins
Graphics Plus Cross Shadow
DSB Flux Bright Noise

The tube I used Cherry Blossom Fairy is by Judy Mastrangelo, you can purchase this tube from PTE here

The font I used is called FB Meadow
I used size 48 for my text & size 60 for my name after resizing


Open a new transparent canvas 700x700, we will resize later
Floodfill with a color from your tube
Effects>texture effects>texture>fine canvas, scale 50% depth 2
Apply graphics plus cross shadow changing the bottom 2 numbers to 100

I Selected around one of the cherry blossoms on my tube & pasted it as a new layer
I add a drop shadow
I then applied mura meister copies, wallpaper
I duplicated, mirrored & fliped then changed the layer opacity to 40

Paste your framae as a new layer
Click inside the frame with your magic wand
Expand 3
Add a new raster layer
Floodfill your selection with a color from your tube
Move to below your frame
Do Not Deselect

Paste your tube as a new layer
Resize if needed
Invert your selection
Delete
Deselect
Add drop shadow
Move to below your frame

Using your freehand selection tool select around the wings
Duplicate 2 times
Apply dsb flux bright noise intensity 35, mix checked
Repeat on other 2 layers changing intensity to 40 & 45
Deselect

Add drop shadow to your frame

Activate your frame floodfill layer
Apply dsb flux bright noise intensity 40, mix checked

Add a new raster layer
Select all
Floodfill with your color
Contract 12
Delete
Deselect

Add an inner bevel & drop shadow

Resize all layers to 70%

Add your text, name & © info


Animation:

Hide animation 2 & 3
Merge visible
Copy & paste into animation shop

Undo your merge
Hide animation 1 & unhide #2
Merge & paste after current in animation shop

Undo your merge
Hide animation 2 & unhide #3
Merge visible & paste after current in animation shop

View your animation

Save as gif & you're all done!

I hope you enjoyed my tutorial

Your comments are very much appreciated either here on this post or on the chat box.  I've made it easy for you to post on this tut by turning off the requirement of having to type in a confirmation code

I would love to post your © compliant result, just emaail it to me with ATT Sharon & the tut name in the subject line

You'll find my email blinkie on your left 

:)


Wednesday, March 28, 2012

Birthday Party

Click for larger view

This tutorial was written by Sharon A on March 28, 2012
For more info read my TOU

Plugins
Border Mania Notch Corner, you can get it here
Filter Factory G Gradient Blinds

The tube I used Things Are Looking Up is by Judy Mastrangelo, you can purchase this tube from PTE here

The font I used is called Dutch & Harley


Open a new transparent canvas 700x700, we will resize later
Floodfill with a dark color from your tube
Add an inner bevel

Add a new raster layer
Floodfill with a color from your tube
Apply border mania notch corner, change # to 90
Duplicate 2 times
Apply filter factory G gradient blinds
Change divisions to 4
You may have to play with the colors

Repeat on other 2 layers increasing divisions by 1 on each layer

Resize all layers to 70%

Add your text, name & © info


Animation:

Hide animation 2 & 3
Merge visible
Copy & paste into animation shop

Undo your merge
Hide animation 1 & unhide #2
Merge & paste after current in animation shop

Undo your merge
Hide animation 2 & unhide #3
Merge visible & paste after current in animation shop

View your animation

Save as gif & you're all done!

I hope you enjoyed my tutorial

I would love to post your © compliant result, just email it to me with the tut name in the subject line

:)


Result by Kaye W


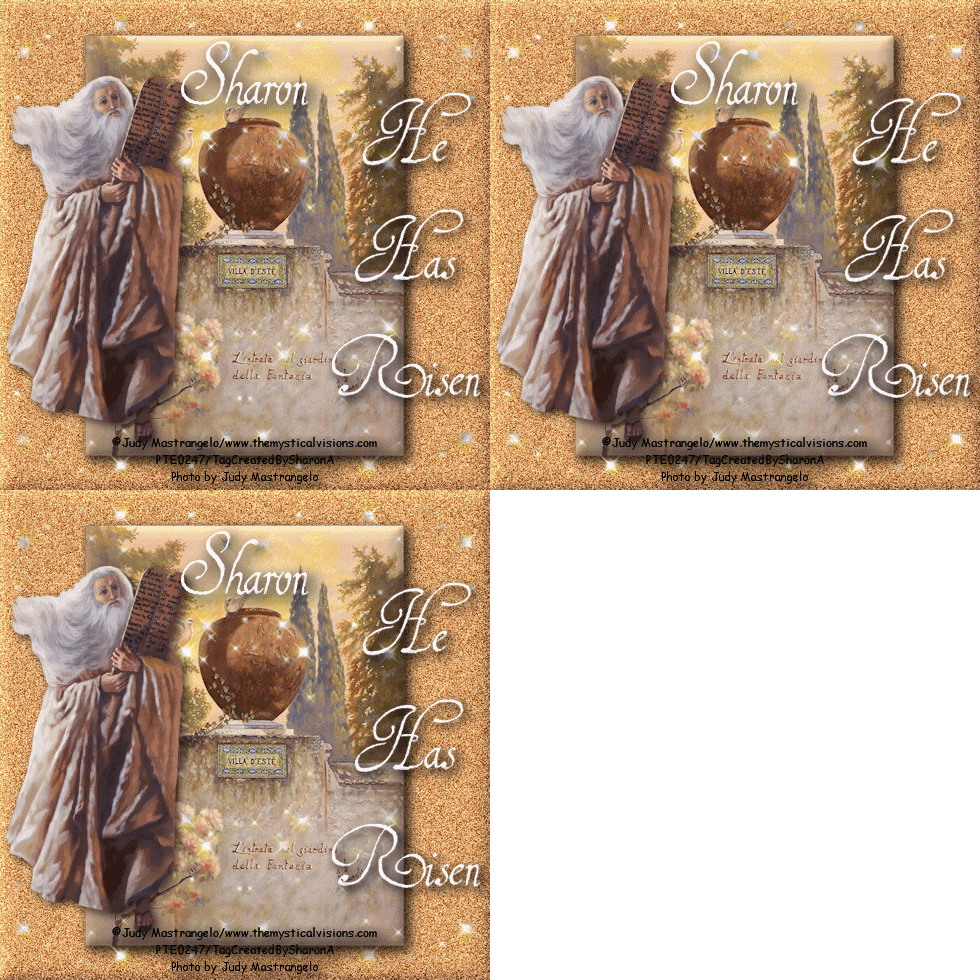
He Has Risen

Click for larger view

This tutorial was written by Sharon A on March 28, 2012
For more info read my TOU

Supplies Needed
A background photo
The one I used is called Place of Magic by Judy Mastrangelo
You can purchase this photo at PTE here

Stars here

Plugins
DSB Flux Bright Noise
Eyecandy HSB Noise

The tube I used Moses is by Judy Mastrangelo, you can purchase this tube from PTE here

The font I used is called Cancellaresca


Open a new transparent canvas 700x700, we will resize later
Choose a color from your tube or photo
Floodfill raster 1
Apply dsb flux bright noise intensity 75, mix checked

Paste your photo as a new layer
Add an inner bevel & drop shadow
Repeat the drop shadow

Paste deco as a new layer
Position upper left
Add an inner bevel
Duplicate, mirror & merge down
Duplicate, flip & merge down
Duplicate 2 times

Apply eyecandy hsb noise using default settings
Repeat on other 2 layers clicking on the random seed button each time

Paste your tube as a new layer
Add drop shadow
Position toward the left

Paste cross as a new layer
Resize to 30%
Position lower right corner
Add drop shadow, twice

Resize all layers to 70%

Add your text, name & © info


Animation:

Hide animation 2 & 3
Merge visible
Copy & paste into animation shop

Undo your merge
Hide animation 1 & unhide #2
Merge & paste after current in animation shop

Undo your merge
Hide animation 2 & unhide #3
Merge visible & paste after current in animation shop

View your animation

Save as gif & you're all done!

I hope you enjoyed my tutorial

I would love to post your © compliant result, just email it to me with the tut name in the subject line

:)


Result by Kaye W


Another result by Kaye W for me
Thank you Kaye!