Showing posts with label Alicia Mujica. Show all posts

Saturday, April 21, 2012

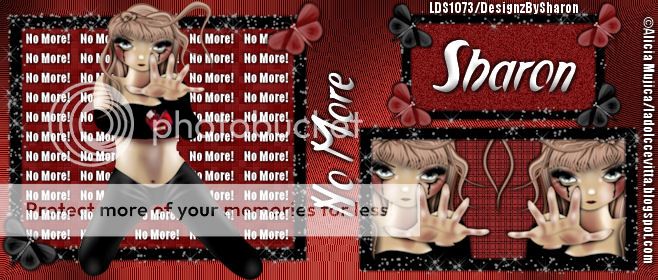
No More!

Click for larger view

This tutorial was written by Sharon A on April 21, 2012 & is copyright protected
For more info read my TOU

Supplies Needed
Forum Template 63 by me here

Plugins
DC Special Nylon
Graphics Plus Cross Shadow
Xero Fritillary
Cybia Screenworks
DSB Flux Bright Noise
Xenofex Constellation
Mura Meister Copies

The tube I used Last Time (PTE4152) is by Alicia Mujica, you can purchase this tube from PTE here

The name of my font is Applejuiced
I used size 48 & 60


Open your template, shift D to duplicate & close original
Delete credit layer

Floodfill your bg layer with red
Apply dc special nylon using default settings
Apply graphics plus cross shadow changing the 2 bottom #'s to 90

Activate your bottom frame
Click inside the frame with your magic wand
Expand 3

Paste your close up tube as a new layer
Resize as needed
Add drop shadow
Move to one side of your rectangle
Invert your selection
Delete & deselect
Duplicate, mirror & merge down
Move to below the frame layer

Activate your left rectangle
Paste your main tube as a new layer
Resize as needed
Add drop shadow

Floodfill your rectangles with your red

On the left rectangle apply xero fritillary changing the top & bottom #'s to 10

On the bottom rectangle apply cybia screenworks>fabric weave>mode 30

On the top rectangle apply dsb flux bright noise intensity 30, mix checked

Floodfill your frames with black
Add an inner bevel & drop shadow
Apply xenofex constellation
Click on settings then on medium
Make sure the keep original image button is checked

Activate your left rectangle
Select all>float>defloat

Actiave your text tool
I used impact size 18
Type out No More! outside of the selected area
Convert to raster
Center over the left rectangle as best you can, it will help if you align vertical

Apply mura meister copies
Tiling, gap 5
You'll need to reposition it a bit
Add drop shadow

Resize butterflies 1 & 2 to 85%
Reposition onto the frame
Merge down
Duplicate
Move up to the top part of the frame

Select all>float>defloat
Add a new raster layer
Floodfill with red & black
Deselect
Change layer properties to overlay
Merge down
Add drop shadow

Merge butterflies 3 & 4
Select all>float>defloat
Floodfill with your colors
Deselect
Change layer properties to overlay
Merge down & add drop shadow

Resize all layers to 70%

Add your text, name & © info

Merge all

Save as jpg & you're all done!

I hope you enjoyed my tutorial

Your comments are very much appreciated either here on this post or on the chat box.  I've made it easy for you to post on this tut by turning off the requirement of having to type in a confirmation code

I would love to post your © compliant result, just email it to me with ATT Sharon & the tut name in the subject line

You'll find my email blinkie on your left

:)


Result by Kaye W


Friday, April 20, 2012

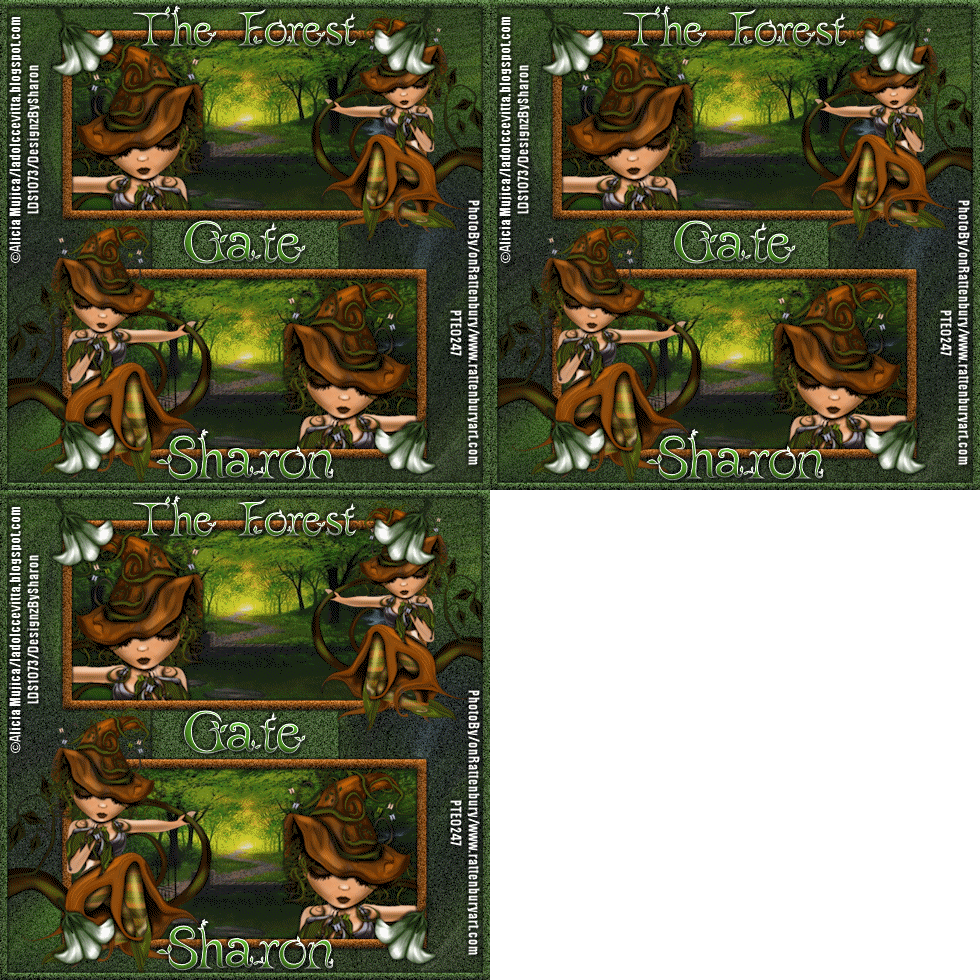
The Forest Gate

Click for larger view

This tutorial was written by Sharon A on April 20, 2012 & is copyright protected
For more info read my TOU

Supplies Needed
Template 145 by me here

A photo
The one I used (The Forest Gate-PTE0245) is by Jon Rattenbury, you can purchase his photos at PTE here

Plugins
Eyecandy Texture Swirl
DSB Flux Bright Noise

The tube I used Lady Forest (PTE3985) is by Alicia Mujica, you can purchase this tube from PTE here

The font I used is called Leaf 1
I used size 48 & 60


Open your template, shift D to duplicate, close original
Delete info & butterfly layers

Activate the bg layer
Select all & paste your photo into selection
Apply eyecandy texture swirl
Settings>random large no twist long streaks

Duplicate 2 times
Apply dsb flux bright noise intensity 25, mix checked
Repeat on other 2 layers changing intensity to 30 & 35

Activate one of your rectangle layers
Select all>float>defloat
Paste your photo into selection
Deselect

Repeat with the other rectangle layer

Activate your lower frame
Paste your main tube as a new layer
Resize as needed
Add drop shadow
Position near lower left corner
Duplicate & mirror

Resize to 85%
Position near the upper right
Move to above your upper frame

Activate your lower rectangle layers
Paste your close up tube as a new layer
Resize as needed
Add drop shadow
Position on the right
Duplicate & mirror
Move to above your upper rectangle

Floodfill your frames with a color from your tube
Add an inner bevel & drop shadow
Apply dsb flux bright noise intensity 40, mix checked

Move your flowers layer to the top
Select all>float>defloat
Add a new raster layer
Floodfill with a color from your tube or photo
Deselect
Change layer properties to overlay
Merge down
Add drop shadow

Floodfill the small rectangle with the same color as your flowers
Add an inner bevel & drop shadow
Apply dsb flux bright noise intensity 50, mix checked

Activate your top layer
Add a new raster layer
Select all
Floodfill with one of your colors
Contract 10
Delete & deselect
Add an inner bevel & drop shadow
Apply dsb flux bright noise, same as above

Resize all layers to 70%

Add your text, name & © info


Animation:

Hide animation 2 & 3
Merge visible
Copy & paste into animation shop

Undo your merge
Hide animation 1 & unhide #2
Merge & paste after current in animation shop

Undo your merge
Hide animation 2 & unhide #3
Merge visible & paste after current in animation shop

View your animation

Save as gif & you're all done!

I hope you enjoyed my tutorial

Your comments are very much appreciated either here on this post or on the chat box.  I've made it easy for you to post on this tut by turning off the requirement of having to type in a confirmation code

I would love to post your © compliant result, just email it to me with ATT Sharon & the tut name in the subject line

You'll find my email blinkie on your left

:)


Result by Kaye W