Click for larger view
This tutorial was written by Sharon on August 31, 2011
For more info read my TOU
Supplies Needed
Template 18 by Judith here
The tubes I used are by Keith Garvey, you can purchase his tubes from PTE here

Open your template, shift D to duplicate & close original
Resize to 700x700 pixels
Delete credit layer
Also delete the small flower, large flower, medium flower and the 2 branch layers, these will be covered by the main front tube anyway
Floodfill each of the paper strip layers with black
Activate paper stip 1
Select all>float>Defloat
Contract 5
Paste your tube as a new layer
Move to just below the scalloped circle frame
Resize and position into place
Invert your selection
Delete
Deselect
Repeat for the other 8 strip layers using a different tube by the same artist in each
Floodfill all of the stiching layers with white, zoom out to make it easier to see
Paste your main front tube as a new layer
Rotate left 5 to line up with the paper & frame layers
Duplicate
Using your selection tool set on elipse select around the camera lens
Effect>Illumation effects>light burst, default settings color white
Deselect
Rename these layers to animation 1 & 2
Activate paper 1
Floodfill with a pink pattern
Floodfill the following layers as listed below
paper frame 1 & 2 with black
paper frame 3 with pink
frame 1 with black
ribbon with black
ricrac with pink
circle frame with pink
scalloped circle frame with black
circle with black
the outer part of huge flower with pink
snapshots & you & of with pink
of & snapshots frames with black
frame with white
bg 2 with your pink pattern
bg 1 with black
Resize all layers to 70%
Add your name & your © info
Animation
Hide animation 1 (the one with light effect)
Merge visible
Copy & paste into animation shop
Paste after current so you have 2 frames
Back to psp
Undo your merge
Unhide animation 1
Hide animation 2
Merge visible
Copy & paste after current in animation shop
Set frame properties on frames 1 & 2 at 25
Frame 3 properties 20
Save as gif & you're all done!
I hope you enjoyed my tutorial
I would love to post your © compliant result, just email it to me with the tut name in the subject line
:)
Result By Kaye

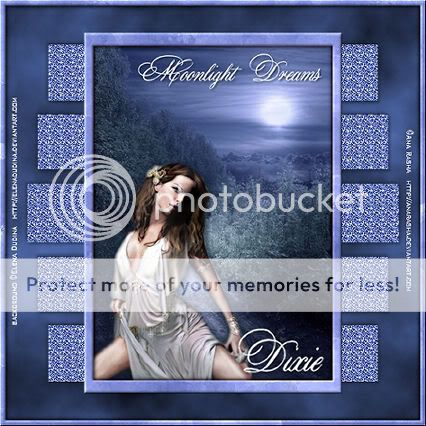
Result by Dixie