Showing posts with label Horses. Show all posts

Wednesday, May 2, 2012

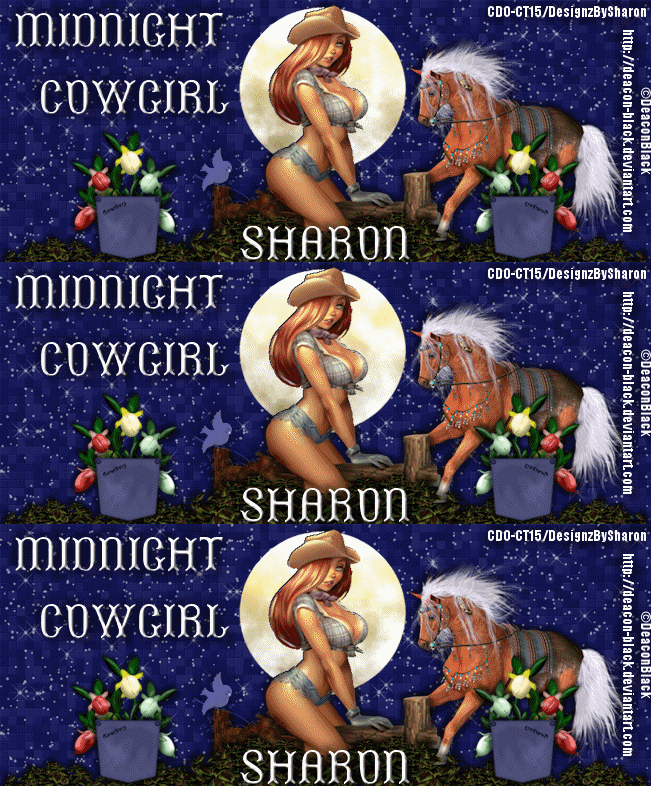
Midnight Cowgirl

Click for larger view

This tutorial was written by Sharon A on May 2, 2012 & is copyright protected
For more info read my TOU

Supplies Needed
Collab Kit Western Gal by me here

Plugins
Xero Fritillary
Xenofex Constellation
Mura Meister Cloud

The tube I used Cowgirl (100-2) is by Deacon Black, you can purchase this tube from CDO here

The name of the font I used is Beans
I used size 48


Open new transparent canvas 930x375, we will resize later
Floodfill with dark blue
Apply fritillary changing the top & bottom #'s to 12
Apply constellation
Click on settings then on low star density, keep original image checked

Paste your tube as a new layer
Resize as needed

Activate your magic wand, I set my tolerance on 20
Hold down your shift key and click on the moon a few times until its selected
If you accidently select part of your tube just undo your last click
Copy & cut
Deselect
Paste as a new layer & position back into place
Select all>float>defloat

Duplicate 2 times
Apply mura meister cloud
Preset menu on monochrome 1>uncheck BG box
Repeat on other 2 layers changing amount to 99 & 98
Deselect

Add drop shadow to your tube

Paste horse as a new layer
Resize to 50%
Add drop shadow
Position to the right of your tube
Move to below your tube layer

Paste pocket hers 3 as a new layer
Resize to 40%
Position near the bottom left
Add drop shadow

Paste flower 7 as a new layer
Resize to 30%
Position on left side of your pocket

Repeat with flower 9
Mirror & postion on right side of pocket
Merge down
Move to below your pocket

Paste flower 10 as a new layer
Resize to 35%
Rotate right 15
Position in between your other 2 flowers
Add drop shadow
Move to below your merged flowers

Merge your flowers with your pocket
Resize to 75%
Duplicate, mirror & merge down

Paste bird 1 as a new layer
Resize to 30%
Position on left top of your fence
Change layer properties to luminance legacy
Add drop shadow

Duplicate & mirror
Position on your right pocket

Paste flower 2 as a new layer
Resize to 20%
Position over your left pocket
Add drop shadow

Paste plant 2 as a new layer
Resize to 50%
Position on left side of your fence
Add drop shadow
Duplicate, mirror & merge down

Duplicate
Resize to 75%
Position on left side of your tag & move down a bit
Duplicate & mirror
Merge all 3 plant layers

I moved it down a bit more after merging

Move to below your flowers layer

Select around your tag with your selection tool
Crop

Resize all layers to 70%

Add your text, name & © info


Animation:

Hide animation 2 & 3
Merge visible
Copy & paste into animation shop

Undo your merge
Hide animation 1 & unhide #2
Merge & paste after current in animation shop

Undo your merge
Hide animation 2 & unhide #3
Merge visible & paste after current in animation shop

View your animation

Save as gif & you're all done!

I hope you enjoyed my tutorial

Your comments are very much appreciated either here on this post or on the chat box.  I've made it easy for you to post on this tut by turning off the requirement of having to type in a confirmation code

I would love to post your © compliant result, just email it to me with ATT Sharon & the tut name in the subject line

You'll find my email blinkie on your left

:)


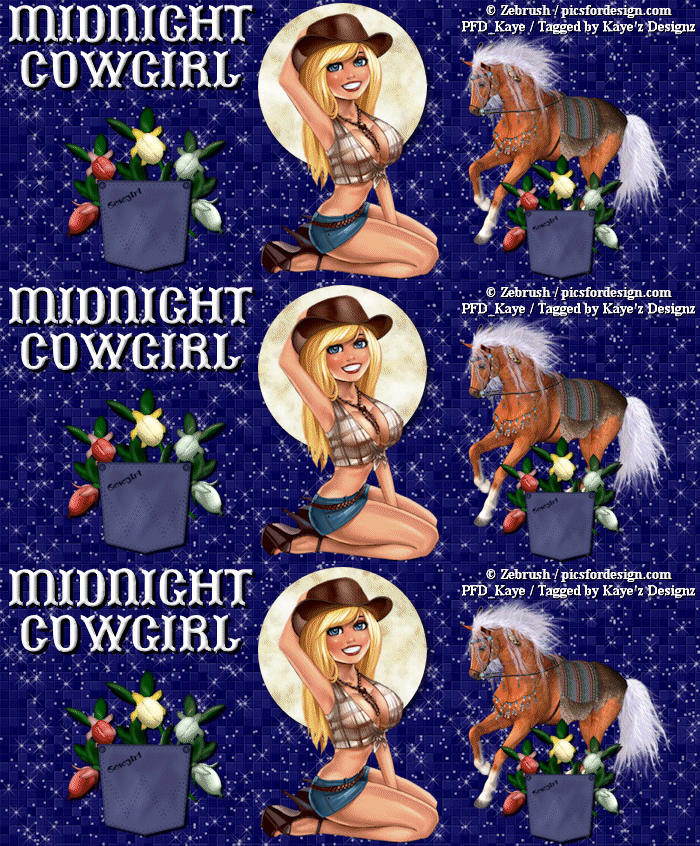
Result by Kaye W


Tuesday, April 17, 2012

Tennessee Thunderstorm

Click for larger view

This tutorial was written by Sharon A on April 16, 2012 & is copyright protected
For more info read my TOU

Plugins
Krustys FX Vol II
Xenofex Constellation
Mura Meister Cloud


The tubes I used Tennessee Thunderstorm (PTE5637) & Roberta (PTE5602) are by Roman Zaric, you can purchase these tubes from PTE here

The font I used is called Tagettes
I used size 36 & 48


Open a new transparent canvas 700x700, we will resize later
Floodfill with a color from your tube
Apply krustys pattern P
You'll need to play with the colors

Paste your main horse tube as a new layer
Resize as needed
Add drop shadow

Activate your rectangle shape tool
Foreground green, background null, width 18
Draw a frame around your tube
Align center
Resize a bit if needed
Add an inner bevel
Move to below your horse

Using your magic wand click inside your frame
Expand 3
Add a new raster layer
Floodfill with a medium or dark blue
Move to below your horse layer
Select all>float>defloat

Apply xenfofex constellation
Click on settings then on medium
Click on the keep original image box
Do Not Deselect

Apply mura meister cloud
Preset on thin clouds, uncheck the light & background boxes, change amount to 60
Do Not Deselect

Add a new raster layer
Activate your picture tube tool, scale 50
Add some grass, make it hilly looking

Add a new raster layer
Add a tree from your tubes tool
Add drop shadow

Repeat for each new tube you want to add
Merge these when you're done

Add a drop shadow to your frame
Change layer properties to hard light

Add a new raster layer
Using your tubes tool, scale 50, add a flower
Position on the upper left of your frame
Add an inner bevel & drop shadow
Duplicate, mirror & merge down

Paste your close up horse as a new layer
Resize as needed
Add drop shadow
Position lower left corner

Paste your other tube as a new layer
Resize as needed
Add drop shadow
Position lower right corner
(I mirrored mine)

Add a new raster layer
Floodfill with your first color
Select all
Contract 12
Delete & deselect
Add an inner bevel & drop shadow
Change layer properties to hard light

Activate the floodfilled layer from your frame
Duplicate 2 times
Apply xenofex lightening
Click on settings then on distant lightening
Repeat on other 2 layers clicking on the random seed button each time

Resize all layers to 70%

Add your text, name & © info

Merge all

Save as jpg and you're all done!

I hope you enjoyed my tutorial

Your comments are very much appreciated either here on this post or on the chat box.  I've made it easy for you to post on this tut by turning off the requirement of having to type in a confirmation code

I would love to post your © compliant result, just email it to me with ATT Sharon & the tut name in the subject line

You'll find my email blinkie on your left

:)


Result by Kaye W


Friday, March 23, 2012

White Destiny

Click for larger view

This tutorial was written by Sharon A on March 23, 2012
For more info read my TOU

Supplies Needed
Frame I made for this tut, if you would like to use it please email me

Photo of your choice
The photo I used is called Mountain Bliss by Jon Rattenbury, you can purchase this photo from PTE here

Plugins
Eyecandy 4 HSB Noise
Xero Fritillary
Graphics Plus Cross Shadow

The tube I used White Destiny is by Roman Zaric, you can purchase this tube from PTE here


Open a new transparent canvas 700x700, we will resize later
Floodfill with a color from your photo
Apply Xero Fritillary changing the top # to 12 & the bottom # to 8
Apply Graphics Plus Cross Shadow using default settings

Paste frame as a new layer
Resize to 90%
Using your magic wand, click inside the frame, hold down the shift key to click inside small areas on the right
Add a new raster layer
Expand 3
Paste photo into selection
Deselect

Add drop shadow to the frame

Back to the top
Paste your tube as a new layer
Resize as needed and position in desired place
I wanted mine to look like he's jumping out of the frame
Add a drop shadow, twice

Resize all layers to 70%

Add your text, name & © info


Animation:
Merge your text & name layers
Duplicate 2 times
Apply Eyecandy HSB Noise using default settings
Repeat on other 2 layers clicking the random seed button each time

Follow the usual steps on merging, copy, pasting into animation shop
If you need instructions here feel free to email me

View your animation

Save as gif & you're all done!

I hope you enjoyed my tutorial

I would love to post your © compliant result, just email it to me with the tut name in the subject line

:)