Showing posts with label Wolf. Show all posts

Wednesday, April 4, 2012

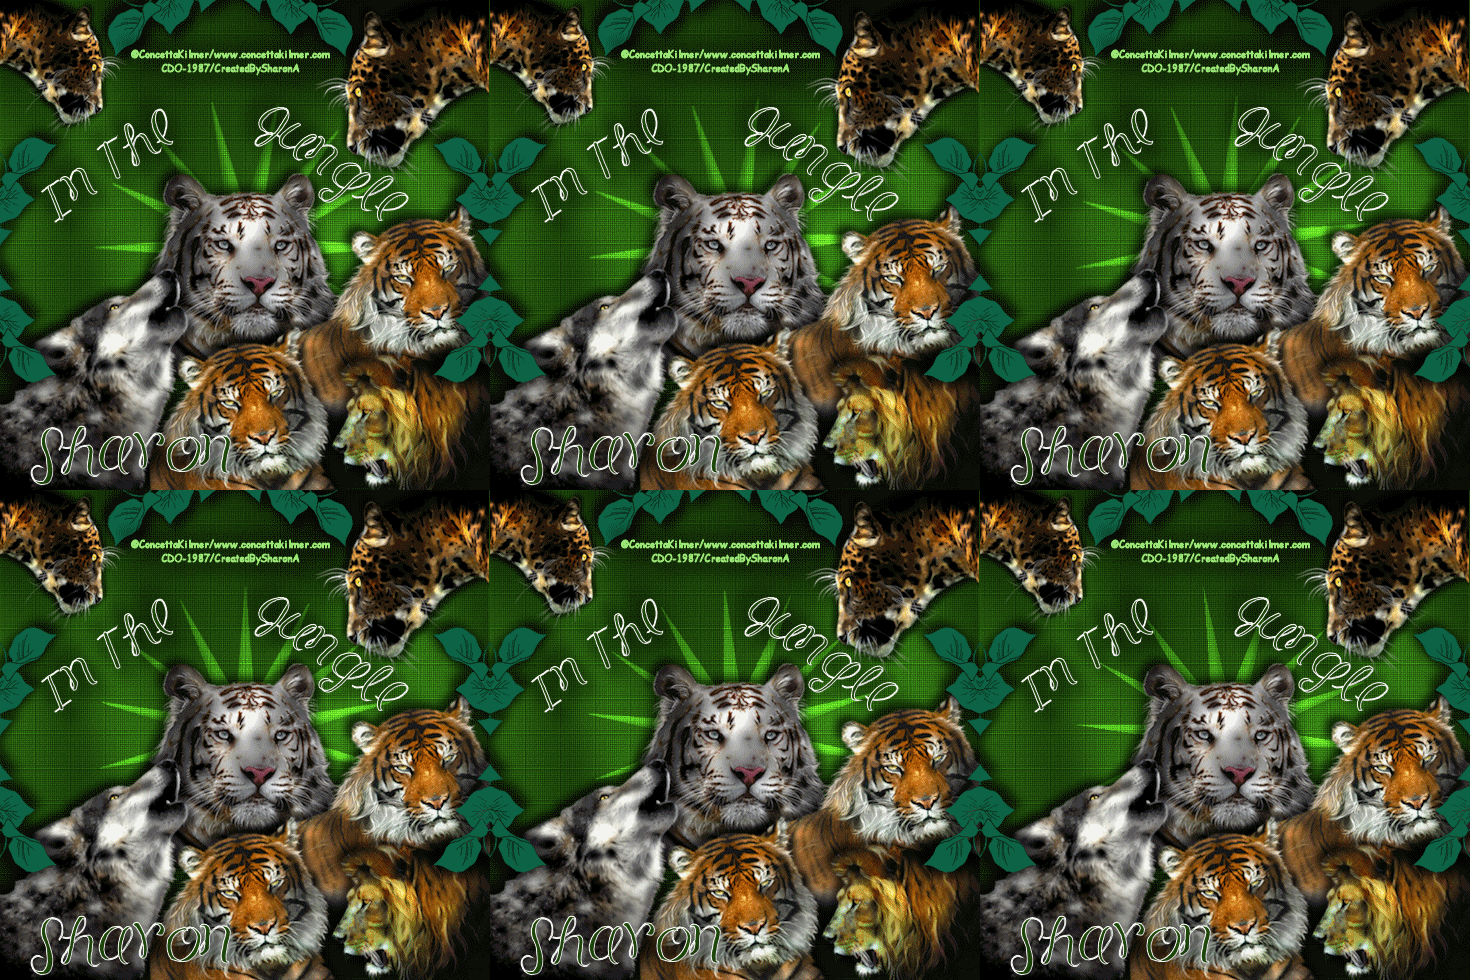
In The Jungle

Click for larger view

This tutorial was written by Sharon A on Apr 4, 2012 & is copyright protected
For more info read my TOU

Supplies Needed
Leaf here
Star that I made for this tut here

Plugins
Graphics Plus Cross Shadow

The tubes I used are by Concetta Kilmer, you can purchase these tubes from CDO here

The name of my font is FB Meadow
I used size 60 for my text & size 72 for my name


Open new transparent canvas 700x700, we will resize later
Floodfill with dark green
Apply texture>fine canvas>scale 50, depth 3
Apply graphics plus cross shadow changing the 2 bottom #'s to 100

Paste your tubes, resize as needed and arrange around on your tag
Add drop shadow to each

I duplicated the top left tube, mirrored & resized to 75% and repositioned into the upper right corner

Paste leave as a new layer
Add drop shadow
Position way up so you can see only a little bit of it
Move toward the left
Duplicate & mirror
Merge down

Duplicate & rotate left 90
Duplicate & mirror
Merge these 3 layers

Paste your star as a new layer
Resize to 125%
Add drop shadow
Move star layer to just above your bg layer
Change layer properties to overlay
Duplicate & rotate right 30
Repeat this until you have 6 star layers


Activate the tube you want the mouth to move on
Duplicate
Hide the original
Using your warp tool push up on the mouth

Repeat on the animal you want the ear to move on
Hide both original layers

Resize all layers to 70%

Add your text, name & © info


Animation:

Make sure the original layers of your animation tubes are hidden, keep these hidden until you get to frame 4 of your animation
(Otherwise the animals will be moving too fast)
Hide all star layers except the top one
Merge visible
Copy & paste into animation shop

Undo your merge
Hide star 1 & unhide star 2
Merge & paste after current in animation shop

Undo your merge
Hide star 2 & unhide star 3
Merge visible & paste after current in animation shop

Undo your merge
Hide star 3, unhide star 4
Hide the duplicated animated tube layers & unhide the original layers, keep these 2 open for the rest of your frames
Merge visible & paste after current in animation shop


Undo your merge
Hide star 4 & unhide star 5
Merge visible & paste after current in animation shop

Undo your merge
Hide star 5 & unhide star 6
Merge visible & paste after current in animation shop

I set my frame properties on 15

View your animation

Save as gif & you're all done!

I hope you enjoyed my tutorial

Your comments are very much appreciated either here on this post or on the chat box.  I've made it easy for you to post on this tut by turning off the requirement of having to type in a confirmation code

I would love to post your © compliant result, just emaail it to me with ATT Sharon & the tut name in the subject line

You'll find my email blinkie on your left 

:)


Result by Kaye W


Monday, April 2, 2012

Wolf Angel

Click for larger view

This tutorial was written by Sharon A on Apr 2, 2012 & is copyright protected
For more info read my TOU

Supplies Needed
Dove here

Flower here

Plugins
Eyecandy 5 Textures Weave
Eyecandy 4 HSB Noise

The tube I used Winter Wings is by The Vintage Angel, you can purchase this tube from CDO here

The name of the font I used is Tagettes
I used size 36 for my font & 48 for my name after resizing


Open new transparent canvas 940x425, we will resize later
Pick a color for your foreground from your tube
Pick a darker color for your background
Activate your foreground gradient, linear, angle 45, repeats 20
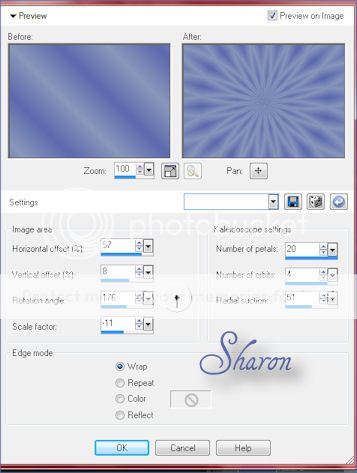
Effects>reflection effects>kalioscope with these settings


Apply eyecandy weave
Settings>Twill tiny smeared
Basic>change pattern to satin

Paste your flower as a new layer
Resize to 90%
Add drop shadow
Change layer properties to burn
Change opacity to 40

Paste your tubes as new layers
Resize as needed & position into place

Using your freehand selection tool select around the wings of one
Hold down your shift key to select the flowers
Duplicate 2 times

Repeat with the flowers on the other tube if it has any or you could do the wings
Duplicate 2 times

Apply eyecandy hbs noise using default settings, change pattern to smooth fractal
Repeat on all your animation layers clicking on the random seed button each time
Deselect

Paste your dove as a new layer
Resize to 50%
Position upper left corner
Add drop shadow
Duplicate & mirror
Reposition to the lower left corner

Resize all layers to 70%

Add your text, name & © info


Animation:

Hide both middle & bottom animation layers
Merge visible
Copy & paste into animation shop

Undo your merge
Hide animation both top animation layers & unhide the middle ones
Merge & paste after current in animation shop

Undo your merge
Hide the middle animation layers & unhide the bottom ones
Merge visible & paste after current in animation shop

View your animation

Save as gif & you're all done!

I hope you enjoyed my tutorial

Your comments are very much appreciated either here on this post or on the chat box.  I've made it easy for you to post on this tut by turning off the requirement of having to type in a confirmation code

I would love to post your © compliant result, just emaail it to me with ATT Sharon & the tut name in the subject line

You'll find my email blinkie on your left 

:)


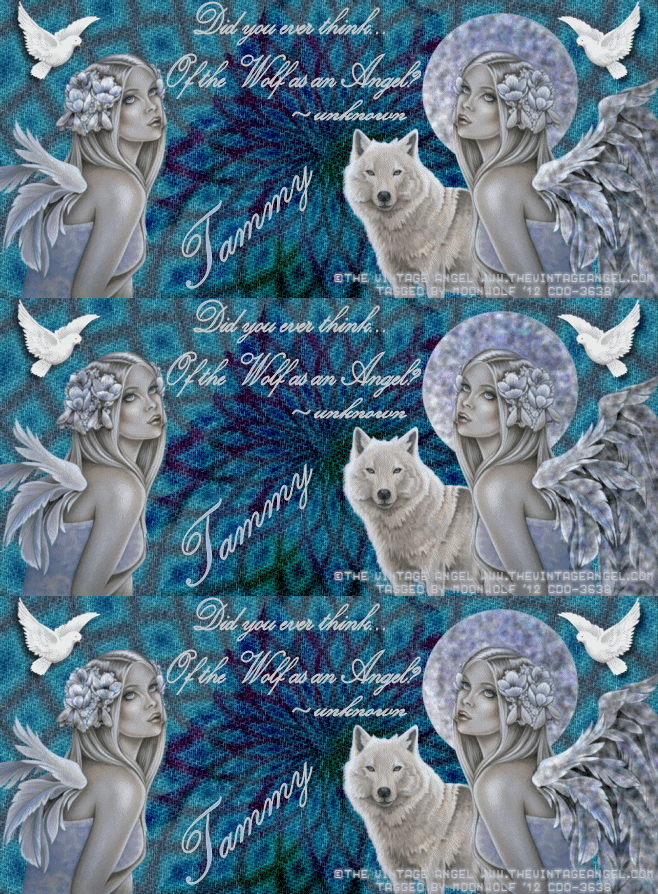
Result by Tammy


And one for me!
Thank you Tammy!


Saturday, March 31, 2012

Howling At The Moon

Click for larger view

This tutorial was written by Sharon A on Mar 31, 2012 & is copyright protected
For more info read my TOU

Supplies Needed
Moon, right click to save


Plugins
Maura Meister Copies
Graphics Plus Cross Shadow

The tube I used A Wolfish Friend is by Jasmine Becket-Griffith, you can purchase this tube from CDO here

The name of the font I used is JLR Pawrty Hearty
I used size 36 for my text & size 42 for my name after resizing it


Open new transparent canvas 940x400, we will resize later
Floodfill with dark blue
Effects>texture effects>texture>grid>scale 50>depth 3
Duplicate 2 times
Apply graphics plus cross shadow using default settings

Repeat on the middle bg layer, changing the bottom two #'s to 148
Repeat on bottom bg layer, changing the bottom two #'s to 168

Paste your moon as a new layer
Apply mura meister copies with these settings
Set preset to tiling
Mode line

Change layer properties to soft light
Add an inner bevel
Add drop shadow twice

Paste your tube as a new layer
Resize as needed
Add drop shadow
Duplicate & mirror
Change layer properties to dodge

Resize all layers to 70%

Add your text, name & © info


Animation:

Hide animation 2 & 3
Merge visible
Copy & paste into animation shop

Undo your merge
Hide animation 1 & unhide #2
Merge & paste after current in animation shop

Undo your merge
Hide animation 2 & unhide #3
Merge visible & paste after current in animation shop

View your animation

Save as gif & you're all done!

I hope you enjoyed my tutorial

Your comments are very much appreciated either here on this post or on the chat box.  I've made it easy for you to post on this tut by turning off the requirement of having to type in a confirmation code

I would love to post your © compliant result, just emaail it to me with ATT Sharon & the tut name in the subject line

You'll find my email blinkie on your left 

:)

Result by Kaye W


Wednesday, March 28, 2012

Tigers & Wolves

Click for larger view

This tutorial was written by Sharon A on March 28, 2012
For more info read my TOU

Supplies Needed
Moon by me here

Plugins
Muaru Meister Clouds

The tubes I used Fantasy Tigers & Shewolf are by Sue Clyne, I bought these tubes from PTE here
(Sue Clyne is no longer with PTE)

The font I used is called Alertse

I made this one 6 frames because the animation looked much better than 3


Open a new transparent canvas 700x700, we will resize later
Floodfill with dark blue
Duplicate 5 times
Apply maura meister clouds change the blend mode to hard light
Repeat on other 5 layers decreasing the amount by 1 on each layer

Paste your tubes as new layers
Position your tiger in the lower left corner
Add drop shadow, twice
Duplicate & mirror
Resize to 75%
Position in lower right corner

Position the other tube below the first
Add drop shadow, twice
Duplicate & mirror
Resize to 75%
Position behind the smaller right side tube

Paste your moon as a new layer
Add drop shadow, twice

Resize all layers to 70%

Add your text, name & © info


Animation:

Hide all your animation layers except the top one
Merge visible
Copy & paste into animation shop

Undo your merge
Hide animation 1 & unhide #2
Merge & paste after current in animation shop

Continue this until you have all frames copied

I set my frame properties on 75

View your animation

Save as gif & you're all done!

I hope you enjoyed my tutorial

I would love to post your © compliant result, just email it to me with the tut name in the subject line

:)


Sunday, September 18, 2011

A Wolfish Friend

Click for larger view

This tutorial was written by Sharon on Sept 18, 2011
For more info read my TOU

Supplies Needed
Scrapkit Toasted Almond here

The tube I used A Wolfish Friend is by Jasmine Becket-Griffith, you can purchase this tube from CDO here


Open new transparent canvas 700x550, we will resize later
Select all
Paste paper 15 into selection
Deselect

Paste element 57 as a new layer
Add drop shadow

Paste your tube as a new layer
Resize as need
Move to below the frame layer
Add drop shadow

Paste element 17 as a new layer
Resize to 30%
Position lower right corner
Add drop shadow
Duplicate, flip & mirror

Paste element 37 as a new layer
Resize to 20%
Position on lower right corner
Add drop shadow
Duplicate
Position on upper left corner

Paste element 9 as a new layer
Resize to 35%
Position near lower left corner of frame as shown on my tag
Add drop shadow
Move to below the flower layers
Duplicate
Position on right side of frame

Resize all layers to 70%

Add your text

Add your name & your © info

Merge all

Save as jpg & you're all done!

I hope you enjoyed my tutorial

I would love to post your © compliant result, just email it to me with the tut name in the subject line

:)