Showing posts with label Michael Calandra. Show all posts

Saturday, April 21, 2012

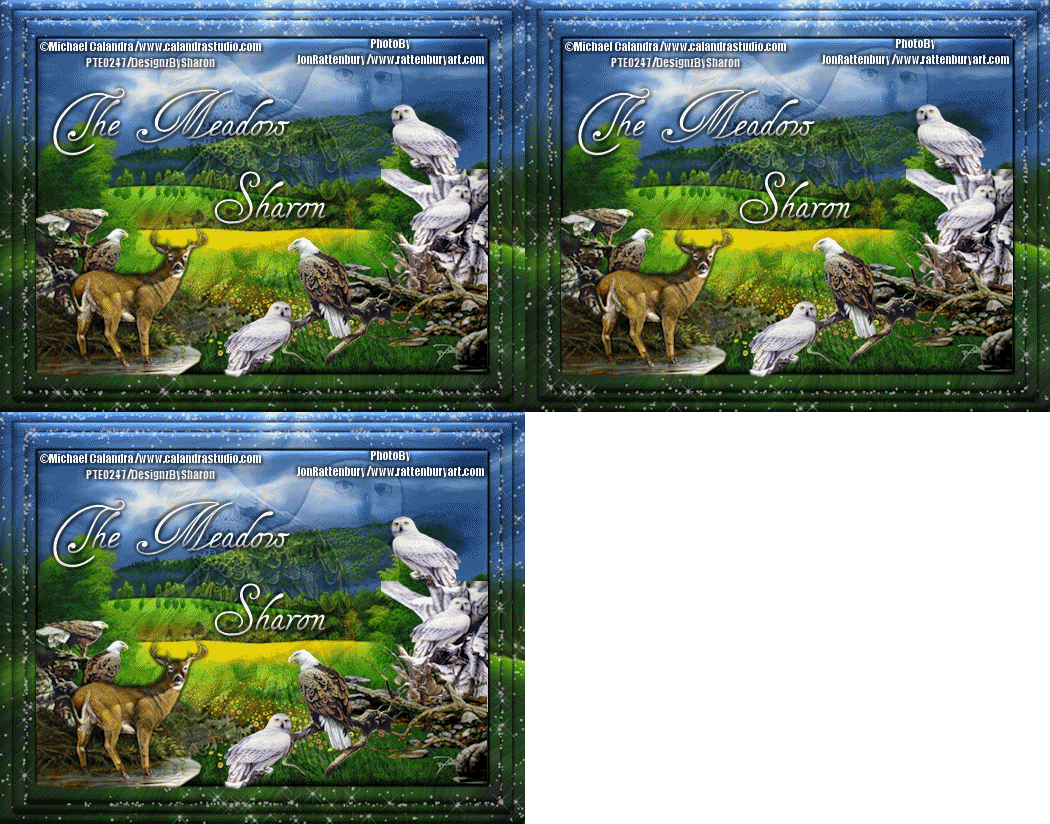
The Meadow

 Click for larger view

This tutorial was written by Sharon A on April 21, 2012 & is copyright protected
For more info read my TOU

Supplies Needed
A Photo
I used Grey Sky Meadows (PTE0245) by Jon Rattenbury, you can purchase his photos at PTE here

Plugins
Eyecandy texture swirl
Xenofex Constellatioon

The tubes I used are by Michael Calandra, you can purchase these tubes from PTE here

The font I used is called Tagettes
I used size 36


You'll need to resize your photo to approx 600x450

Open a new transparent canvas 700x550, we will resize later
Select all
Paste your photo into selection
Deselect

Apply eyecandy texture swirl
Settings>random large no twist long streaks
Add an inner bevel

Duplicate & resize to 95%
Add a drop shadow
Repeat one more time

Paste your photo again
Add an inner bevel & drop shadow

Activate your 1st bg layer
Duplicate 2 times
Apply xenofex constellation
Click on settings then on low density stars
Make sure the keep original image button is checked
Repeat on other 2 layers clicking the random seed button each time
Rename these layers to 1, 2 & 3

Repeat on your 3rd bg layer
Rename these to 4, 5 & 6

On your top photo layer:
Select all>float>defloat
Paste your deer as a new layer
Resize as need & position on the lower left
Invert your selection
Delete & deselect

Paste owl as a new layer
Resize as needed, you need it to be about the size of your top photo layer
Change layer properties to soft light
Add an inner bevel & drop shadow
Changle layer opacity to 60

Repeat with your eagle, I mirrored mine

Paste the rest of your tubes & their elements as new layers
Resize as needed

Resize all layers to 75%

Add your text, name & © info


Animation:

Hide your top animation layers
Merge visible
Copy & paste into animation shop

Undo your merge
Hide your top animation layers & unhide the middle ones
Merge & paste after current in animation shop

Undo your merge
Hide your middle animation layers & unhide the bottom ones
Merge visible & paste after current in animation shop

View your animation

Save as gif & you're all done!

I hope you enjoyed my tutorial

Your comments are very much appreciated either here on this post or on the chat box.  I've made it easy for you to post on this tut by turning off the requirement of having to type in a confirmation code

I would love to post your © compliant result, just email it to me with ATT Sharon & the tut name in the subject line

You'll find my email blinkie on your left

:)


Thursday, April 19, 2012

Deer Crossing

Click for larger view

This tutorial was written by Sharon A on April 19, 2012 & is copyright protected
For more info read my TOU

Supplies Needed
Grass here
Log if you're using a different tube than I am

Plugins
Mura Meister Copies

The tube I used Creek Whitetail (PTE5759) is by Michael Calandra, you can purchase this tube from PTE here

The name of my font is Wild Script
I used size 48 & 60


Open a new transparent canvas 930x375, we will resize later
Floodfill with green
Add texture with these settings


Paste your grass as a new layer
Resize to 50%
Postion at the bottom center of your tag
Add drop shadow
Apply mura meister copies
Line>number 12

Paste the log as a new layer
Resize as needed and positon on the right
Add drop shadow
Duplicate & mirror

Paste your main tube as a new layer
Resize as needed
Position on the lfet
Add drop shadow

Resize all layers to 70%

Add your text, name & © info

Merge all

Save as jpg and you're all done!

I hope you enjoyed my tutorial

Your comments are very much appreciated either here on this post or on the chat box.  I've made it easy for you to post on this tut by turning off the requirement of having to type in a confirmation code

I would love to post your © compliant result, just email it to me with ATT Sharon & the tut name in the subject line

You'll find my email blinkie on your left

:)


Result by Kaye W


Saturday, April 14, 2012

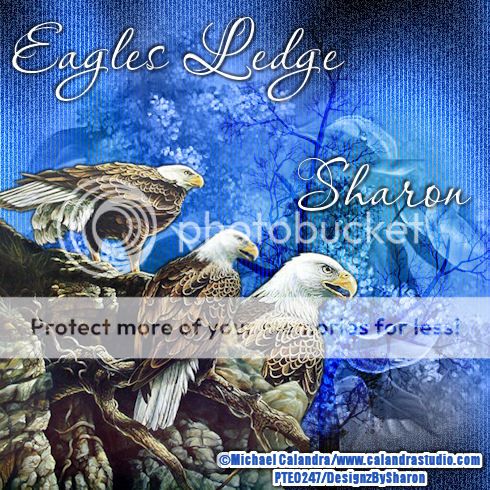
Eagles Ledge

Click for larger view

This tutorial was written by Sharon A on April 14, 2012 & is copyright protected
For more info read my TOU

Supplies Needed
Lilac Mist here
Tree here

Plugins
Two Moons Wish It Would Rain
Graphics Plus Cross Shadow
DSB Flux Bright Noise


The tube I used On The Edge (PTE3704) is by Michael Calandra, you can purchase this tube from PTE here

The font I used is called Aquarelle
I used size 60 after resizing my tag


Open a new transparent canvas 700x700, we will resize later
Floodfill with a medium blue
I used #2054b8
Apply two moons wish it would rain with these settings


Apply graphics plus cross shadow using default settings
Apply dsb flux bright noise intensity 35, mix checked

Paste your lilac mist as a new layer
Resize to 175%
Change layer properties to luminance legacy
Using your rectangle selection tool select around your tag
Crop to selection

Paste your tree as a new layer
Move to the right side
Change layer properties to overlay

If you're using the same tube
I pasted the bottom layer of the tube first & added a drop shadow
Then I pasted the 2nd to the bottom layer & added a drop shadow
Resize as needed
I resized to 90%
I then moved the first tube layer down & to the right

Resize all layers to 70%

Add your text, name & © info

Merge all, save as jpg & you're all done!

I hope you enjoyed my tutorial

Your comments are very much appreciated either here on this post or on the chat box.  I've made it easy for you to post on this tut by turning off the requirement of having to type in a confirmation code

I would love to post your © compliant result, just email it to me with ATT Sharon & the tut name in the subject line

You'll find my email blinkie on your left

:)


Result by Kaye W


Saturday, March 24, 2012

Only The Poorest

Click for larger view

This tutorial was written by Sharon A on March 24, 2012
For more info read my TOU

Supplies Needed
Scrapkit Mos Third Edition here

Plugins
Graphics Plus Cross Shadow
Eyecandy 4 HSB Noise

The tube I used Halloween Witch is by Michael Calandra, you can purchase this tube from PTE here

I'm writing this tut in response to a tag request by a facebook friend
I dedicate this to you Lisa!


Open a new transparent canvas 700x700, we will resize later
Floodfill with a color of your choice
Apply graphics plus cross shadow using default settings
Effects>Texture Effects>Fur with these settings
Blur 6, density 72, length 97, transparency 57

Paste frame 1 as a new layer
Using your magic wand click inside the frame
Expand 3
Add a new raster layer
Paste paper 7 into selection
Apply graphics plus cross shadow using default settings
Do Not Deselect

Paste your tube as a new layer
Move to below your frame
Resize if needed and position on left side 
Invert your selection
Delete
Deselect
Add drop shadow
Change layer properties to difference
Change opacity to 75

Paste bow 1 as a new layer
Resize to 30%
Add an inner bevel & drop shadow
Position on top of frame

Paste flowers 1 as a new layer
Resize to 10%
Add an inner bevel & drop shadow
Position on lower left corner of frame
Duplicate & mirror
Merge down
Duplicate & flip
Merge down

Duplicate 2 times
Appy eyecandy hsb noise using default settings
Repeat on other 2 layers clicking on the random seed button each time
Rename these layers to animation 1, 2 & 3

Resize all layers to 70%

Add your text, name & © info


Animation:
Follow the usual steps to merge, copy & paste into animation shop
If you need help with this feel free to emal me

I hope you enjoyed my tutorial

I would love to post your © compliant result, just email it to me with the tut name in the subject line

:)


Result by Kaye W


Tuesday, September 27, 2011

Witchy Night

Click for larger view

This tutorial was written by Sharon on Sept 27, 2011
For more info read my TOU

Supplies Needed
Scrapkit A Spooky World here

Plugins
Xenofex 2 Lightening

The tube I used Halloween Witch is by Michael Calandra, you can purchase this tube from PTE here


Open a new transparent canvas 700x700, we will resize later
Floodfill with black
Duplicate 2 times
Rename to animation 1, 2 & 3

On animation 1 apply xenofex lightening default settings, random seed 250
Click on Glow
Change flash size to 0

Repeat on animation 3 clicking on the random seed button
Mirror

Paste element 14 as a new layer
Add drop shadow

Paste element 18 as a new layer
Resize to 80%
Using your magic wand click inside the frame
Expand 5
Paste paper 7 into selection
Deselect
Add drop shadow

Paste your tube as a new layer
Resize as needed
Add drop shadow
Duplicate
Resize to 50%
Position upper left side of frame
Move to below frame layer
Duplicate & mirror

Paste element 4 as a new layer
Resize to 10%
Position upper left part of inside the frame
Add drop shadow
Duplicate
Resize to 75%
Position opposite corner

Paste element 30 as a new layer
Resize to 50%
Position bottom center
Add drop shadow

Resize all layers to 70%

Add your text, name & your © info

Hide animations 2 & 3
Merge visible
copy & paste into animation shop

Undo your merge
Hide animation 1
Unhide animation 2
Merge visible
copy & paste after current in animation shop

Undo your merge
Hide animation 2
Unhide animation 3
Merge visible
copy & paste after current in animation shop

Copy frame 2
Activate frame 3
Paste after current

Set frame properties on frames 2 & 4 at 100
On frames 1 & 3 set frame properties at 20

View your animation

Save as gif & you're all done!

I hope you enjoyed my tutorial

I would love to post your © compliant result, just email it to me with the tut name in the subject line

:)


Monday, September 19, 2011

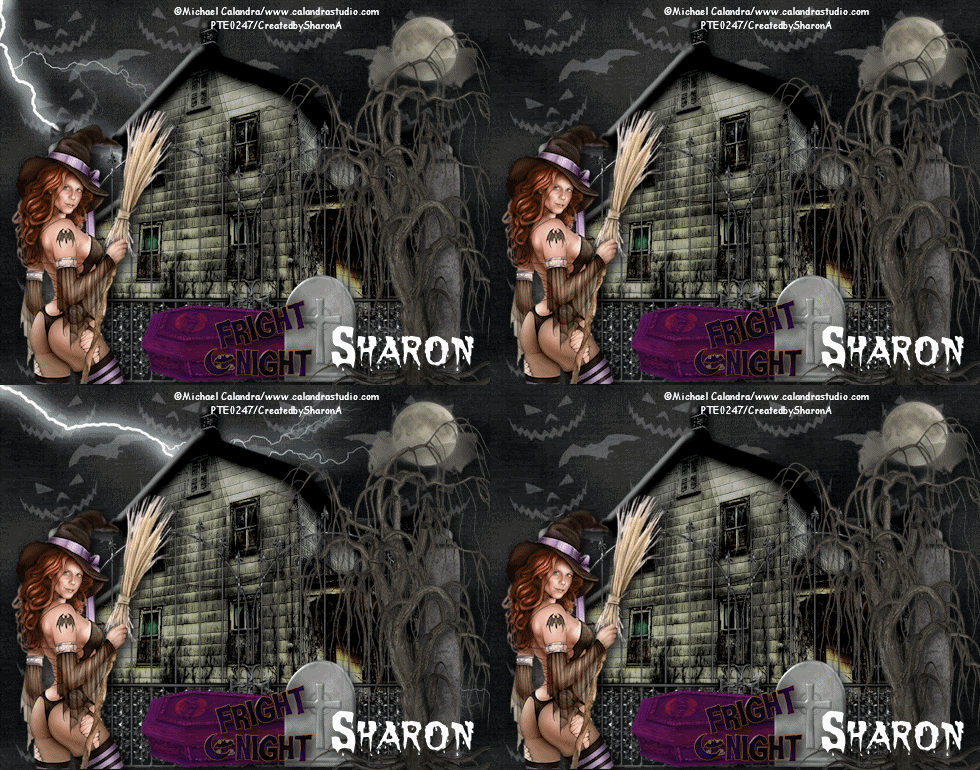
Fright Night ~ SAC

Click for larger view

This tutorial was written by Sharon on Sept 19, 2011
For more info read my TOU

Supplies Needed
Scrapkit Fright Night here

Plugins
Xenofex 2 Lightening

The tube I used Pinup Witch is by Michael Calandra, you can purchase this tube from PTE here


Open a new transparent canvas 700x550, we will resize later
Select all
Paste paper 2 into selection
Deselect
Duplicate
Rename these layers to animation 1, 2 & 3

On animation 1 layer apply xenofex lighting effect
On the basic part use default settings, make sure random seed is on 1
Click on Glow
Set flash size on 0

On animation 3 repeat lightening effect clicking on the random seed button

Paste haunted house as a new layer
Add drop shadow
Move up a bit

Paste gate as a new layer
Resize to 75%
Position at the bottom
Add drop shadow

Paste your tube as a new layer
Resize as needed, if you're using the same tube I resized to 75%
Add drop shadow

Paste coffin as a new layer
Resize to 35%
Postion bottom center
Add drop shadow

Paste tombstone as a new layer
Resize to 25%
Position in front of the coffin
Add drop shadow

Paste moon as a new layer
Resize to 35%
Position upper right corner

Paste word art as a new layer
Resize to 20%
Position at the bottom
Add drop shadow

Paste tree as a new layer
Resize to 75%
Position on right
Add drop shadow

Resize all layers to 70%

Add your name & your © info

Animation:
Hide animations 1 & 2
Merge visible
Copy & paste into animation shop

Undo your merge
Unhide animation 2 and hide animation 3
Merge visible
Copy & paste after current in animation shop

Undo your merge
Unhide animation 1 and hide animation 2
Merge visible
Copy & paste after current in animation shop

Copy frame 2 and paster after frame 3

I set the frame properties on frames 2 & 4 at 125
Frames 1 & 3 at 30

View your animation

Save as gif & you're all done!

I hope you enjoyed my tutorial

I would love to post your © compliant result, just email it to me with the tut name in the subject line

:)


Result by Creanbri


Sunday, September 18, 2011

Haunted Times

Click for larger view

This tutorial was written by Sharon on Sept 18, 2011
For more info read my TOU

Supplies Needed
Scrapkit Haunted Times by Jenny here

The tube I used Halloween Witch is by Michael Calandra, you can purchase this tube from PTE here


Open a new transparent canvas 700x700, we will resize later

Paste paper 4 as a new layer
Resize to 20%

Paste frame 1 as a new layer
Resize to 75%
Using your magic wand click inside the frame
Floodfill with a pattern
Add drop shadow

Paste your tube as a new layer
Resize as needed
Add drop shadow
Move to below the frame

Paste vine as a new layer
Resize to 85%
Position on left
Add drop shadow

Paste fence as a new layer
Position bottom center
Add drop shadow

Paste leaves as a new layer
Resize to 85%
Position bottom center
Adjust>hue & saturation>colorize
Hue 5, saturation 200

Paste butterfly as a new layer
Resize to 40%
Mirror
Position on left side of tube
Add drop shadow

Paste rose 1 as a new layer
Resize to 25%
Position to the right of your tube
Add drop shadow

Paste stars as a new layer
Resize to 75%
Position upper left
Duplicate & mirror
Merge down

Paste ghost as a new layer
Resize to 20%
Position lower right

Resize all layers to 70%

Add your text

Add your name & your © info

Merge all

Save as jpg & you're all done!

I hope you enjoyed my tutorial

I would love to post your © compliant result, just email it to me with the tut name in the subject line

:)