Tuesday, June 7, 2011

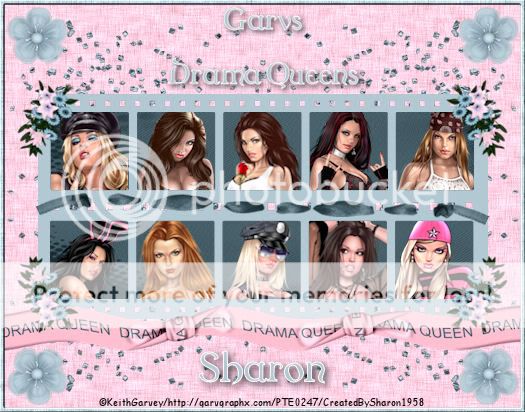
Garv's Drama Queens

Click for larger view


This tutorial was written by Sharon on Feb 25, 2011
For more information read my TOU

Supplies needed
Scrapkit Drama Queen here

The tubes I used are by Keith Garvey.  You will need a license to use which you can purchase here

New tranparent canvas 700x550, we will resize later
Select all
Paste paper 10 into selection
Deselect

New layer, send to top
Select all
Paste paper 9 into selection
Contract 6
Delete
Deselect
Apply inner bevel using bevel #3 width 1

Paste frame 8 as a new layer
Using your magic wand and holding down the shift key select each of the 10 squares
Expand 2
New Layer
Paste paper 15 into selection
Deselect

Select 10 tubes from 1 artist that you want to use and open them
With your magic wand click inside of all the top row squares, expand 2
Paste a tube as a new layer, resize as needed
Invert your selection
Delete
Do this all the way across
Deselect
With your magic wand click inside the bottom row of squares
Expand 2
Continue adding your tubes
Deselect when done

Paste glitter 2 as a new layer
Position upper left area
Duplicate & mirror
Merge down
Duplicate & flip
Merge down
Move this layer to below the frame layer

Paste ribbon 1 as a new layer
Position near the bottom of the frame
Move to below your border layer

Paste flower 1 as a new layer
Resize to 35%
Position over lower left frame corner
Rotate left 25
Duplicate & mirror
Merge down
Duplicate & flip
Merge down

Paste stitches 1 as a new layer
Resize to 60%
Nudge down a bit

Paste flower 7 as a new layer
Resize to 35%
Position in upper left corner
Duplicate & mirror
Merge down
Duplicate & flip
Merge down

Type in your text across the top

Resize all layers to 75%

Add your © info and name

Merge all

Thats it, you're all done!

I hope you enjoyed my tutorial

I would love to post your result, just email it to me

:)


Lil Princess

Click for larger view

This tutorial was written by Sharon on Feb 24, 2011
For more information read my TOU

Supplies needed
Scrapkit Dogs & Cats by Monti here, thank you for a wonderful kit Monti
Template # 116 by me here

Plugins
Graphics Plus Cross Shadow
Xero Fritillary

The tube I  used is by Legends Art.  You will need a license to use which you can purchse here

(Note:  Aug 26, 2011 Legends Art is longer with PTE and I don't know where the artwork is being sold.  Try google).


Activate raster 1
Select all
Paste the paws print paper into selection
Deselect
Apply graphics plus cross shadow, default settings

Activate raster 3
Select all>float>defloat
Paste striped paper into selection
Deselect

Activate raster 5
Floodfill with a color from your tube
Apply xero fritillary effect, default settings changing the top & bottom #s to 8
Select all>float>defloat
Paste your tube as a new layer
Resize as needed
Invert your selection
Delete
Deselect

Activate the border layer
Floodfill with another color from your tube
Apply inner bevel using bevel #3 width 1
Apply graphics plus cross shadow, default settings

Repeat these steps for rasters 4 and 2

Paste Bling Bone as a new layer
Move to the right side, refer to my tag
Drop shadow

Paste Love Dog charm bling as a new layer
Resize to 65% and move to the left side
Drop shadow 

Paste dog bowl paw print as a new layer
Resize to 35%
Position, refer to my tag
Drop shadow
Duplicate & move to the same position on the right
(You can't mirror, it will show up backwards)

Paste one of the collars as a new layer
Resize to 25%
Position, refer to my tag
Drop shadow
Duplicate & mirror

Paste the paw bling as a new layer
Position as shown in my tag on the upper left
Rotate left 35
Duplicate & mirror
Merge down
Duplicate & flip
Merge down

Add your text

Resize all layers to 75%

Add your © info and name

Merge all

Save as jpg and you're all done!

I hope you enjoyed my tutorial

I would love to post your result, just email it to me

:)

===========================

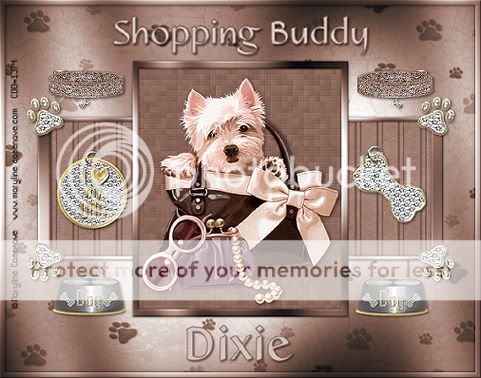
Result sent in by Dixie
Thank you Dixie!

Result sent in by Debbie W
Thanks Debbie!


Garv Models

Click for larger view

This tutorial was written by Sharon on Feb 23, 2011
For more information read my TOU

Supplies Needed
Heart here
Plugins
Xero Fritillary
Eyecandy 5 Impact Glass

The tubes I used are by Keith Garvey.  You will need a license to use which you can purchase here

New transparent canvas 700x550, we will resize later
Floodfill with black
Apply xero fritillay, default settings changing the top # to 12 and the bottom # to 14

New layer
Select all
Floodfill with a gold pattern or gradient
Contract 6
Delete
Deselect
Effects>Edge Effects>Enhance

Paste the self shot tube as a new layer, no resizing was needed
Place into position, refer to my tag
Move this layer below the border layer you just made
Duplicate
Zoom in real close to the camera
Activate your selection tool and set it on Circle
Select the inside of the camera lense
Effect>Illumination effects>Lights with the following settings


Zoom back to normal
Deselect
Rename these layers to light 1 & light 2

Activate your rectangle shapes tool
Foreground null, background black
Draw out a vertical rectangle for the other tubes to fit in, refer to my tag
Align vertical
Convert to raster
Floodfill with dark red
Apply xero fritillary using default settings changing bottom # to 5 (don't forget to change the top # back to the default 5)
Apply eyecandy glass, default settings changing the bevel width to 20
Select all>float>defloat

Paste your tubes as new layers
Resize to fit the rectangle
Invert your selection
Delete to remove excess tube
Do Not Deselect
Rename these layers animation 1, animation 2, animation 3 & animation 4

New layer
Floodfill with a gold pattern or gradient
Contract 4
Delete
Deselect
Effects>Edge Effects>Enhance

Paste the heart as a new layer
Resize to 60%
Move to the top, refer to my tag

Resize all layers to 75%

Add your © and name along with any other text you want to add

Hide lights 1 and animations 1, 2 & 3
Merge visible
Copy and paste into animation shop

Undo your merge
Unhide lights 1 and animation 3
Hide lights 2 and animtions 1, 2 & 4
Copy and paste after current

Repeat these steps until you have all 4 frames done

Frame properties 50

Save as gif and you're done!

I hope you enjoyed my tutorial

I would love to post your result, just email it to me

:)

==========================

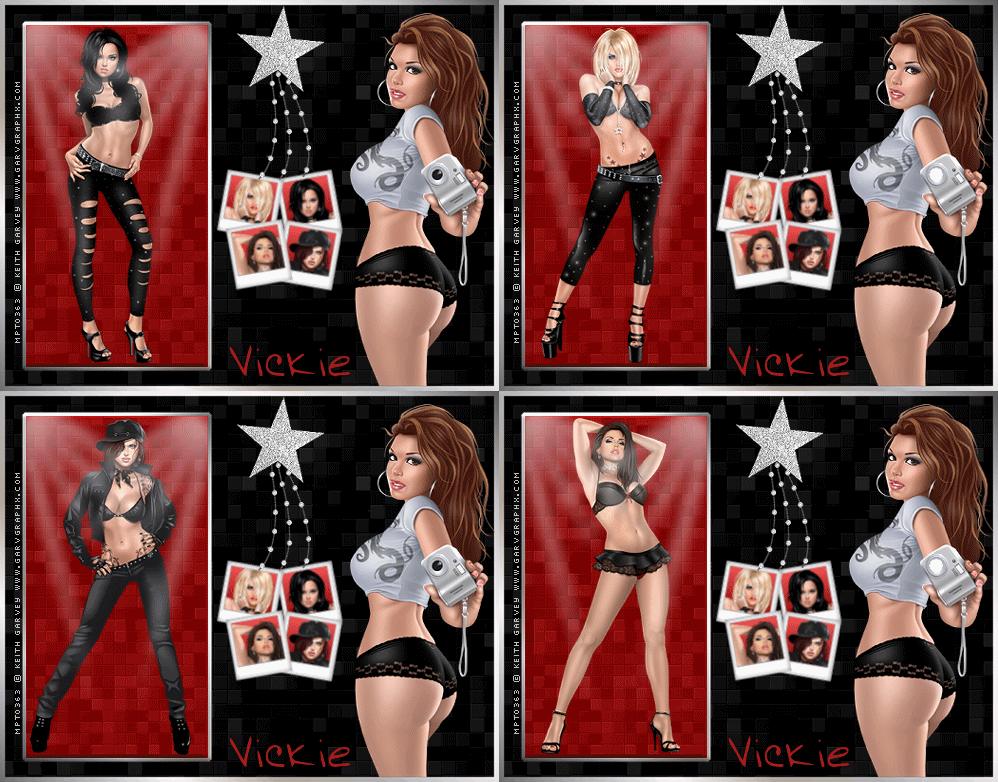
Result sent in by Vickie
Thank you Vickie!

This one was sent in by Just Debbie
Thanks Debbie!


My Lil Fluff Ball~Forum Size

Click for larger view

This tutorial was written by Sharon on Feb 23, 2011
For more information read my TOU

Supplies Needed
Bow here

Plugins
Xero Porcelain
Filters Unlimited

Font
Odstemplik

The tube I used is by Jose Cano.  You will need a license to use which you can purchase here

New transparent canvas 725x325, we will resize later
Floodfill with a gradient which will look nice with your tube, radial angle 45 repeats 5
Apply filters unlimited>Tile & Mirror>Mirrored & Scaled, default settings
Repeat 2 more times

Paste your tube as a new layer
Resize as needed and move to one side
Apply xero porcelain, default settings
Duplicate
Mirror
Luminance Legacy
Opacity 65

New layer
Floodfill with your gradient
Select all
contract 5
Delete
Deselect
Apply inner bevel using bevel #3 width 1
Effects>Edge Effects>Enhance

Paste the bow as a new layer
Resize to 30%
Edge enhance

Activate your text tool and select your font, I used the font named above size 48
With your gradient in the background type the words My Lil Fluff Ball
Repeat edge enhance
Luminance

Resize all layers to 80%

Add your © info and name

Merge all

Save as jpg and you're all done!

I hope you enjoyed my tutorial

I would love to post your result, just email it to me

:)

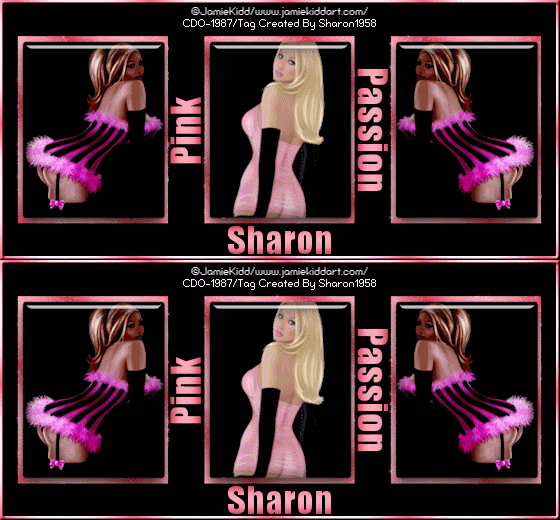
Pink Passion~SAC ~ Forum

Click for larger view

This tutorial was written by Sharon on Feb 15, 2011
For more information read my TOU

Supplies needed
I used forum template #36 by me here

Plugins
Eyecandy 5 Impact Glass
Xenofex Constellation

The tubes I used are by Jamie Kidd.  You will need a license to use which you can purchase here

Open template, shift D to duplicate and close original
Delete raster 5

Now is the time to floodfill rasters 1 & 3 if you're gonna, I left mine black becauase there's black on the tubes

Activate raster 3
Select all>float>defloat
Paste your main tube as a new layer
Resize as needed and position into place
Invert your selection
Delete
Do Not Deselect

Paste your other tube as a new layer
Resize as needed and position on one of the side frames
Delete
Deselect
Layer properties on hard light
Duplicate
Mirror

Merge your main tube with the black squares

Merge your hard light layers together then with your merged layer
Apply eyecandy glass effect, default settings

You should now have 4 layers

Activate raster 4
Apply inner bevel using bevel #3 width 2

Add text if desired, I put Pink Passion on mine using a pink gradient on my font

Activate raster 2
Duplicate
Rename these layers to animation 1 & 2
Apply xenofex constellation effect with these settings


Repeat on other layer clicking on the random seed button

Resize all layers to 80%

Add your © info and name

Hide animation 1 and merge visible
Copy and paste into animation shop

Undo your merge, unhide animation 1 and hide animation 2
Merge visible
Copy and paste after current in animation shop

Frame properties 10

Save as gif and you're all done!

I hope you enjoyed my tutorial

I would love to post your results, just email it to me

:)


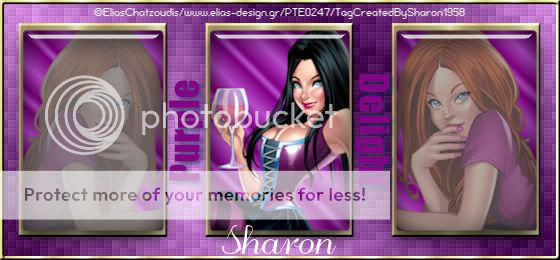
Purple Delight ~ Forum

Click for larger view

This tutorial was written by Sharon on Feb 14, 2011
For more information read my TOU

Supplies needed
I used Forum Template #27 by me here

Plugins
Eyecandy 5 Impact Glass
Xero Fritillary

The tubes I am using are by Elias Chatzoudis.  You will need a license to use which you can purchase here

Open template, shift D to duplicate and close original
Delete Raster 5

Activate raster 4
Select all>float>defloat
Paste your main tube as a new layer
Resize as needed
Invert your selection
Delete
Do Not Deselect

Paste your other tube as a new layer
Resize as needed & delete
Deselect
Duplicate the tube and mirror
Change layer properties to soft light
Duplicate
Mirror
Merge your tube layers with raster 4
Apply eyecandy glass effect using default settings

Activate raster 3
Apply bevel effect using bevel #3 width 2

Repeat on raster 2

Activate raster 1
Apply Xero Fritillary effect changing the top # to 8 and the bottom # to 12

Activate raster 4
Select Impact as your font and choose a purple color from the template
Type the word Purple and rotate left 90
Center it in between the 2 frames
Align vertical
convert to raster

Repeat for the word Delight centering between the other 2 frames and rotating right
Merge down and add a drop shadow

Resize all layers to 80%
Add your © info and your name

Merge all

Save a jpg and you're done!

I hope you enjoyed this tutorial
I would love to post your result if you email it to me

:)
===================================

Tut result sent in by Priscie


Mountain Stream

Click for larger view

This tutorial was written by Sharon on Feb 13, 2011
For more information read my TOU

Supplies needed
Sqirlz Water Reflection which is a free program.  You can get it here
For a tutorial on how to use the program go here but I'll show you what you need to know for this tut
Animation shop

Plugins
Eyecandy 5 Impact Gold Chrome Abstract Penny

You will need a mountain image with water.  The one I used is by Jon Rattenbury.  You will need a license to use which you can purchasehere
This image may be used with any PTE artist

The tube I used is by Tim Lowery.  You need a license to use which you can purchase here

Open your image, shift D to duplicate and close original

Resize to 85%
Copy and paste as a new image
Save to your hard drive and close

Back to your duplicated image
Undo resize
Gaussian blur radius 10

New layer
Apply eyecandy gold chrome abstract penny with default settings
Select all
Contract 5
Delete
Deselect
Effects>Edge Effects>Enhance
Merge down

Open your Sqirlz program
Open your resized image, the one you saved.  It will look kind of distorted but this will not show up in your result
With the selection tool (the one that looks kind of like a lasso) select around the water
When you end where you stared right click on it

Now click on the wavy lines up above
Leave everything on default except Motion Type, change this to E
Now click on Add Flow
I put the flow direction on 60 and the flow strength on 2
Click on the yellow arrow
X out of the settings
You'll now see your animation
If you're happy with it click on gif on the upper right
Click on ok
Name your animation
Click on ok again

Open animation shop
Open your animation
I have 20 frames
Select all
Copy and paste into your psp program

Now you will need to paste each layer onto your merged image

Activate the top layer
Select all>float>defloat
New layer
Apply eyecandy gold chrome with same settings as before
Contract 4
Delete
Enhance edge
Do Not Deselect

Paste your tube as a new layer
Resize as needed
Move to lower right
Invert your selection
Delete
Deselect
Merge down

Add your © info and any other text you may want to add
Merge down

Hide all layers except the top one and the bottom 2
Merge visible
Copy & paste into animation shop

Back to psp, undo your merge
Hide the bottom animation layer, the one above your background layer and unhide the 2nd one
Merge visible
Copy and paste after current in animation shop

Repeat these steps all the way up

You should have 20 frames

Frame properties 10

Save as gif and you're all done!

I would love to see your results, just email it to me.  The link is on the right

I hope you enjoyed this tutorial

:)


Result by Kaye W


Wednesday, June 1, 2011

Christmas Candles

Click for larger view

Please read my TOU
This tutorial was written by Sharon on December 8, 2010

You will need:
Template #52 by me here
Scrapkit FM-BT-November 2009 by Fanasty Moments Scraps here
Candle Flame animation here
Plugin VM Extravagana>Holidays in Egypt
Font:  Christmas Trees

I used the fabulous artwork of Elias Chatzoudis
You must have a licence to use his artwork which you can purchase here

UPDATE Elias Chatzoudis artwork is now available here


Open template, shift D to duplicate and close original.  Delete the credits layer

Activate the Circle layer.  Select all>Float>Defloat
Flood fill with a dark green gradient or color
Apply VM Extravagana>Holidays in Egypt, 18 on both sections
Deselect

Flood fill the squares layers with a dark green color or gradient

Open element 60 and paste as new layer
Resize to 27% and position over the bottom squares
Duplicate, mirror and merge down

Paste element 2 as a new layer, resize to 25%
Position over top squares, duplicate, mirror and merge down

Activate Rectangle layer.  Select all>Float>Defloat
Paste your tube as a new layer
Invert selection and press your delete key to remove excess tube
Deselect

Paste element 36 as a new layer, resize to 30% and position near top of circle layer

Paste element 3 as a new layer, resize to 40% and position near bottom of circle layer

Paste element 1 as a new layer, resize to 30% and position near the left side of the rectangle layer.
Duplicate & mirror
I moved the left one up and the bottom one down

Activate raster 1, flood fill with a dark red color or gradient.  I used a gradient, Linear, angle 45 and repeats 20
Effects>Texture Effects>Blinds
Width 4, opacity 40, color black, horizontal checked
Repeat blinds, UNcheck horizontal

Merge all layers

Resize to 75%

Add your © Info and any text you want to add, merge down


Animation

Copy and paste into animation shop, multiply until you have 18 frames.  Go to the first frame and select all

Open the candle flame animation.  Go to the first frame and select all

Grabbing the flame by the first frame, drag onto one of the candle wicks

Go back to the candle flame animation, CTRL Z to undo and repeat the drag

Continue doing this until you have all wicks covered

Frame properties 10

Save as gif and you're all done!

I hope you enjoyed my tut
:)

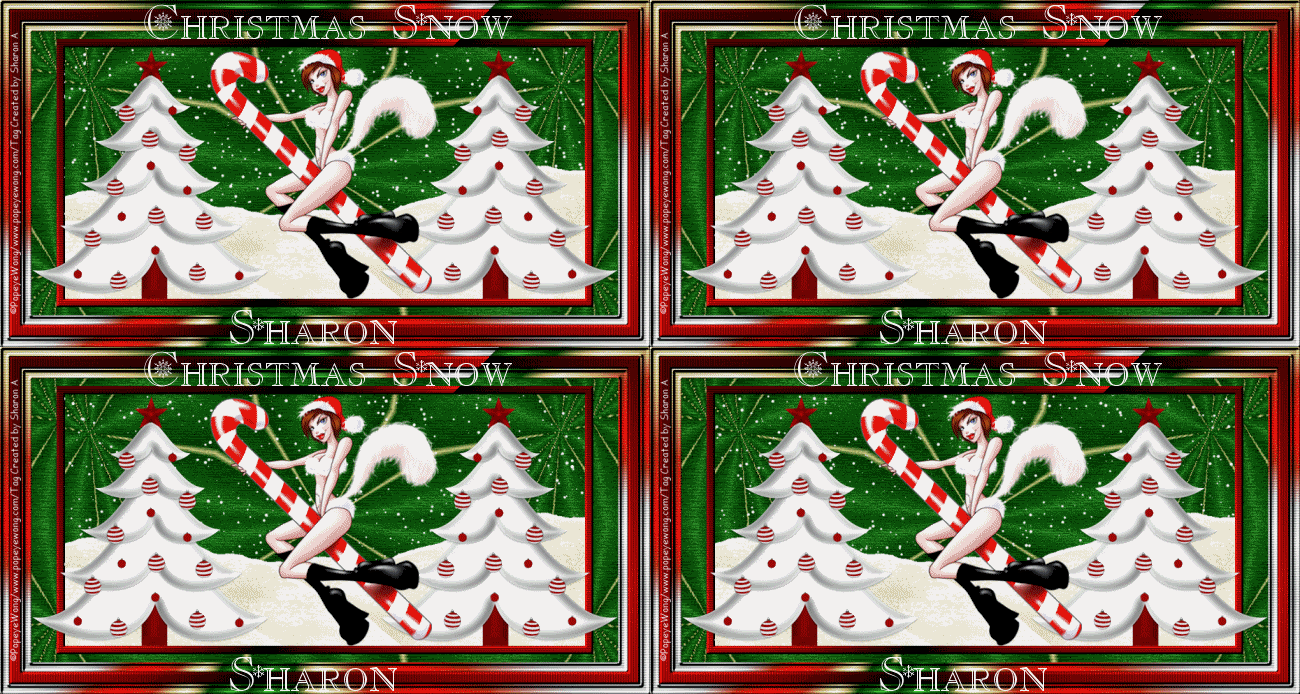
Christmas Snow

Click for larger view

This tutorial was written by Sharon on November 18, 2010
Please read my TOU

Supplies Needed
Scrapkit Xmas Candy Cane by Lacarolita Designz here
Gradients MQC Ribbon Green & MQC Holiday Here
Snow Mound Here
Font Used:  Christmas, you can get it at dafont.com

I used the fabulous artwork of Popeye Wong here

Plugins
Filters Unlimited 2.0
Vanderlee Snowflakes

Open a new transparent canvas 930x450, we can resize later.  I made this for a blog so thats why so big lol

Flood fill with gradient, angle 45 and repeats 4
Apply Filters Unlimited Kaleidoscope 2>Divisions 48 and Variation 192
Apply Filters Unlimited>Paper Textures>Cotton Paper/ Fine>Intensity 128 and lightness 96

Copy and paste as new image, minimize for now

Apply border size 15 all the way around with a contrasting color
Select with your magic wand and flood fill with the Holiday Gradient same settings as above
Effects>Texture Effects>Blinds with the following settings


Effects>3D Effects>Inner Bevel with these settings


Deselect

Add another border size 20
Flood fill with a dark red gradient, select with your magic wand and repeat the blinds effect, UNcheck horizontal
Repeat inner bevel changing the bevel from #12 to #2
Deselect

Add 1 more border size 15, repeat same as the first one
Resize back to 930 pixels wide

Back to your copied image
Add a border 15 pixels all the way around
Flood fill with your red gradient
Apply blinds effect with the same settings as the screenshot shows
Apply inner bevel using bevel #2
Resize to 80% and paste as a new layer on the image with 3 borders, duplicate 3 times for a total of 4

Paste Candy Cane Tree as a new layer, resize to 38%
Move over to the edge of the frame on the larger image, duplicate & mirror.  Merge down.  Using your move tool, press your down arrow one time

Paste your tube as a new layer, resize if needed

Paste the snow mound as a new layer, place below the trees and resize to 93%
Move to the top of your smaller image border

Add your copyright info

Animation

Activate the top layer of your duplicates
Using your selection tool select around the inside of the border

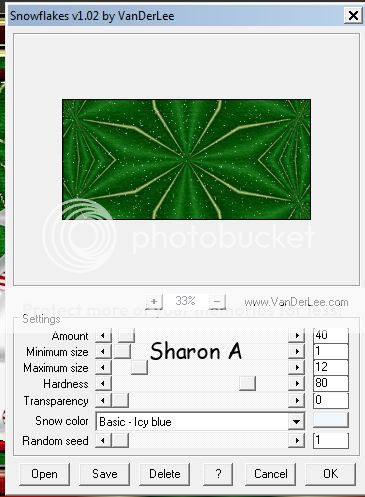
Apply Vanderlee Snow Flakes with the following settings


Rename layer to snow 1
Apply snowflakes on the next layer changing amount from 40 to 38 and random seed to 2, rename to snow 2
On next layer change amount to 36 and random seed to 3, rename to snow 3
On last layer change amount to 34 and random seed to 4, rename to snow 4
Deselect

Merge your copyright info, tube, trees and snow mound layers

Hide the bottom 3 snow layers, merge visible.  Copy and paste to animation shop

Back to PSP, undo your merge.  Hide snow 1 and UNhide snow 2, merge visible and paste after current in animation shop

Repeat with snow layers 3 & 4

I resized mine to 650 pixels wide

Frame properties 15

Save as gif and you're all done

I hope you have enjoyed doing this tutorial

:)


Bibbity Bobbity Boo

Click for larger view

This tutorial was written by Sharon1958 on October 14, 2010.
Please read my TOU on the right side of this blog

This tut uses no scrap kits and is easy to do for any skill level with a working knowledge of psp.  The supplies I provided are already the right size for this template.

Template Bibbity Bobbity Boo by Creative Misfits Here.  Scroll about 1/2 way down

Materials Here

I am using the beautiful artwork of Popeye Wong

Font I used was Vampiress, you can get it at dafont.com

Open template, shift D to duplicate, close out original.  Delete credits layer.

Open supplies

Paste all as a new layer and position into place referring to my tag, no need to resize any of them.  Mirror the right cat

Activate 2grad layer, select all, float, defloat.  Paste your tube as a new layer, invert selection then hit your delete key to remove the excess, deselect.

New raster layer, send to bottom.  Flood fill with a dark red gradient.  Apply an inner bevel of your choice settings.  Merge visible

Resize all layers to 75%

Add your copyright info and your text

Merge and save

I hope you have enjoyed this tutorial

Sharon