
Click for larger view
This tutorial was written by Sharon on Feb 25, 2011
For more information read my TOU
Supplies needed
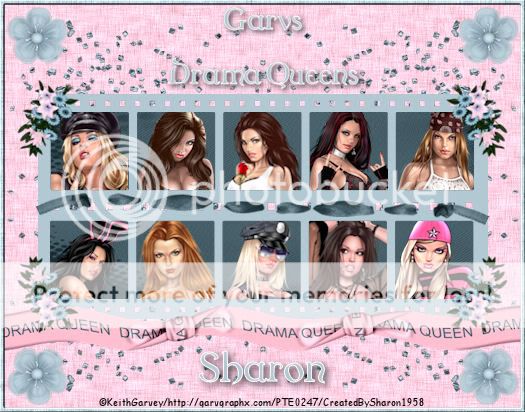
Scrapkit Drama Queen here
The tubes I used are by Keith Garvey. You will need a license to use which you can purchase here
New tranparent canvas 700x550, we will resize later
Select all
Paste paper 10 into selection
Deselect
New layer, send to top
Select all
Paste paper 9 into selection
Contract 6
Delete
Deselect
Apply inner bevel using bevel #3 width 1
Paste frame 8 as a new layer
Using your magic wand and holding down the shift key select each of the 10 squares
Expand 2
New Layer
Paste paper 15 into selection
Deselect
Select 10 tubes from 1 artist that you want to use and open them
With your magic wand click inside of all the top row squares, expand 2
Paste a tube as a new layer, resize as needed
Invert your selection
Delete
Do this all the way across
Deselect
With your magic wand click inside the bottom row of squares
Expand 2
Continue adding your tubes
Deselect when done
Paste glitter 2 as a new layer
Position upper left area
Duplicate & mirror
Merge down
Duplicate & flip
Merge down
Move this layer to below the frame layer
Paste ribbon 1 as a new layer
Position near the bottom of the frame
Move to below your border layer
Paste flower 1 as a new layer
Resize to 35%
Position over lower left frame corner
Rotate left 25
Duplicate & mirror
Merge down
Duplicate & flip
Merge down
Paste stitches 1 as a new layer
Resize to 60%
Nudge down a bit
Paste flower 7 as a new layer
Resize to 35%
Position in upper left corner
Duplicate & mirror
Merge down
Duplicate & flip
Merge down
Type in your text across the top
Resize all layers to 75%
Add your © info and name
Merge all
Thats it, you're all done!
I hope you enjoyed my tutorial
I would love to post your result, just email it to me
:)
No comments:
Post a Comment
Please keep your language clean, thank you!