

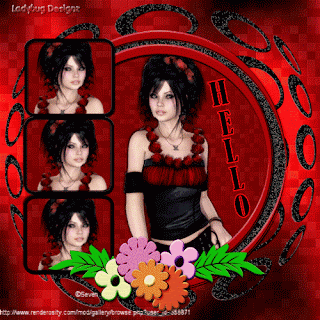
Click for larger view
This tutorial was written by Sharon A on March 24, 2012
For more info read my TOU
Supplies Needed
Template #30 by Judith here
Plugins
Xero Fritillary
Graphics Plus Cross Shadow
Xenofex constellation
The tube I used Crimson is by Keith Garvey, you can purchase this tube from PTE here
Open your template, shift D to duplicate & close original
Resize to 800x800 pixels
Delete credit layer
Activate foto 1
Floodfill with dark red
Apply xero fritillary changing the top & bottom #'s to 12
Paste your tube as a new layer
Resize as needed
Add drop shadow
Activate foto 2
Paste your close up as a new layer
Resize as needed
Activate frame 2
Click inside frame with your magic wand
Go back to your close up and position into place over foto 2
Invert your selection
Delete
Deselect
Duplicate the close up layer 2 times
Position 1 over foto 3 & the other over foto 4
I changed the layer properties on all 3 to luminance legacy, soft light & hard light
Activate frame 2
Select all>float>defloat
Add a new raster layer
Floodfill with dark red
Deselect
Merge down
Add drop shadow
Repeat this on frames 3 & 4
Activate frame 1
Select all>float>defloat
Add a new raster layer
Floodfill with dark red
Deselect
change layer properties to overlay
Add drop shadow
Activate paper
Select all>float>defloat
Add a new raster layer
Floodfill with black
Deselect
Activate the circles layer
Add a new raster layer
Floodfill with black
Go back to the circles layer
Select all>float>defloat
Go back to your floodfill
Invert your selection
Delete
Deselet
Add drop shadow
Duplicate 2 times
Apply xenofex constellation with these settings
Size 2, variation 1, edge density 1, overall density 3, overdrive 50, twinkle amount 75, rotation 45, keep original image checked, random seed 1
Repeat on other 2 layers clicking the random seed button each time
Floodfill bg with dark red
Apply xero fritillary changing the top & bottom #'s to 16
Apply graphics plus cross shadow using default settings
Activate one of the flowers
Select all>float>defloat
Add a new raster layer
Floodfill with a color of your choice
change property layers to overlay
Deselect
Merge down
Repeat for all flowers & leaves you want to change color on
Resize all layers to 65%
Add your text, name & © info
Animation:
Hide animation 2 & 3
Merge visible
Copy & paste into animation shop
Undo your merge
Hide animation 1 & unhide #2
Merge & paste after current in animation shop
Undo your merge
Hide animation 2 & unhide #3
Merge visible & paste after current in animation shop
View your animation
Save as gif & you're all done!
I hope you enjoyed my tutorial
I would love to post your © compliant result, just email it to me with the tut name in the subject line
:)
Result by Kaye W

Result by Mary Ann
No comments:
Post a Comment
Please keep your language clean, thank you!