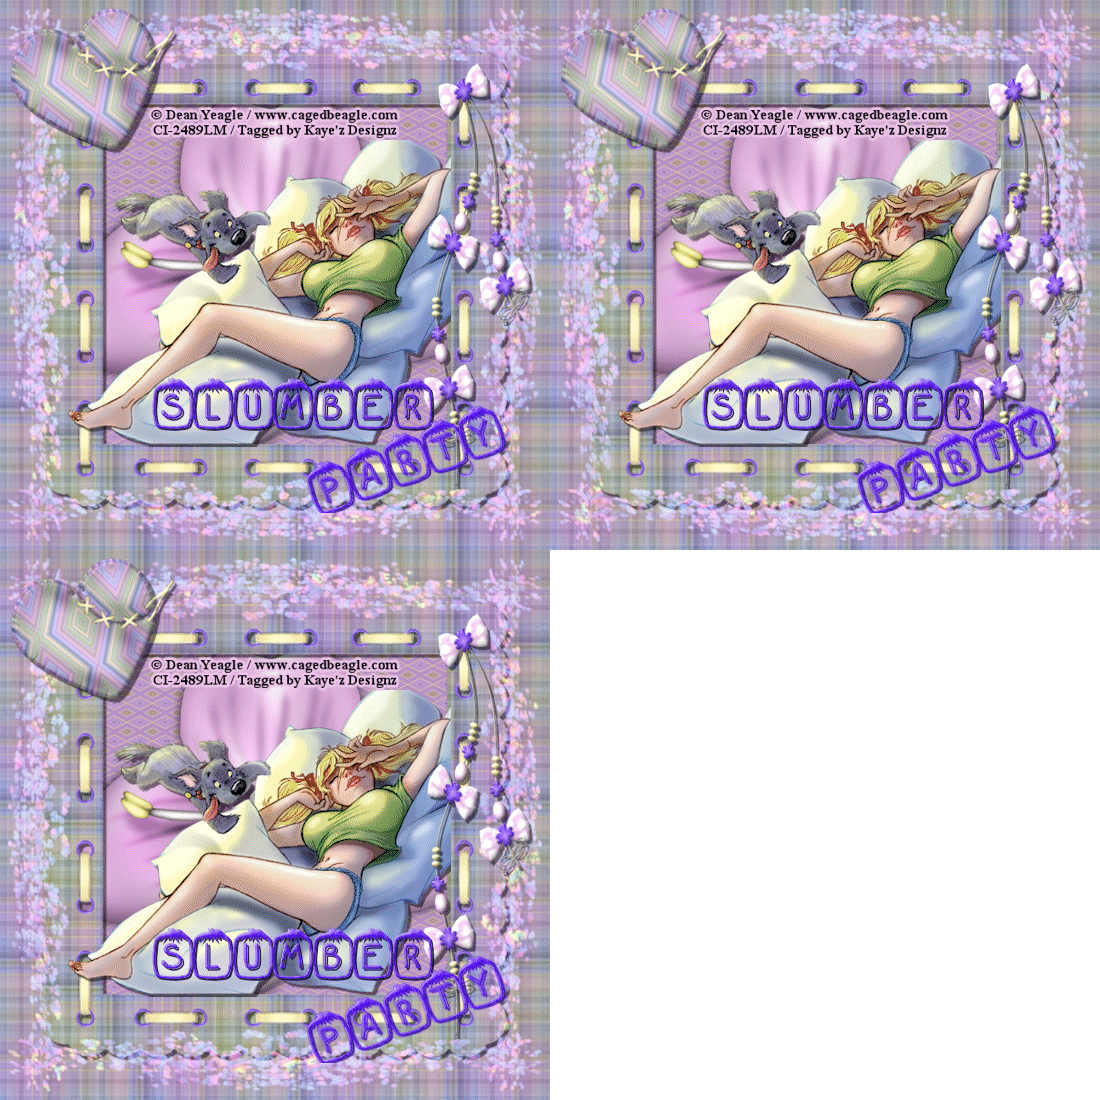
Click for larger view
This tutorial was written by Sharon A on March 30, 2012 & is copyright protected
For more info read my TOU
Supplies Needed
Scrapkit Everyday Pastell at Cadi's Fun Scraps here
Flowers here
Plugins
Eyecandy 4 HSB Noise
The tube I used Slumber Party is by Michelle Soneja, you can purchase this tube from PTE here
The font I used is called Gabrielle
Open a new transparent canvas 700x700, we will resize later
Select all
Paste paper 11 into selection
Paste flowers as a new layer
Duplicate & flip
Merge down
Duplicate & rotate right 90
Merge down
Add drop shadow
Change layerproperties to hard light
Duplicate 2 times
Apply eyecandy hsb noise
Click on settings then on transparent haze
Repeat on other 2 layer clicking on the random seed button each time
Rename these layers to A1, A2 & A3
Paste frame 3 as a new layer
Click inside the frame with your magic wand
Expand 3
Add a new raster layer
Paste paper 13 into selection
Deselect
Move to below your frame layer
Add an inner bevel
Paste flower 10 as a new layer
Change layer properties to luminance legacy
Add drop shadow to your frame
Paste your tube as a new layer
I mirrored mine
Add drop shadow
Making sure you're on the top layer, paste pendant 2 as a new layer
Resize to 60%
Add an inner bevel & drop shadow
Position on right side of frame
Paste heart 1 as a new layer
Resize to 40%
Rotate left 20
Position upper left corner of frame
Add an inner bevel & drop shadow
Paste flower 1 as a new layer
Resize to 25%
Add an inner bevel & drop shadow
Position lower right of frame
Repeat with flower 6
Position as shown on my tag
Repeat with flower 12, resizing to 20%
Position as shown on my tag
Merge the flower layers
Paste bow 10 as a new layer
Resize to 30%
Add an inner bevel & drop shadow
Rotate right 25
Position lower left corner of frame
Duplicate, mirror & flip
Resize all layers to 70%
Add your text, name & © info
Animation:
Hide animation 2 & 3
Merge visible
Copy & paste into animation shop
Undo your merge
Hide animation 1 & unhide #2
Merge & paste after current in animation shop
Undo your merge
Hide animation 2 & unhide #3
Merge visible & paste after current in animation shop
View your animation
Save as gif & you're all done!
I hope you enjoyed my tutorial
I would love to post your © compliant result, just emaail it to me with ATT Sharon & the tut name in the subject line
You'll find my email blinkie on your left
:)
Result by Kaye W


No comments:
Post a Comment
Please keep your language clean, thank you!