

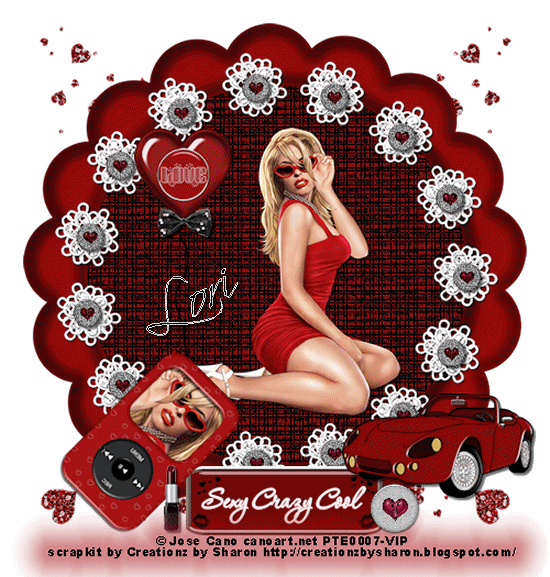
Click for larger view
This tutorial was written by Sharon on August 9, 2009
For more info read my TOU
Supplies Needed
Scrapkit Dark Angel by me here
Animation Shop
Plugins
Xero Porcelain
Screenworks Fabric Weave & Tyre Tracks
The tube I used from the kit is by Wendy Gerber, read the Poser TOU in the poser folder
You do not need a license with this as these were part of a CU package I bought but you do need to add her ©info
You can visit her new store here
Open a new transparent canvas 700x700, we will resize later
Floodfill with black
Paste glitter hearts 2 as a new layer
Resize to 80%
Duplicate & mirror
Merge down
Paste frame 3 as a new layer
Resize to 85%
Using your magic wand click inside the frame
Expand 5
Paste paper 2 into selection
Deselect
Paste your tube as a new layer
Resize as needed
Apply xero porcelain effect using default settings
Add drop shadow
Paste button 1 as a new layer
Resize 35%
Position where you want, we will be animating this button we are just placing it here so we know where its gonna go and we leave room for it that way. We will delete this layer in a bit
I positioned mine over the hand so it will look like she's holding it
Do NOT add drop shadow
Paste lipstick as a new layer
Resize to 50%
Rotate left 30
Add drop shadow
Paste bra as a new layer
Resize to 50%
Rotate right 30
Position upper right of frame
Add drop shadow
Apply screenworks fabric weave, leave mode at 0
Repeat the above steps with the panties. I rotated this one left 20
Paste headphones as a new layer
Resize to 40%
Position over the head of your tube
Add drop shadow
Paste Ipod as a new layer
Resize to 50%
Position near the bottom left of your tube
Rotate left 35
Apply screenworks tyre tracs, mode on 0
Using your magic wand click inside the opening
Expand 2
Floodfill with white
Deselect
Add drop shadow
Add some text to the white area
Rotate text left 35 & position into place
You can now delete your button layer
Add your name & text
Resize all layers to 75%
Add your © info
Animation
Merge all layers
Copy & paste into animation shop
Select all, copy & paste after current until you have 10 frames
Make sure you're on frame 1, select all
Now open up your button in animation shop, this is gonna be very easy!
Click on Animation at the top and click on resize
Resize to 35%
Click on Effects and select insert image effect
On the pop up window set effect length to 1.5 sec and frames per second at 6 fps
Click on Effect and select rotate
Click ok
Now view your animation
Making sure you're on frame one select all and grab the button by frame 1 and drop it into place on your tag
Check your animation
Save as gif & you're all done!
I hope you enjoyed my tutorial
I would love to post your © compliant result, just email it to me with the tut name in the subject line
:)
=====================================
Here are 2 results done by Vicke


By Lori
By Dixie

No comments:
Post a Comment
Please keep your language clean, thank you!