
Click for larger view
This tutorial was written by Sharon on Sept 16, 2011
For more info read my TOU
Supplies Needed
A Pumpkin
Plugins
Graphics Plus Cross Shadow
Xenofex 2 Constellation
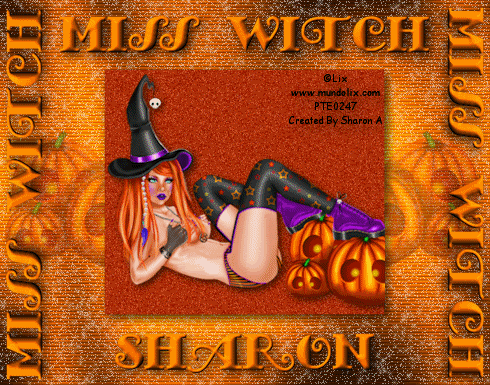
The tube I used Pinup Witch is by Lix, you can purchase this tube from PTE here
In this tutorial I'm going to assume you're using the same tube. If using something else you may need a pumpkin tube or something else of your choice
Look through your autumn/halloween kits
Today my dad would have turned 84 but he died at a young age on Sept 1, 1979 just before turning 52. So today all my tuts are dedicated to him.
Love you dad!
Open a new transparent canvas 700x550, we will resize later
Floodfill with a bright color from your tube
Effects>Texture Effects>Blinds
Width 5, opacity 50, horizontal & light from left checked, color black
Apply graphics plus cross shadow using default settings
Duplicate
Rename these layers to animation 1 & 2
Apply xenofex constellation
Star size 2, size variation 1, overall star density 25, over drive 50, twinkle amount 75, twinkle rotation 45
keep original image checked, random seed 1
Repeat on other layer clicking on the random seed button
Paste the pumpkin as a new layer (mine came with the tube)
I resized to 60%
Move to the left side
Change layer opacity to 40
Duplicate & mirror
Add a new raster layer
Activate your selection tool & click on custom
Left 150, right 550, top 100, bottom 450
Floodfill with a darker color from your tube
Do Not Deselect
Paste your tube as a new layer
Resize as needed
Invert your selection
Delete
Deselect
Go back to your floodfill selection layer
Add noise
Gaussian, monochrome checked, 30%
Add drop shadow
Add your text
Apply inner bevel using bevel #2 width 30
Add drop shadow
Duplicat twice
Rotate one left 90
Move into position on the left
Rotate right 90 on the other one
Apply same effects
Position on the right
Add your name
Apply same effects
Resize all layers to 70%
Add © info
Hide animation 1
Merge visible
Copy & paste into animation shop
Undo your merge
Unhide animation 1
Hide animation 2
Merge visble
Copy & paste after current in animation shop
Set frame properties at 15
Save as gif & you're all done!
I hope you enjoyed my tutorial
I would love to post your © compliant result, just email it to me with the tut name in the subject line
:)
No comments:
Post a Comment
Please keep your language clean, thank you!