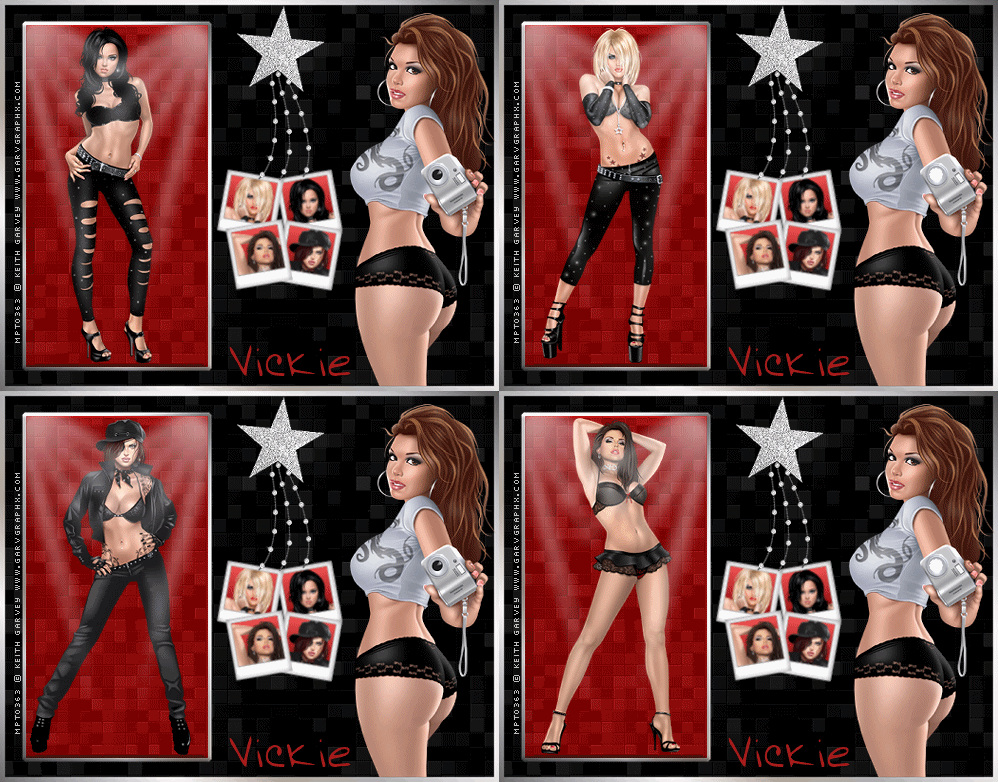
Click for larger view
This tutorial was written by Sharon on Feb 23, 2011
For more information read my TOU
Supplies Needed
Heart here
Plugins
Xero Fritillary
Eyecandy 5 Impact Glass
The tubes I used are by Keith Garvey. You will need a license to use which you can purchase here
New transparent canvas 700x550, we will resize later
Floodfill with black
Apply xero fritillay, default settings changing the top # to 12 and the bottom # to 14
New layer
Select all
Floodfill with a gold pattern or gradient
Contract 6
Delete
Deselect
Effects>Edge Effects>Enhance
Paste the self shot tube as a new layer, no resizing was needed
Place into position, refer to my tag
Move this layer below the border layer you just made
Duplicate
Zoom in real close to the camera
Activate your selection tool and set it on Circle
Select the inside of the camera lense
Effect>Illumination effects>Lights with the following settings
Zoom back to normal
Deselect
Rename these layers to light 1 & light 2
Activate your rectangle shapes tool
Foreground null, background black
Draw out a vertical rectangle for the other tubes to fit in, refer to my tag
Align vertical
Convert to raster
Floodfill with dark red
Apply xero fritillary using default settings changing bottom # to 5 (don't forget to change the top # back to the default 5)
Apply eyecandy glass, default settings changing the bevel width to 20
Select all>float>defloat
Paste your tubes as new layers
Resize to fit the rectangle
Invert your selection
Delete to remove excess tube
Do Not Deselect
Rename these layers animation 1, animation 2, animation 3 & animation 4
New layer
Floodfill with a gold pattern or gradient
Contract 4
Delete
Deselect
Effects>Edge Effects>Enhance
Paste the heart as a new layer
Resize to 60%
Move to the top, refer to my tag
Resize all layers to 75%
Add your © and name along with any other text you want to add
Hide lights 1 and animations 1, 2 & 3
Merge visible
Copy and paste into animation shop
Undo your merge
Unhide lights 1 and animation 3
Hide lights 2 and animtions 1, 2 & 4
Copy and paste after current
Repeat these steps until you have all 4 frames done
Frame properties 50
Save as gif and you're done!
I hope you enjoyed my tutorial
I would love to post your result, just email it to me
:)
==========================
Result sent in by Vickie
Thank you Vickie!
This one was sent in by Just Debbie
Thanks Debbie!


No comments:
Post a Comment
Please keep your language clean, thank you!