Thursday, May 3, 2012

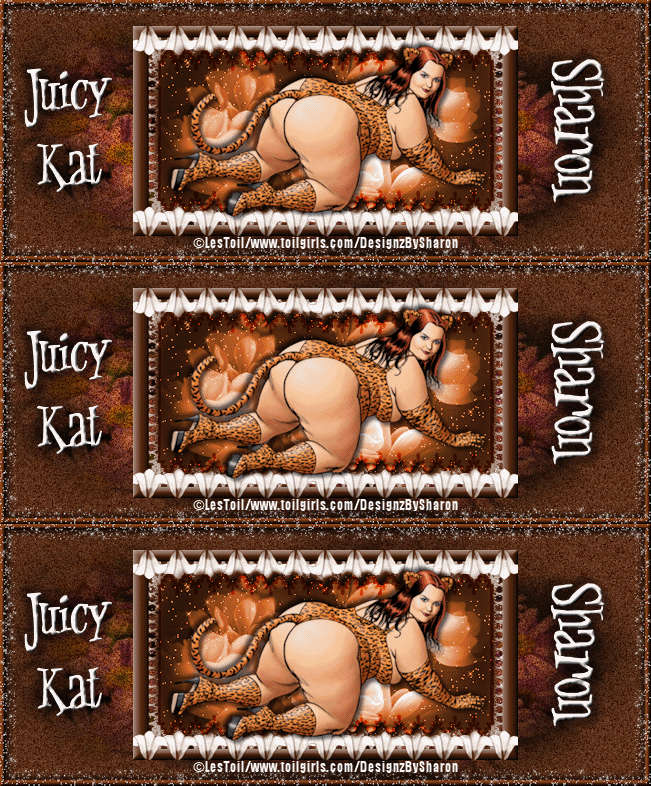
Juicy Kat

Click for larger view

This tutorial was written by Sharon A on May 3, 2012 & is copyright protected
For more info read my TOU

Supplies Needed
Flowers & Frame here

Plugins
DSB Flux Bright Noise
Graphics Plus Cross Shadow
Xenofex Constellation

The tube I used Juicy Kat is by Les Toil, his website is here
You can get his tubes from his official yahoo group fan club is here

The name of the font I used is Jungle Juice
I used size 72 & 85


Open new transparent canvas 930x375, we will resize later
Floodfill with a color from your tube
Apply bright noise intensity 35, mix checked

Add a new raster layer
Select all
Paste purple flowers into selection
Deselect
Change layer properties to overlay
Add drop shadow

Duplicate 2 times
Apply cross shadow using default settings
Repeat on other 2 layers changing the 2 bottom #'s to 108 & 88

Paste your frame as a new layer
Select all>float>defloat
Add a new raster layer
Floodfill with your bg layer
Deselect
Change layer properties to overlay

Click inside with your magic wand
Expand 3
Add a new raster layer
Floodfill with your bg color
Move to below your frame
Do Not Deselect

Paste your blue flowers as a new layer
Invert your selection
Delete & deselect
Change layer properties to luminance
Add drop shadow
Apply graphics plus cross shadow using default settings
Apply constellation
Settings>star field>keep original image checked

Add drop shadow to your frame

Paste your tube as a new layer
Resize as needed
Add drop shadow

Add a new raster layer
Floodfill with your bg color
Select all
Contract 8
Delete & deselect
Add an inner bevel & drop shadow
Apply constellation, same settings as before

Resize all layers to 70%

Add your text, name & © info


Animation:

Hide animation 2 & 3
Merge visible
Copy & paste into animation shop

Undo your merge
Hide animation 1 & unhide #2
Merge & paste after current in animation shop

Undo your merge
Hide animation 2 & unhide #3
Merge visible & paste after current in animation shop

View your animation

Save as gif & you're all done!

I hope you enjoyed my tutorial

Your comments are very much appreciated either here on this post or on the chat box.  I've made it easy for you to post on this tut by turning off the requirement of having to type in a confirmation code

I would love to post your © compliant result, just email it to me with ATT Sharon & the tut name in the subject line

You'll find my email blinkie on your left

:)


Wednesday, May 2, 2012

Love Sick Duck

Click for larger view

This tutorial was written by Sharon A on May 2, 2012 & is copyright protected
For more info read my TOU

Plugins
Eyecandy Texture Weave

The tubes I used Love Struck Duck & Chick are FTU by Mrs Homer Lynn, you can get these tubes from her blog here

The name of my font is Dynalight
I used size 60


Open a new transparent canvas 930x375, we will resize later
Floodfill with a color from your tube
Apply eyecandy weave
Settings>plain distorted smeared dark shadows
Basic>pattern twill>gap width 5, keep original image checked

Paste your duck tube as a new layer
Resize as needed
Add drop shadow
Position at the bottom of your tag

Paste your chick as a new layer
Resize as needed
Add drop shadow
Position in a lower corner

Duplicate & resize to 50%
Position in opposite corner
Duplicate
Activate your pick tool
Decrease your x position by 100

Repeat this until you have 8 little chicks
Starting with the 2nd one from the right decrease your y position by 20
Repeat this on # 4, 6 & 8
Hide all except the bottom one
Starting from the bottom one rename the layers to 1, 2, 3, etc

Starting with # 8
Duplicate & mirror
Rename to 15

Duplicate & mirror & 7
Rename to 14
Move to below # 15

Duplicate & mirror # 6
Rename to 13
Move to below # 14

Duplicate & mirror # 5
Rename to 12 & move to below # 13

Repeat this until all but # 1 is duplicated
Do NOT duplicate & mirror # 1

You should now have 15 little chick layers

Duplicate your bg layer & send to top
Select all
Contract 10
Delete & deselect
Add an inner bevel & drop shadow

Resize all layers to 70%

Add your text, name & © info


Animation:

Hide all your chick layers except #1
Merge visible
Copy & paste into animation shop

Undo your merge
Hide # 1 & unhide # 2
Merge & paste after current in animation shop

Undo your merge
Hide # 2 & unhide # 3
Merge visible & paste after current in animation shop

Keep doing this until all 15 frames are pasted

I set my frame properties at 35

On frames 1 & 9 I changed the frame propterties to 100

View your animation

Save as gif & you're all done!

I hope you enjoyed my tutorial

Your comments are very much appreciated either here on this post or on the chat box.  I've made it easy for you to post on this tut by turning off the requirement of having to type in a confirmation code

I would love to post your © compliant result, just email it to me with ATT Sharon & the tut name in the subject line

You'll find my email blinkie on your left

:)


Result by Kaye W


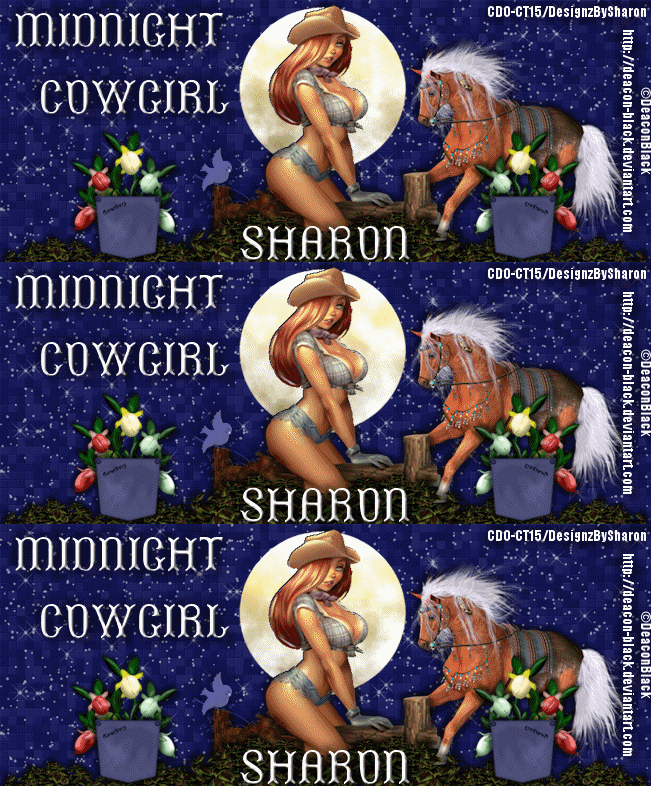
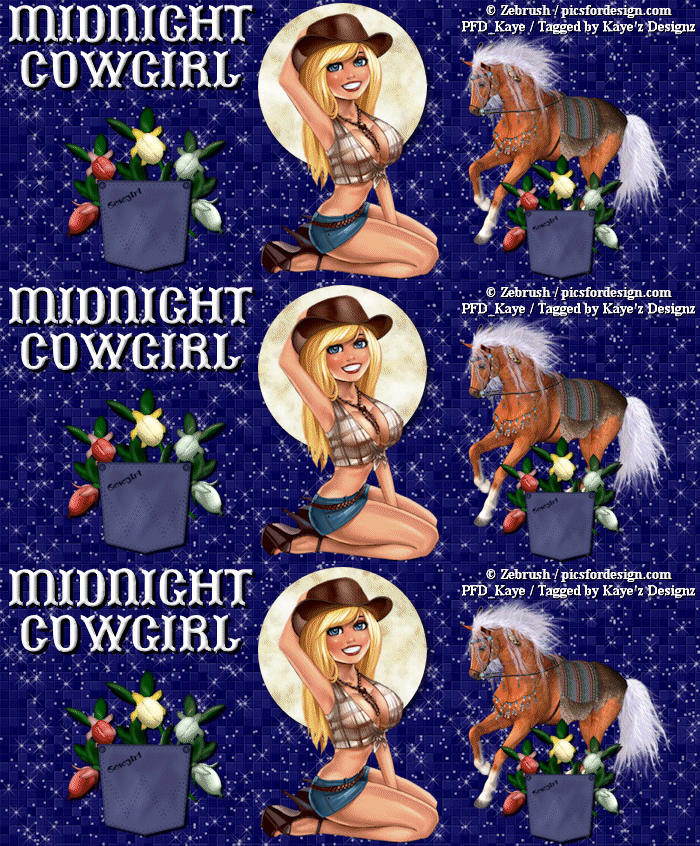
Midnight Cowgirl

Click for larger view

This tutorial was written by Sharon A on May 2, 2012 & is copyright protected
For more info read my TOU

Supplies Needed
Collab Kit Western Gal by me here

Plugins
Xero Fritillary
Xenofex Constellation
Mura Meister Cloud

The tube I used Cowgirl (100-2) is by Deacon Black, you can purchase this tube from CDO here

The name of the font I used is Beans
I used size 48


Open new transparent canvas 930x375, we will resize later
Floodfill with dark blue
Apply fritillary changing the top & bottom #'s to 12
Apply constellation
Click on settings then on low star density, keep original image checked

Paste your tube as a new layer
Resize as needed

Activate your magic wand, I set my tolerance on 20
Hold down your shift key and click on the moon a few times until its selected
If you accidently select part of your tube just undo your last click
Copy & cut
Deselect
Paste as a new layer & position back into place
Select all>float>defloat

Duplicate 2 times
Apply mura meister cloud
Preset menu on monochrome 1>uncheck BG box
Repeat on other 2 layers changing amount to 99 & 98
Deselect

Add drop shadow to your tube

Paste horse as a new layer
Resize to 50%
Add drop shadow
Position to the right of your tube
Move to below your tube layer

Paste pocket hers 3 as a new layer
Resize to 40%
Position near the bottom left
Add drop shadow

Paste flower 7 as a new layer
Resize to 30%
Position on left side of your pocket

Repeat with flower 9
Mirror & postion on right side of pocket
Merge down
Move to below your pocket

Paste flower 10 as a new layer
Resize to 35%
Rotate right 15
Position in between your other 2 flowers
Add drop shadow
Move to below your merged flowers

Merge your flowers with your pocket
Resize to 75%
Duplicate, mirror & merge down

Paste bird 1 as a new layer
Resize to 30%
Position on left top of your fence
Change layer properties to luminance legacy
Add drop shadow

Duplicate & mirror
Position on your right pocket

Paste flower 2 as a new layer
Resize to 20%
Position over your left pocket
Add drop shadow

Paste plant 2 as a new layer
Resize to 50%
Position on left side of your fence
Add drop shadow
Duplicate, mirror & merge down

Duplicate
Resize to 75%
Position on left side of your tag & move down a bit
Duplicate & mirror
Merge all 3 plant layers

I moved it down a bit more after merging

Move to below your flowers layer

Select around your tag with your selection tool
Crop

Resize all layers to 70%

Add your text, name & © info


Animation:

Hide animation 2 & 3
Merge visible
Copy & paste into animation shop

Undo your merge
Hide animation 1 & unhide #2
Merge & paste after current in animation shop

Undo your merge
Hide animation 2 & unhide #3
Merge visible & paste after current in animation shop

View your animation

Save as gif & you're all done!

I hope you enjoyed my tutorial

Your comments are very much appreciated either here on this post or on the chat box.  I've made it easy for you to post on this tut by turning off the requirement of having to type in a confirmation code

I would love to post your © compliant result, just email it to me with ATT Sharon & the tut name in the subject line

You'll find my email blinkie on your left

:)


Result by Kaye W


Lets Snuggle

Click for larger view

This tutorial was written by Sharon A on May 2, 2012 & is copyright protected
For more info read my TOU

Supplies Needed
Frame & flower & made for this tut here
Plugins
DC Special Nylon
Xenofex Constellation

The tube I used Lulu (16-1) is by Jamie Kidd, you can purchase this tube from CDO here

The name of the font I used is Lyonesse
I used size 48


Open new transparent canvas 930x375, we will resize later
Floodfill with a color from your tube
Apply dc special nylon
I had to play with the colors, here's the settings I used for my color which is #8edaeb


Paste your frame as a new layer
Click inside with your magic wand
Add a new raster layer
Floodfill with a darker shade of your bg color
Deselect & move to below your frame

Activate your frame
Add a new raster layer
Floodfill with a lighter shade of your frame color
On your frame layer select all>float>defloat
On your floodfill invert your selection
Delete & deselect
Change layer properties to overlay
Merge down & add drop shadow

Paste your main tube as a new layer
Resize as needed
Add drop shadow

Activate your selection tool
Select an area on one side of your frame
You want it the same height as your frame and not all the way to the edge of your tag
Add a new raster layer
Paste your close up tube into selection
Deselect
Duplicate & mirror

Change layer properties on the left one to soft light & the right one to luminance legacy
Add drop shadow to both
Move the right one to the left & move to below your frame layer as shown on my tag

Paste your flower as a new layer
Position on the right side of your tag
Change layer properties to burn
Add drop shadow

Duplicate
Move to below your frame layer & position in the upper left area of your frame floodfill

Add a new raster layer
Floodfill with your dark color
Select all
Contract 10
Delete & deselect
Add an inner bevel & drop shadow

Duplicate 2 times
Apply constellation
Settings>star field>keep original image checked
Repeat on other 2 layers clicking the random seed button each time

Resize all layers to 70%

Add your text, name & © info


Animation:

Hide animation 2 & 3
Merge visible
Copy & paste into animation shop

Undo your merge
Hide animation 1 & unhide #2
Merge & paste after current in animation shop

Undo your merge
Hide animation 2 & unhide #3
Merge visible & paste after current in animation shop

View your animation

Save as gif & you're all done!

I hope you enjoyed my tutorial

Your comments are very much appreciated either here on this post or on the chat box.  I've made it easy for you to post on this tut by turning off the requirement of having to type in a confirmation code

I would love to post your © compliant result, just email it to me with ATT Sharon & the tut name in the subject line

You'll find my email blinkie on your left

:)


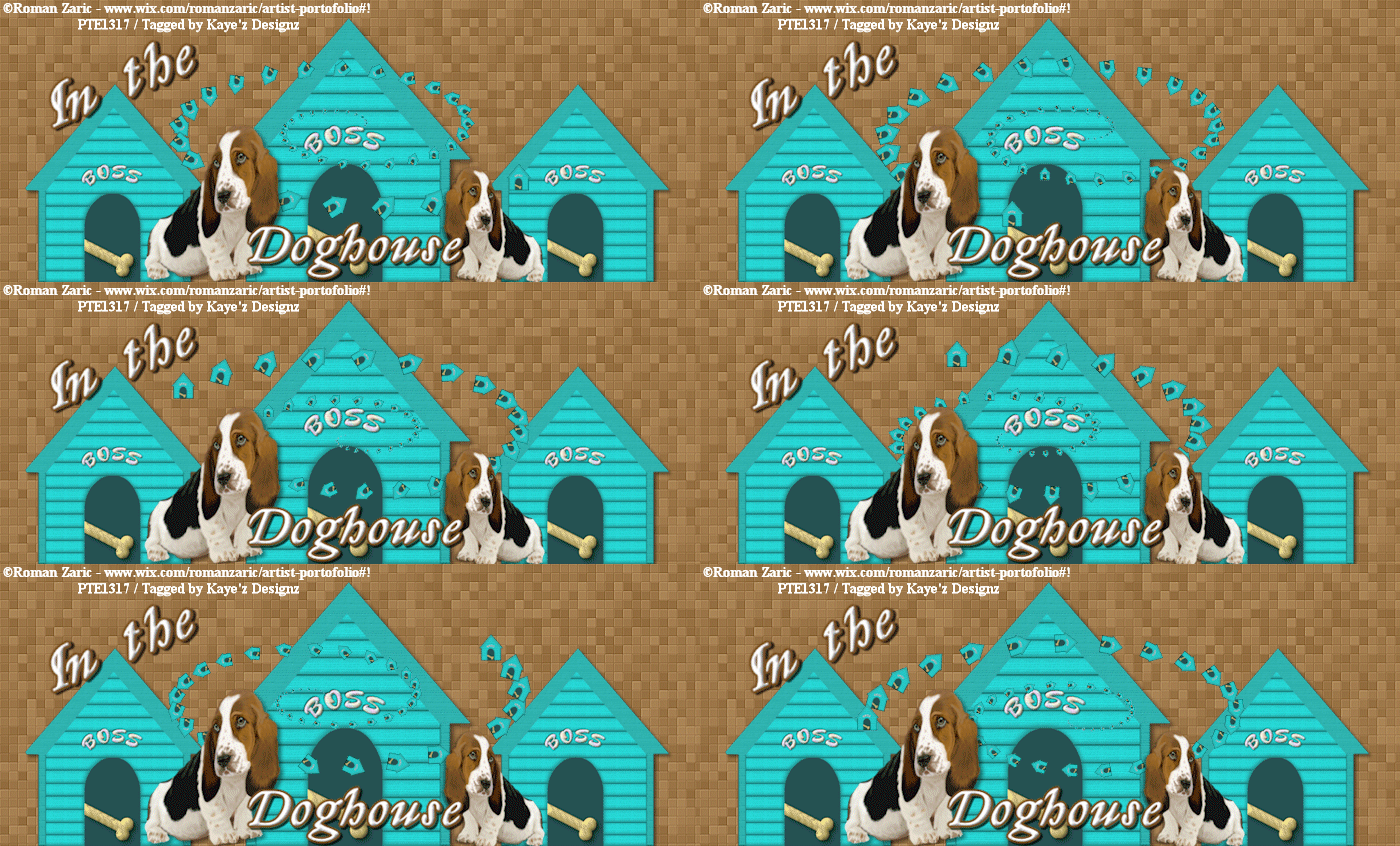
In The Dog House

Click for larger view

This tutorial was written by Sharon A on May 2, 2012 & is copyright protected
For more info read my TOU

Supplies Needed
Dog House I made for this tut here
Plugins
Xero Fritillary
Mura Meister Copies

The tube I used Chinese Crested is by Ann Fesenko, you can get this tube from PFD here

The name of my font is Lyonesse
I used size 60


Open a new transparent canvas 930x375, we will resize later
Floodfill with a color from your tube
Apply xero fritillary changing the top & bottom #'s to 12

Paste your dog house as a new layer
Add drop shadow
Duplicate & hide original

Move to the bottom edge of your tag
Duplicate
Resize to 75%
Position next to your original dog house
Duplicate & mirror
Merge the dog house layers

Unhide your dog house & send to top
Resize to 10%
Rename layer to spiral
Duplicate 9 times

Apply mura meister copies with these settings


Repeat on your other 9 spiral layers decreasing the phase by 10 each time
The phase should be 10 on your last layer
Hide all these except the top one

Paste your tube as a new layer
Resize as needed
Add drop shadow
Psoition between 2 dog houses
Duplicate
Resize to 75%
Position opposite your original tube

Resize all layers to 70%

Add your text, name & © info


Animation:

Make sure all your spiral layers are hidden except the top one
Merge visible
Copy & paste into animation shop

Undo your merge
Hide your top spiral layer & unhide the 2nd one
Merge & paste after current in animation shop

Keep doing this until you have all 10 frames pasted

View your animation

Save as gif & you're all done!

I hope you enjoyed my tutorial

Your comments are very much appreciated either here on this post or on the chat box.  I've made it easy for you to post on this tut by turning off the requirement of having to type in a confirmation code

I would love to post your © compliant result, just email it to me with ATT Sharon & the tut name in the subject line

You'll find my email blinkie on your left

:)


Result by Kaye W


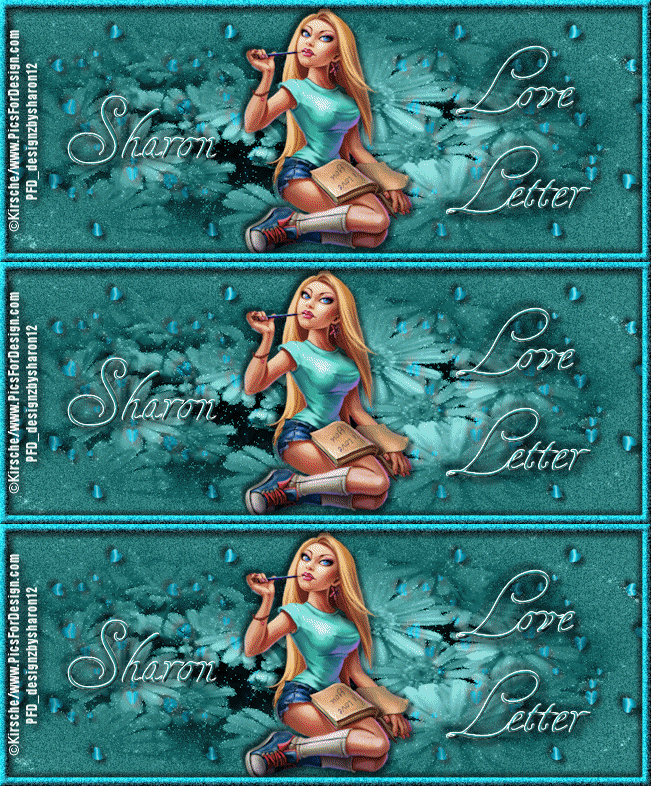
Love Letter

Click for larger view

This tutorial was written by Sharon A on May 2, 2012 & is copyright protected
For more info read my TOU

Supplies Needed
Flowers here
Hearts here

Plugins
DSB Flux Bright Noise
Mura Meister Copies
Xenofex Constellation

The tube I used Mandy is by Kirshe, you can get this tube from PFD here

The name of my font is Tagettes
I used size 48


Open a new transparent canvas 930x375, we will resize later
Floodfill with a color from your tube
Apply bright noise intensity 35, mix checked

Paste hearts as a new layer
Apply mura meister copies>tiling

Add a new raster layer
Select all
Paste your flowers into selection
Deselect
Change layer properties to luminance legacy
Add drop shadow

Duplicate 2 times
Apply constellation
Click on settings then on low density stars, keep original image checked
Repeat on other 2 layer clicking the random seed button each time

Paste your tube as a new layer
Resize as needed
Add drop shadow

Add a new raster layer
Floodfill with a lighter shade of your color
Select all
Delete & deselect
Add an inner bevel & drop shadow
Apply bright noise intensity 60, mix checked

Resize all layers to 70%

Add your text, name & © info


Animation:

Hide animation 2 & 3
Merge visible
Copy & paste into animation shop

Undo your merge
Hide animation 1 & unhide #2
Merge & paste after current in animation shop

Undo your merge
Hide animation 2 & unhide #3
Merge visible & paste after current in animation shop

View your animation

Save as gif & you're all done!

I hope you enjoyed my tutorial

Your comments are very much appreciated either here on this post or on the chat box.  I've made it easy for you to post on this tut by turning off the requirement of having to type in a confirmation code

I would love to post your © compliant result, just email it to me with ATT Sharon & the tut name in the subject line

You'll find my email blinkie on your left

:)


Tuesday, May 1, 2012

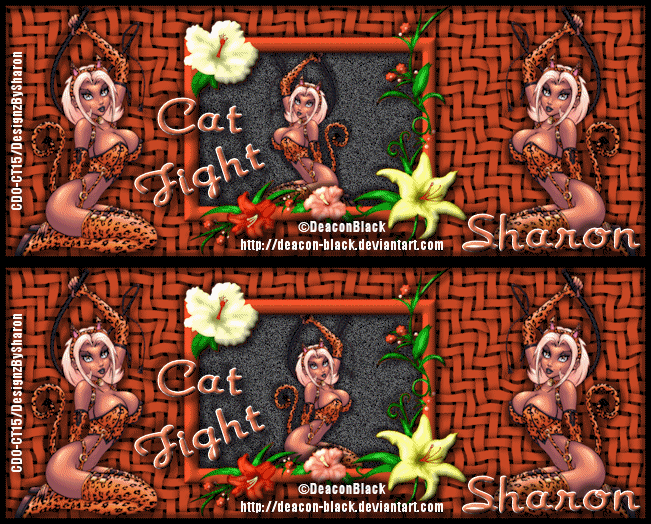
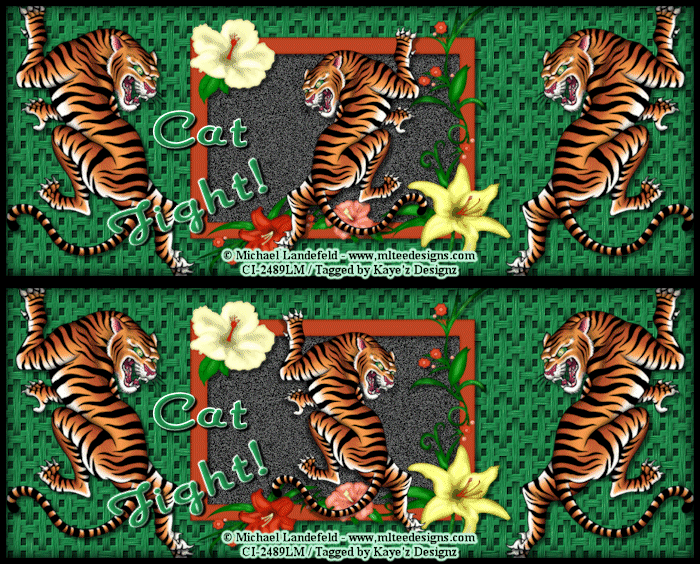
Cat Fight

Click for larger view

This tutorial was written by Sharon A on May 1, 2012 & is copyright protected
For more info read my TOU

Supplies Needed
Frame I made for this tut here

Plugins
Eyecandy Texture Weave
DSB Flux Bright Noise

The tube I used Pussy Gilore (15-3) is by Deacon Black, you can purchase this tube from CDO here

The name of the font I used is Shutup
I used size 60


Open new transparent canvas 930x375, we will resize later
Floodfill with a color from your tube
Apply eyecandy texture weave
Settings>plain distorted rough edges
Basic>Pattern twill>ribbon width 12>gap width 5>gap fill black

Paste frame as a new layer
Resize to 75%
Click inside with your magic wand
Expand 3
Add a new raster layer
Floodfill with black
Move to below your frame layer
Apply dsb flux bright noise intensity 50, lighter checked

Paste your tube as a new layer
Resize as needed and add drop shadow
Position on the left side of your tag
Duplicate & mirror

Duplicate your left tube
Resize to 70%
Position in the center of your frame
Duplicate & mirror
Line up the tops of your two tubes
Rename these layers to animation 1 & 2

Add an inner bevel & drop shadow to your frame

Add a new raster layer
Floodfill with black
Contract 8
Delete & deselect
Add an inner bevel & drop shadow

Resize all layers to 70%

Add your text, name & © info


Animation:

Hide animation 2
Merge visible
Copy & paste into animation shop

Undo your merge
Hide animation 1 & unhide #2
Merge & paste after current in animation shop

I set my frame properties at 45

View your animation

Save as gif & you're all done!

I hope you enjoyed my tutorial

Your comments are very much appreciated either here on this post or on the chat box.  I've made it easy for you to post on this tut by turning off the requirement of having to type in a confirmation code

I would love to post your © compliant result, just email it to me with ATT Sharon & the tut name in the subject line

You'll find my email blinkie on your left

:)


Result by Kaye W


Peach Beauty - SAC

Click for larger view

This tutorial was written by Sharon A on May 1, 2012 & is copyright protected
For more info read my TOU

Supplies Needed
Template 147 by me here

The tube I used Peach (PTE5853) Color Series 2 is by Keith Garvey, you can purchase this tube from PTE here

The name of my font is Shutup
I used size 60


Open your template, shift D to duplicate & close original
Delete credit, left & right square layers

Floodfill your bg layer with a color from your tube
Add texture>plaid>size 50, depth 5

Activate your lace layer
Change layer properties to soft light
Add drop shadow

Activate your middle frame
Floodfill with a darker shade of your bg color
Add an inner bevel & drop shadow
Click inside with your magic wand
Expand 3

Paste your main tube as a new layer
Resize as needed
Invert your selection
Delete & deselect
Move to the bottom edge of your middle frame
Add drop shadow

Repeat with your left & right frames & close up tube

Darken your color again & floodfill your middle square
Add texture same settings as before

Activate your flower layer
Resize to 75% & reposition back into place
Select all>float>defloat
Floodfill with your frame color
Change layer properties to overlay
Merge down & add drop shadow

Duplicate & resize to 60%
Position at the top of your middle square
Duplicate, mirror & merge down

Activate your corners layer
Duplicate, mirror & merge down
Add a new raster layer
Floodfill with your frame color
On your corners layer select all>float>defloat
On your floodfill layer invert your selection
Delete & deselect
Change layer properties to overlay
Merge down & add drop shadow

Activate your bow layer
Rotate left 25
Move to left side of your middle frame
Duplicate, mirror & merge down
Select all>float>defloat
Add a new raster layer
Floodfill with your frame color
Deselect
Change layer properties to overlay
Merge down & add drop shadow

Resize all layers to 70%

Add your text, name & © info

Merge all

Save as jpg & you're all done!

I hope you enjoyed my tutorial

Your comments are very much appreciated either here on this post or on the chat box.  I've made it easy for you to post on this tut by turning off the requirement of having to type in a confirmation code

I would love to post your © compliant result, just email it to me with ATT Sharon & the tut name in the subject line

You'll find my email blinkie on your left

:)


Cats Have It All

Click for larger view

This tutorial was written by Sharon A on May 1, 2012 & is copyright protected
For more info read my TOU

Supplies Needed
Word Art by me here
Lace here

Plugins
Eyecandy Texture

The tube I used Two Fluffy Kitties (80-3) is by Jasmine Becket-Griffith, you can purchase this tube from CDO here

The name of the font I used is Shutup
I used size 60


Open new transparent canvas 930x375, we will resize later
Floodfill with a color from your tube
Duplicate 2 times
Apply eyecandy texture marble
Settings>sharp calcite
Click on basic
Change the bedrock color to your bg color
Change vein color to a lighter shade of your color
Repeat on other 2 layers clicking on the random seed button each time

Paste your tube as a new layer
Resize as needed and add drop shadow
Position on one side

Paste word art as a new layer
Resize to 75%
Position into place
Add a new raster layer
Floodfill with a lighter shade of your bg color
On your WA layer select all>float>defloat
On your floodfill layer invert your selection
Delete, deselect & merge down
Add an inner bevel & drop shadow

Paste your lace as a new layer
Resize to 57%
Position on the upper right side
Duplicate, mirror & merge down
Move up so only the lacey bottom part shows

Select around your tag with your selection tool
Crop to selection

Duplicate your lace
Flip & merge down

Resize all layers to 70%

Add your text, name & © info


Animation:

Hide animation 2 & 3
Merge visible
Copy & paste into animation shop

Undo your merge
Hide animation 1 & unhide #2
Merge & paste after current in animation shop

Undo your merge
Hide animation 2 & unhide #3
Merge visible & paste after current in animation shop

View your animation

Save as gif & you're all done!

I hope you enjoyed my tutorial

Your comments are very much appreciated either here on this post or on the chat box.  I've made it easy for you to post on this tut by turning off the requirement of having to type in a confirmation code

I would love to post your © compliant result, just email it to me with ATT Sharon & the tut name in the subject line

You'll find my email blinkie on your left

:)


Result by Kaye W


Hot Lips

Click for larger view

This tutorial was written by Sharon A on May 1, 2012 & is copyright protected
For more info read my TOU

Supplies Needed
Flower I made for this tut here

Plugins
Mura Meister Copies

The tube I used  is by Hot Lips (PTE3779) is by Lix , you can purchase this tube from PTE here

The name of my font is Tagettes
I used size 48


Open a new transparent canvas 930x375, we will resize later

Floodfill with red

Add texture with these settings


Paste your flower as a new layer
Resize to 50%
Add drop shadow
Duplicate & hide original

Apply mura meister copies
Preset menut line number 15
Duplicate & hide original

Duplicate 2 times
Effects>distortion effects>ripple with these settings


Repeat on other 2 layers changing horizontal to 61 & 62

Paste your tube as a new layer
Resize as needed
Add drop shadow

Unhide your flower line
Move to the top edge of your tag
Duplicate & move to the bottom edge
Merge down

Unhide your flower
Position near the upper left
Duplicate, mirror & merge down
Duplicate & move to near the bottom of your tag

Resize all layers to 70%

Add your text, name & © info


Animation:

Hide animation 2 & 3
Merge visible
Copy & paste into animation shop

Undo your merge
Hide animation 1 & unhide #2
Merge & paste after current in animation shop

Undo your merge
Hide animation 2 & unhide #3
Merge visible & paste after current in animation shop

View your animation

Save as gif & you're all done!

I hope you enjoyed my tutorial

Your comments are very much appreciated either here on this post or on the chat box.  I've made it easy for you to post on this tut by turning off the requirement of having to type in a confirmation code

I would love to post your © compliant result, just email it to me with ATT Sharon & the tut name in the subject line

You'll find my email blinkie on your left

:)


Result by Kaye W