

Click for larger view
This tutorial was written by Sharon A on May 31, 2012 & is copyright protected
For more info read my TOU
Supplies Needed
Paw Print Overlay by me here
Plugins
DSB Flux Bright Noise
The tubes I used are by Cuddly Rigor Mortis, you can purchase these tubes from CDO here
The name of the font I used is Tamborine
Pick one of your tubes as your main tube which you will pick your colors from
Open your overlay, shift D to duplicate & close original
Add a new layer & floodfill with a color from your tube
Change layer properties to overlay, merge down
Activate your rectangle shape tool
Foreground a color from your tube, background null
Width 45
Draw out a frame almost as big as your tag
Align center
Convert to raster
Change your color from foreground to background
Draw out a narrow vertical line, align center & convert to raster
Repeat drawing a horizontal line
Move both to below your frame
Merge the 2 lines
Still on your lines layer
Select all>float>defloat
Add a new raster layer
Apply cutout with these settings
Deselect & merge down
Repeat on your frame layer
Change the offset vertical to 36
Change the horizontal to -36
Deselect & merge down
Merge with the lines layer
Add an inner bevel
Open your paw print overlay again, shift D to duplicate, close original
Resize to 50%
Do the same as before using another color from your main tube
Merge down & copy
Back to your tag
Using your magic wand click inside the the 4 areas of your frame
Expand 5
Expand 5
Add a new raster layer
Paste into selection
Deselect & move to below your frame
Using your magic wand click inside one of the squares
Paste one of your tubes as a new layer
Resize as needed
Invert your selection
Delete & deselect
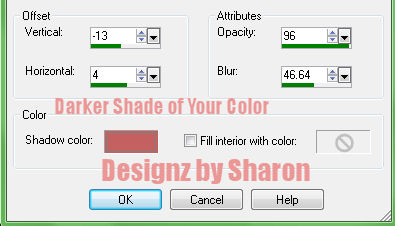
Add drop shadow & move to below your frame
Repeat with your next 3 tubes
Paste your main tube as a new layer
Resize so she's no higher than the horizontal line in your frame then move to the bottom of your tag
Add drop shadow
Add drop shadow to your frame
Duplicate 2 times
Apply bright noise intensity 35, mix checked
Repeat on other 2 layers changing intensity to 40 & 45
Resize all layers to 70%
Add your text, name & © info
Animation:
Hide animation 2 & 3
Copy merged & paste into animation shop
Hide animation 1 & unhide #2
Copy merged & paste after current in animation shop
Hide animation 2 & unhide #3
Copy merged & paste after current in animation shop
View your animation
Save as gif & you're all done!
I hope you enjoyed my tutorial
Your comments are very much appreciated either here on this post or on the chat box. I've made it easy for you to post on this tut by turning off the requirement of having to type in a confirmation code
I would love to post your © compliant result, just email it to me with ATT Sharon & the tut name in the subject line
You'll find my email blinkie on your left
:)
No comments:
Post a Comment
Please keep your language clean, thank you!